


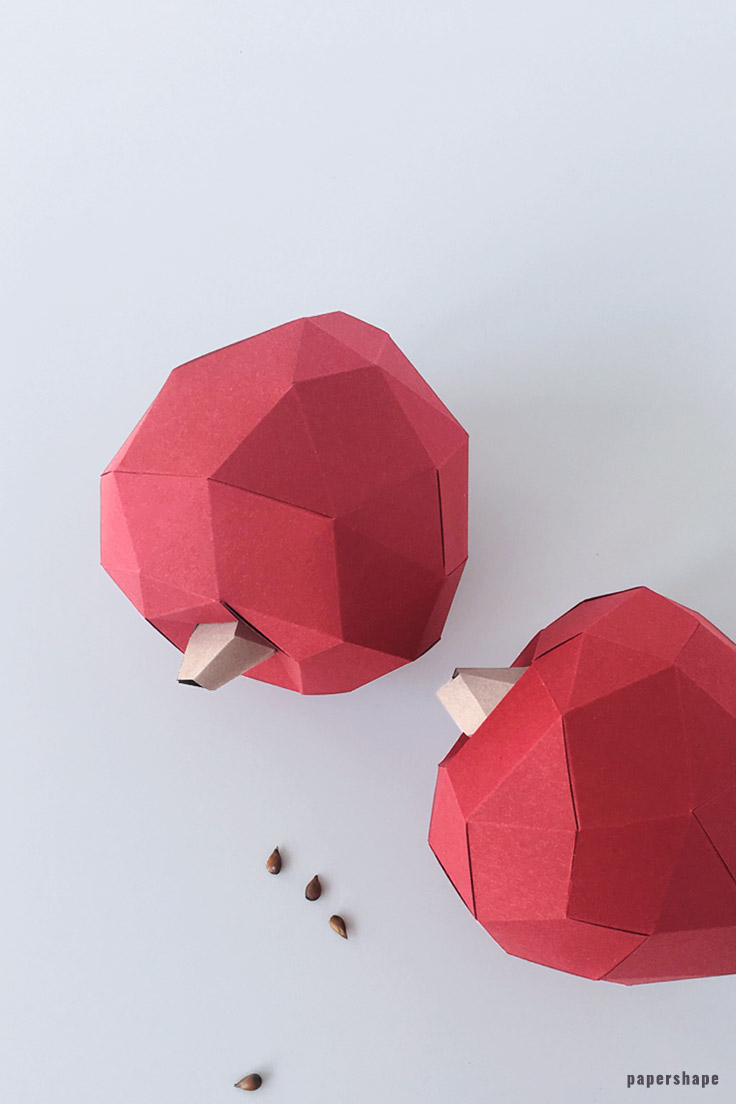
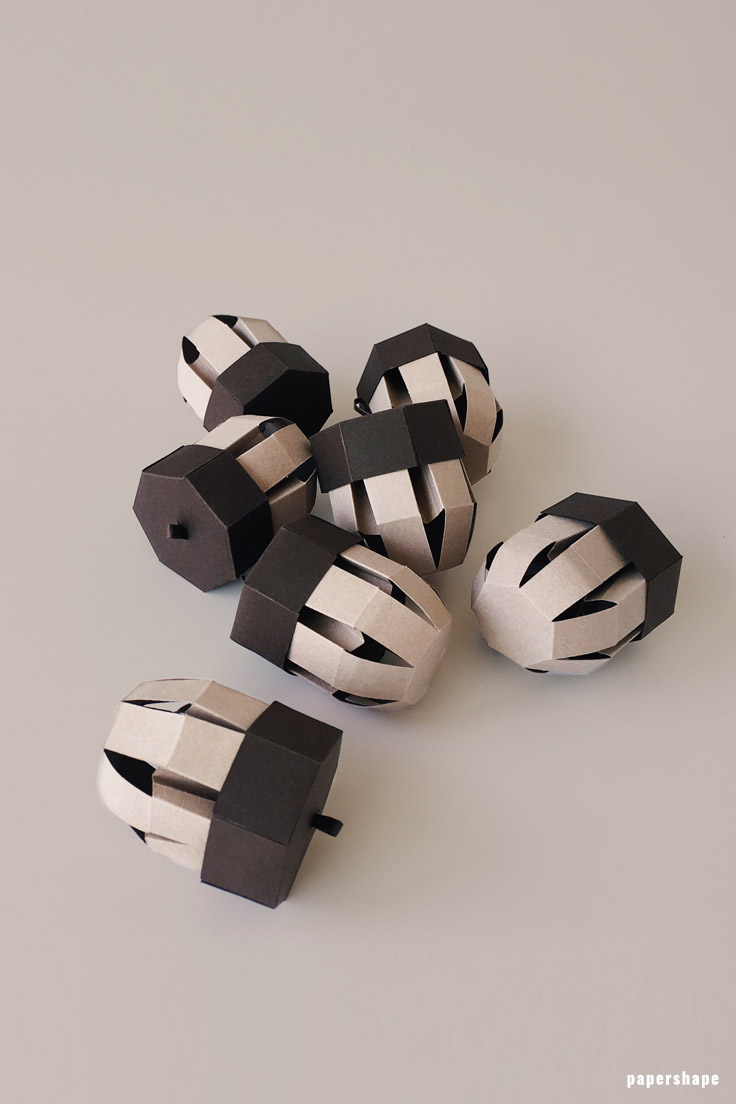


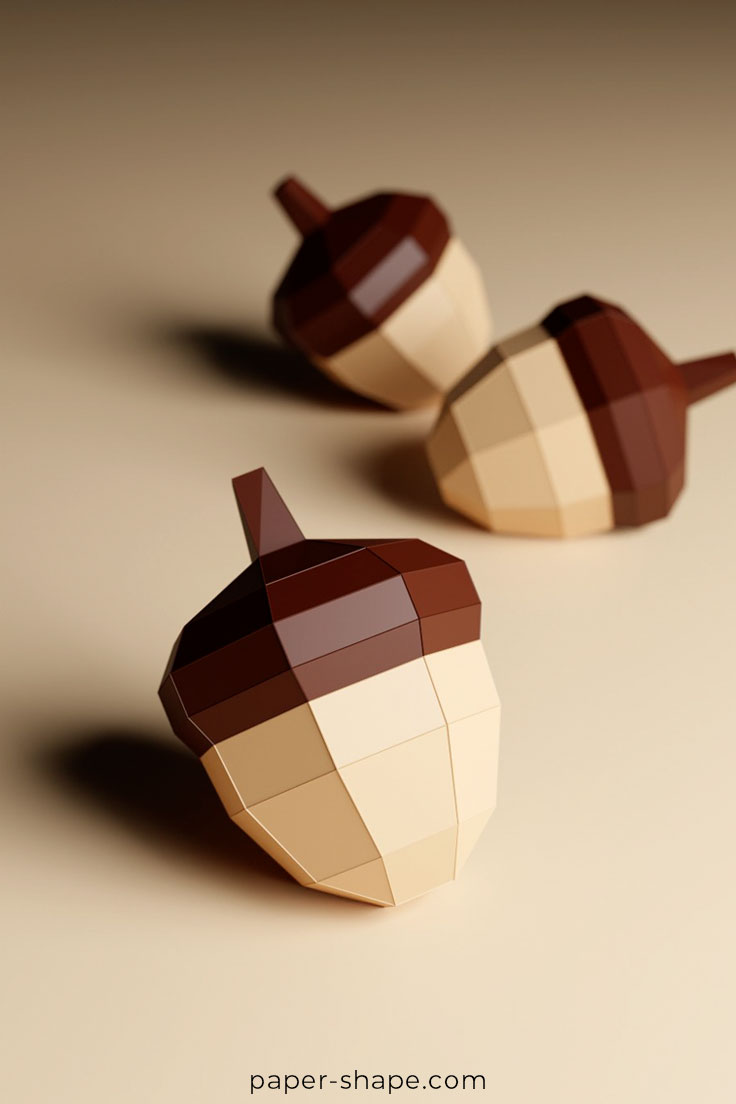
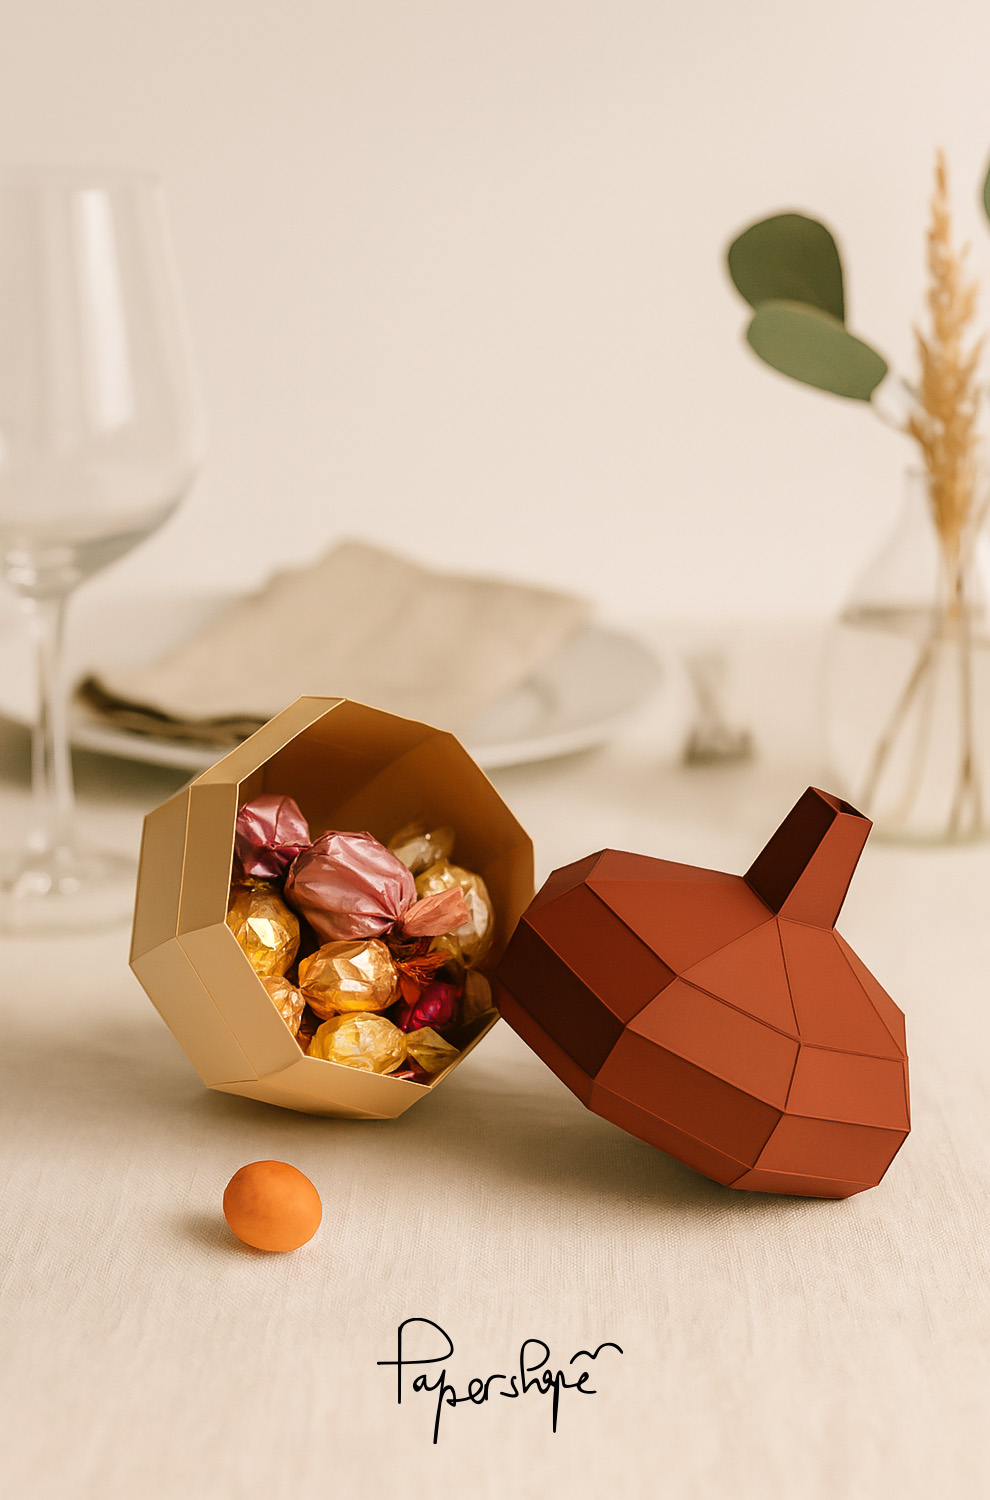
How to make 3D acorns from paper - gift wrapping & centerpiece (papercraft)
This 3D paper acorn does both: it’s a unique gift box and a charming centerpiece for your autumn table decor. With the papercraft template, a sturdy paper model with a removable cap comes together step by step—perfect for hiding little surprises or adding a cozy woodland touch at home.
Design it in two tones—classic browns or a modern tone-on-tone look—and it works just as well in the living room as it does as woodland-inspired decor for a kid’s room. Display a single acorn on a wooden tray with leaves and cones, or style a small arrangement with candles: it instantly looks high-quality and elevates your decor in no time.
Best of all, you only need a few supplies and a little time—and your new 3D favorite is ready to gift or display.
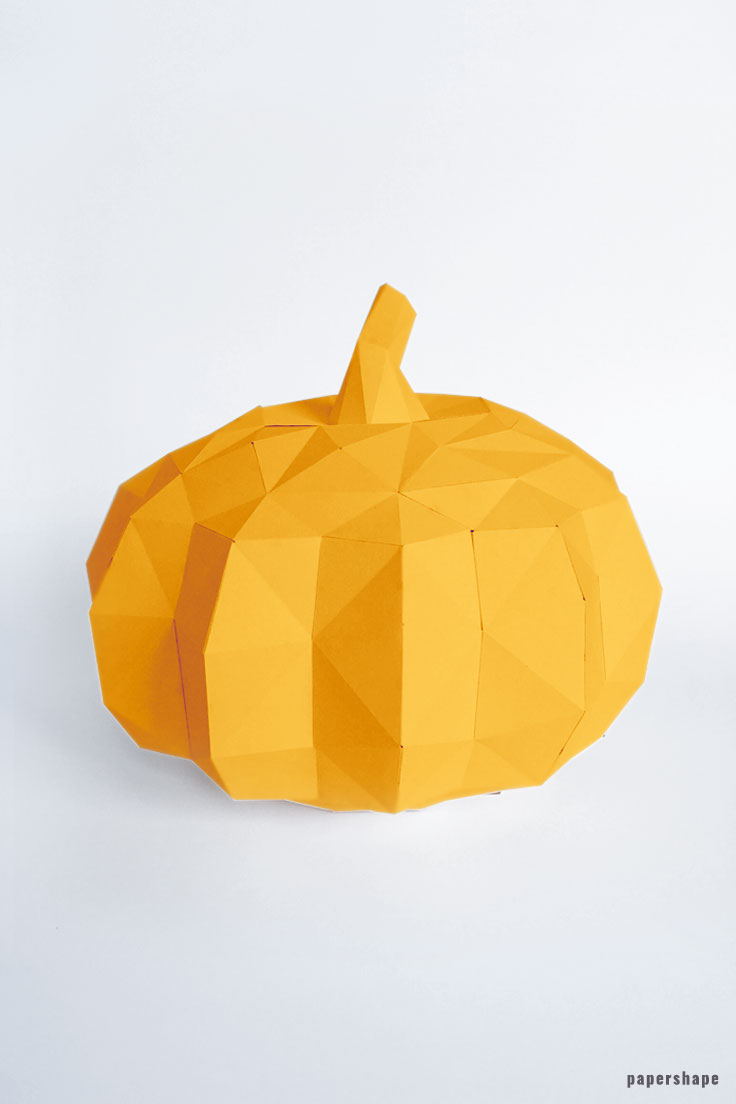
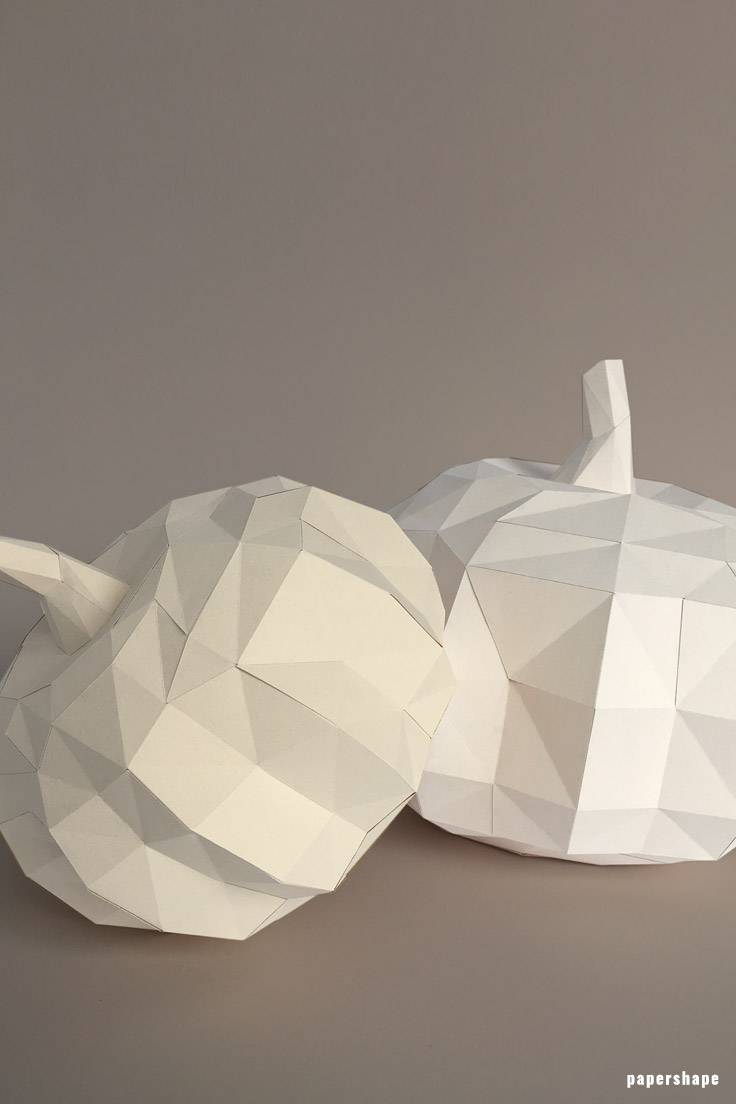
Want more fall papercraft ideas? Then check out these tutorials: Make a 3D pumpkin (modern fall decor with template), make a sturdy gift box (box with lid, extra sturdy), and acorns – flat version (free template for quick decor).

Step by step: how to make origami acorns
Materials needed
- Donwload template (scroll down)
- 2 colored papers (8.5in x 11in) (weight: 65lb-110lb)
- Glue or double-sided tape
- Scissors
- Ruler
- Bonefolder / awl / ball pen refill etc.
- Cutting mat
1. You need 2 pages per acorn. The best will be you use paper with a grammage of up to 230g/m². Print out the template and cut out all solid lines with scissors.
2. Crease all dashed lines with an awl or a bonefolder. Therefore, place a ruler next to the dashed lines and crease the lines by pressing the bonefolder down.
3. Fold the long dashed lines away from you, i.e. downward. Fold the short dashed lines up, i.e. up to you.
4. Use double-sided tape or any glue onto the unprinted side of the flaps. I prefer to craft with adhesive tape because your fingers stay clean. Each number exists twice. Stick all the same numbers together in ascending order (1, 2, 3, ...). Start with section 1 and stick it to the section marked 1 on paper A, pressing firmly enough to make them stick together. Finally you put the top of the acorn above the bottom and you are done!