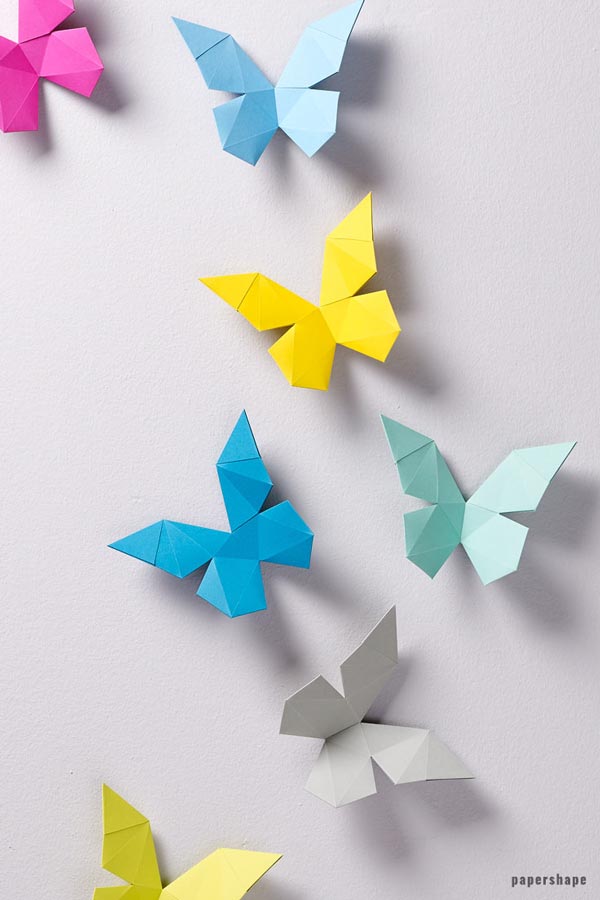


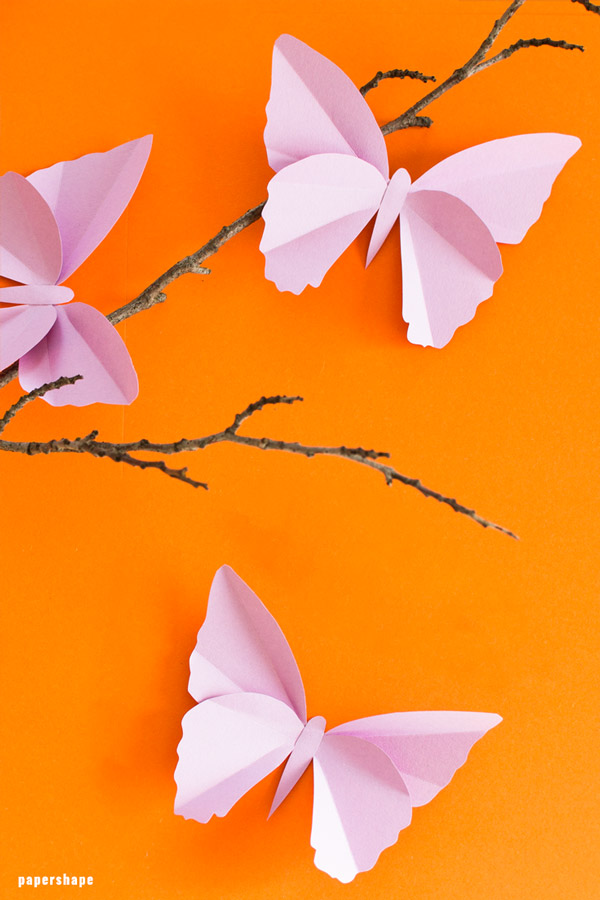


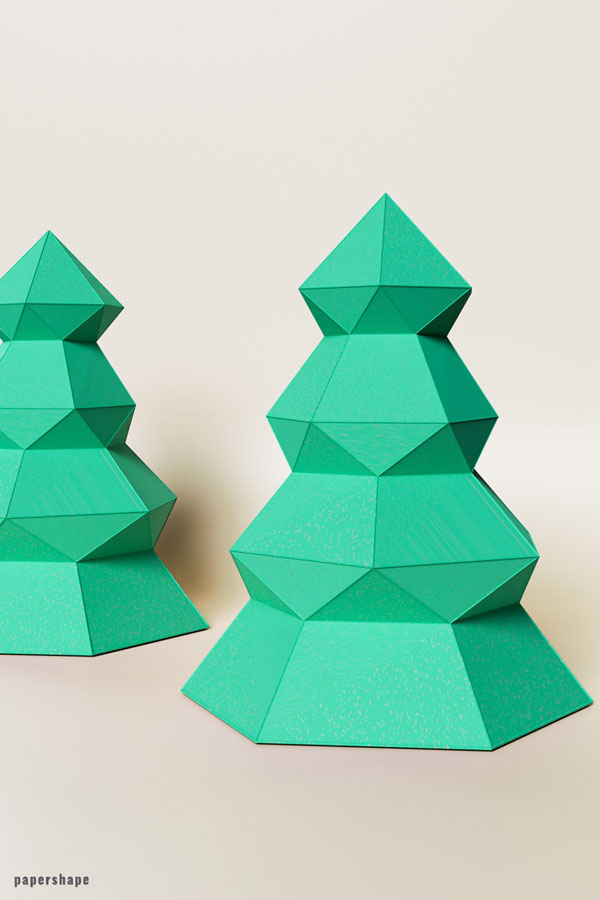
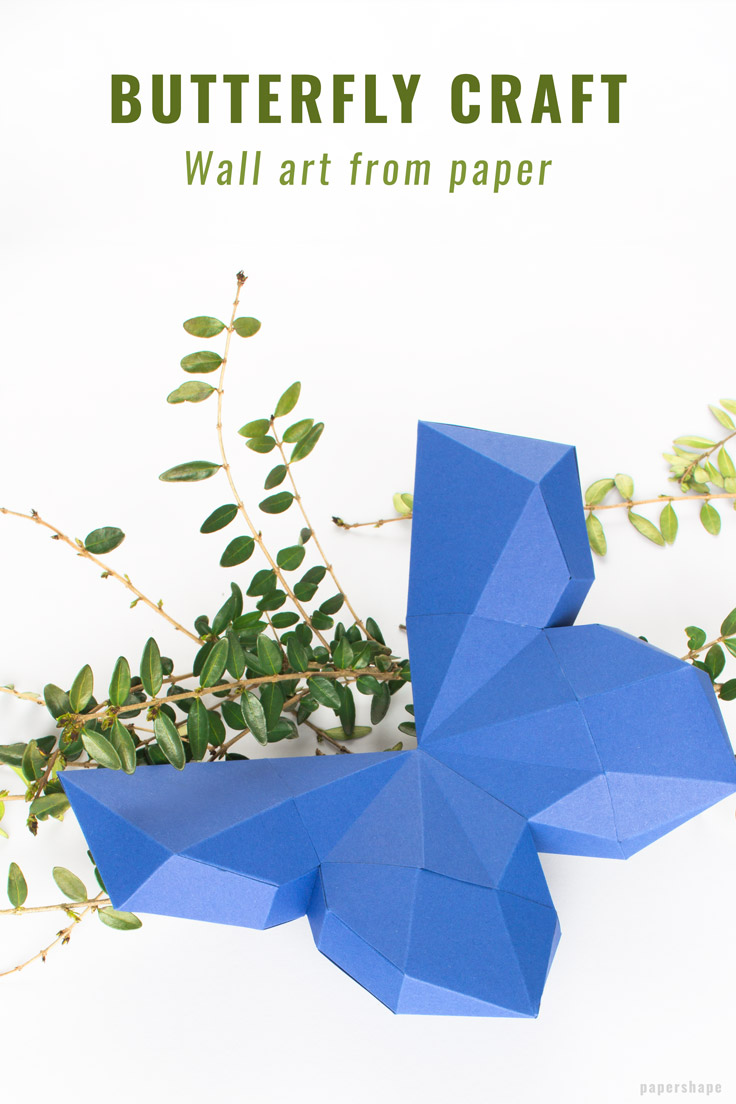
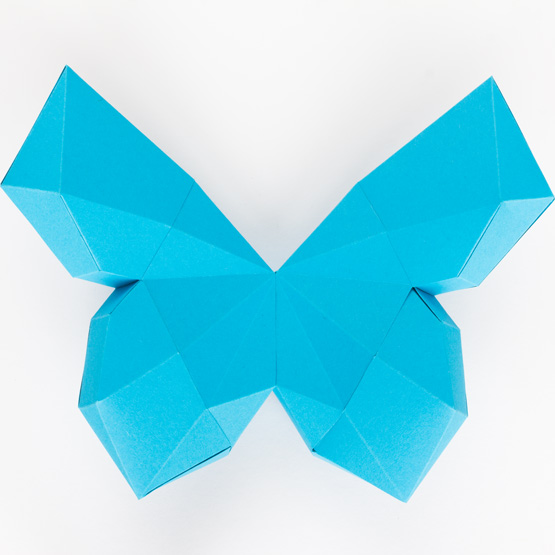
How to make a 3d butterfly from paper (with template)
With butterflies I associate liberty, spring feeling and freshness.
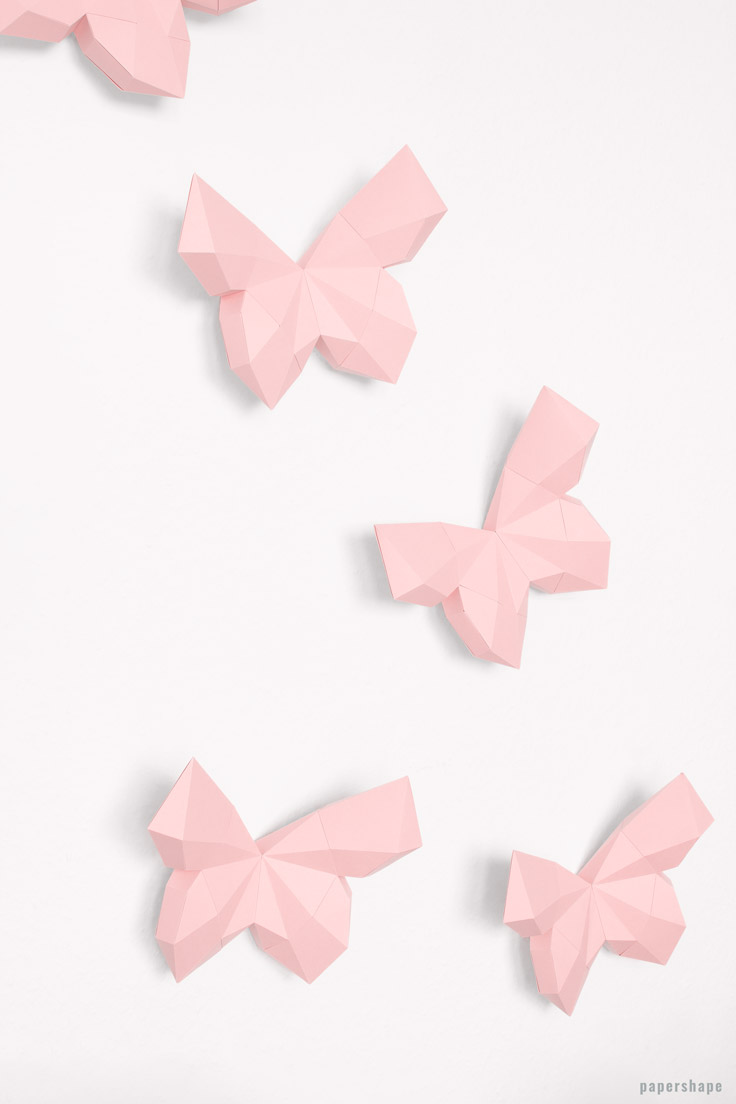
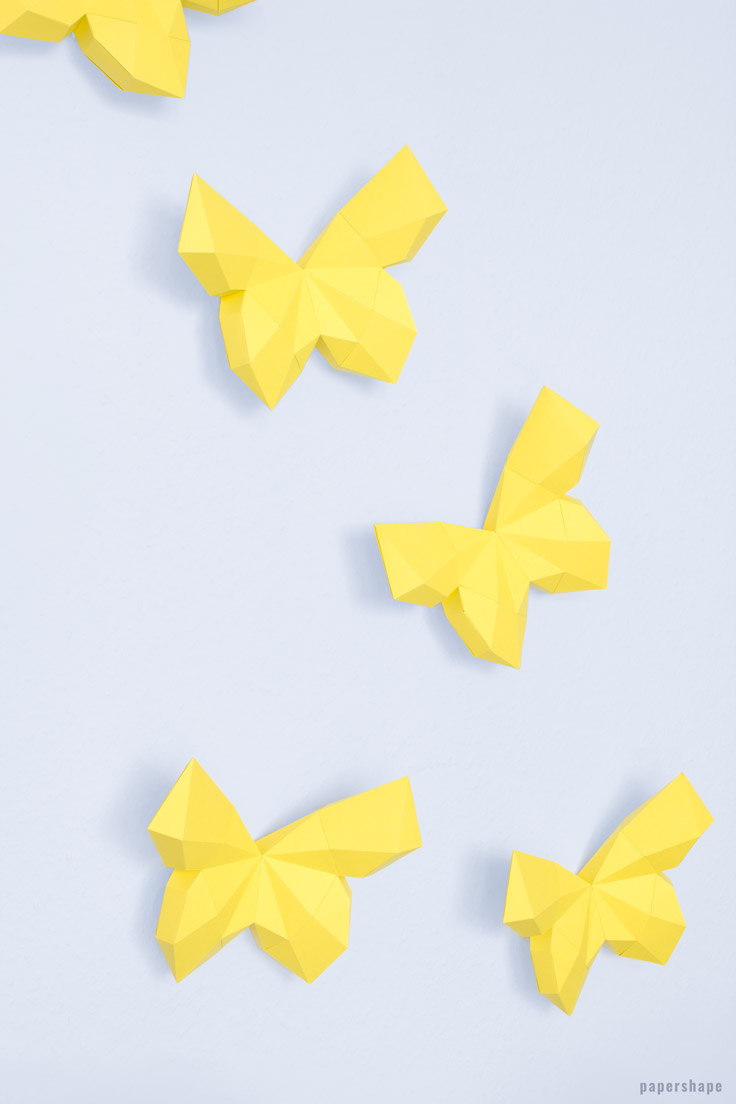
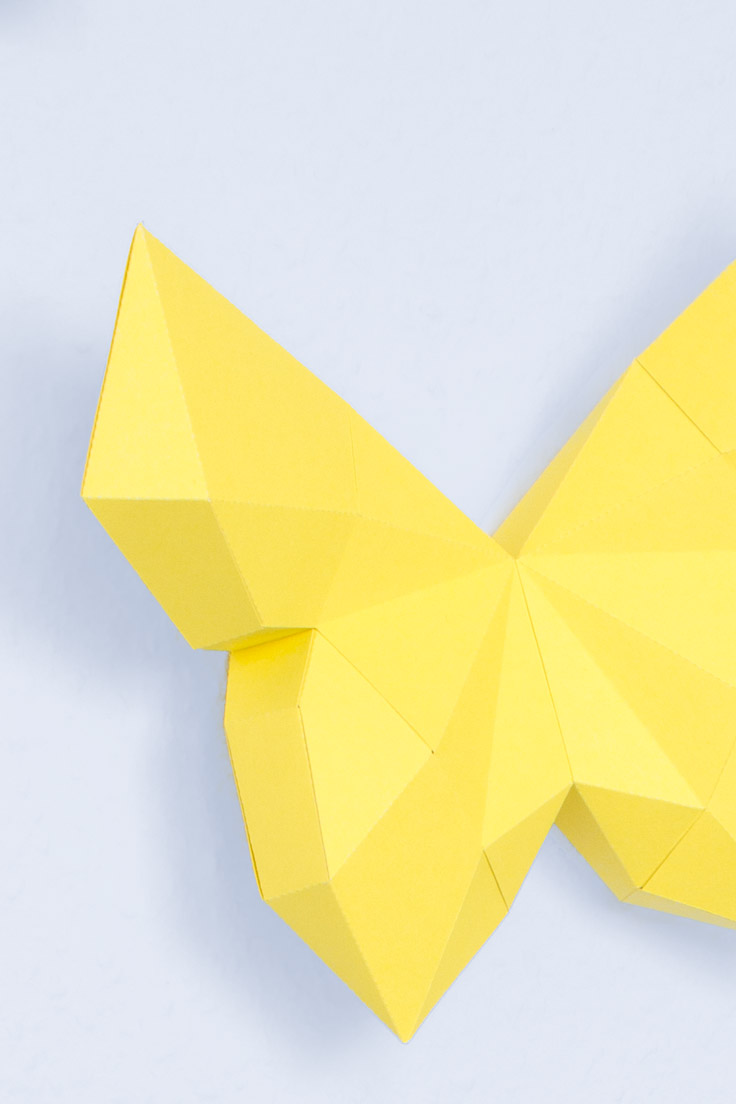
You may craft butterflies from paper in 2d super easy and in many cases they will be pretty small and lots of them. With this template I wanted to show you how to craft big 3d butterflies. And with just a few of them (like 5 or 6) you will get an amazing result at your home walls.
If you want to craft a more minimalistic variant of the butterflies, you may want to have quick look in my shop here .
You have to try these butterflies
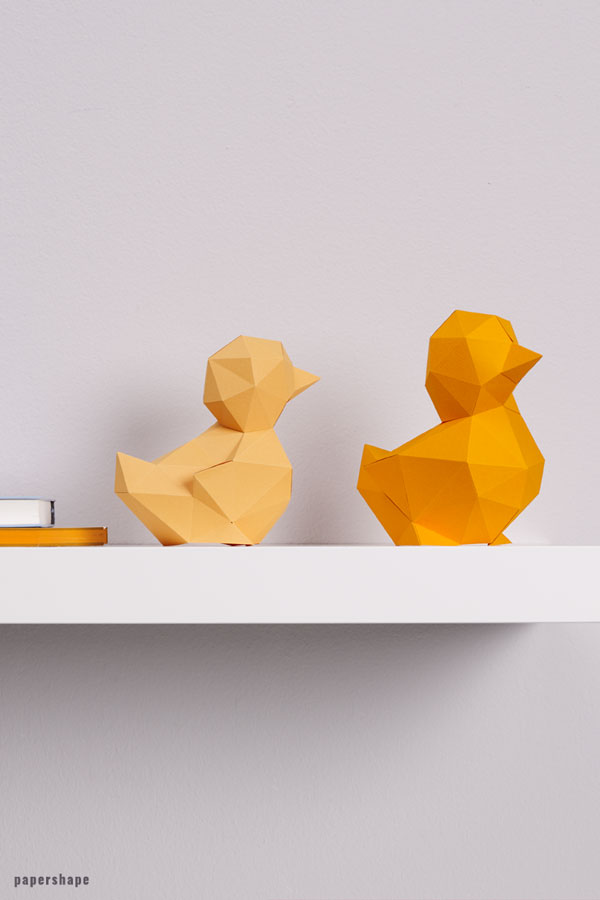
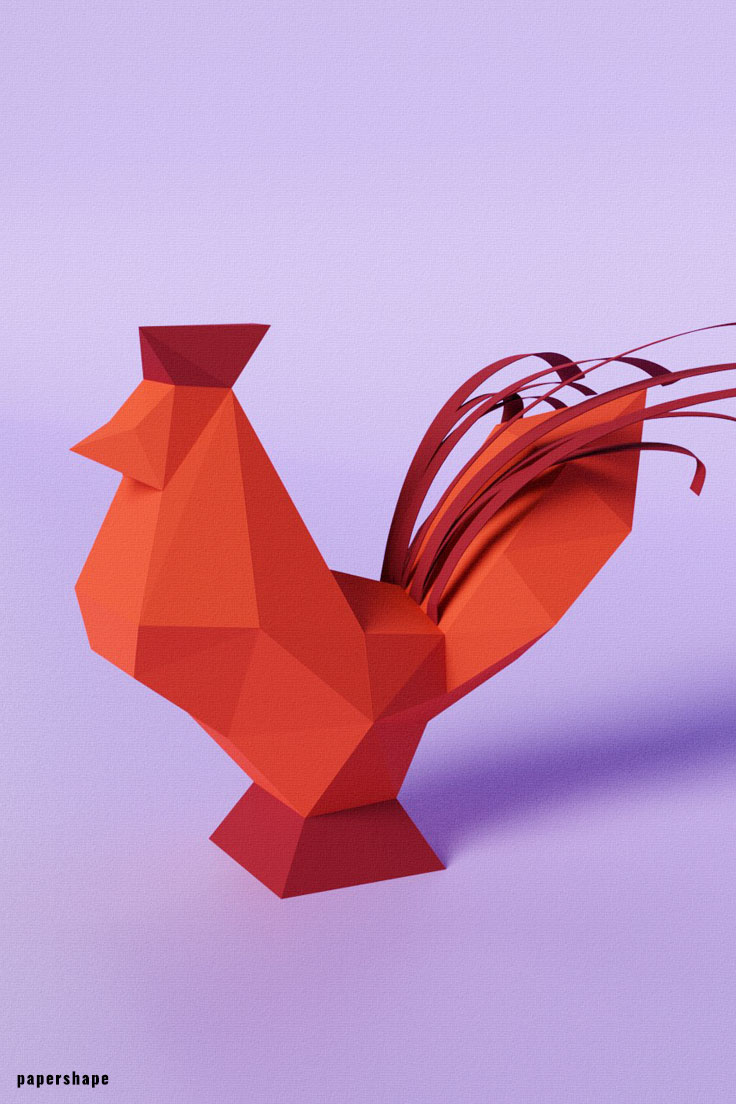
These butterlfies are adorabel as both table decor and wall decor. You just have to decide where to put them.
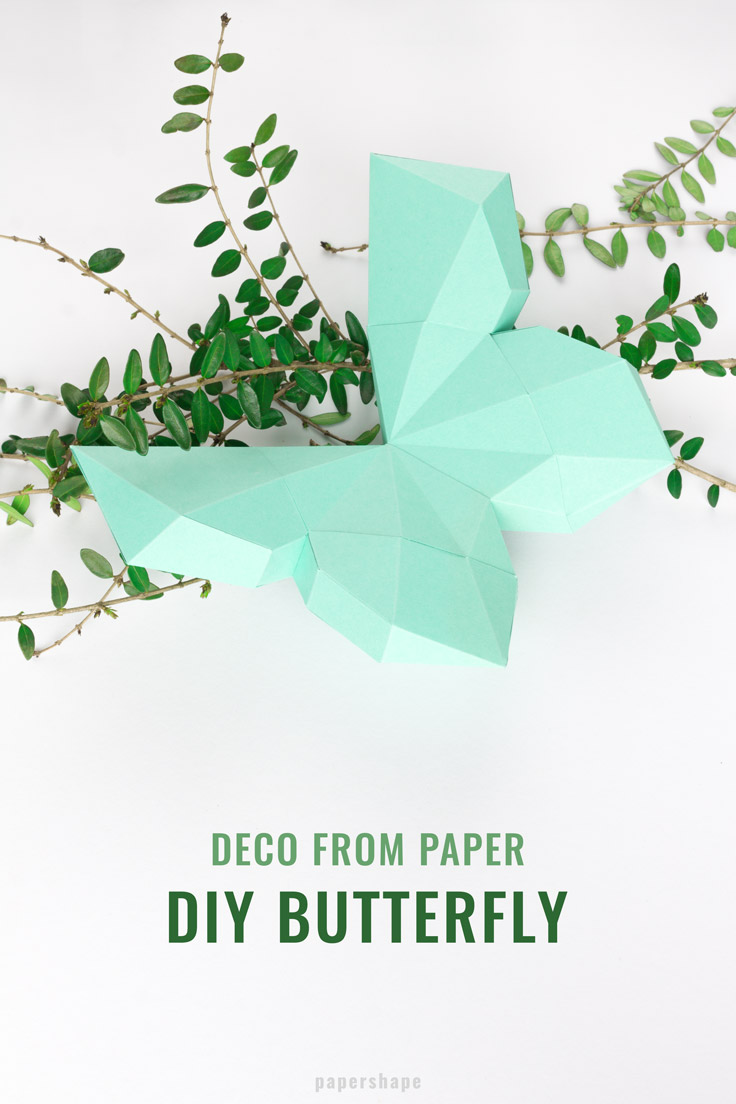
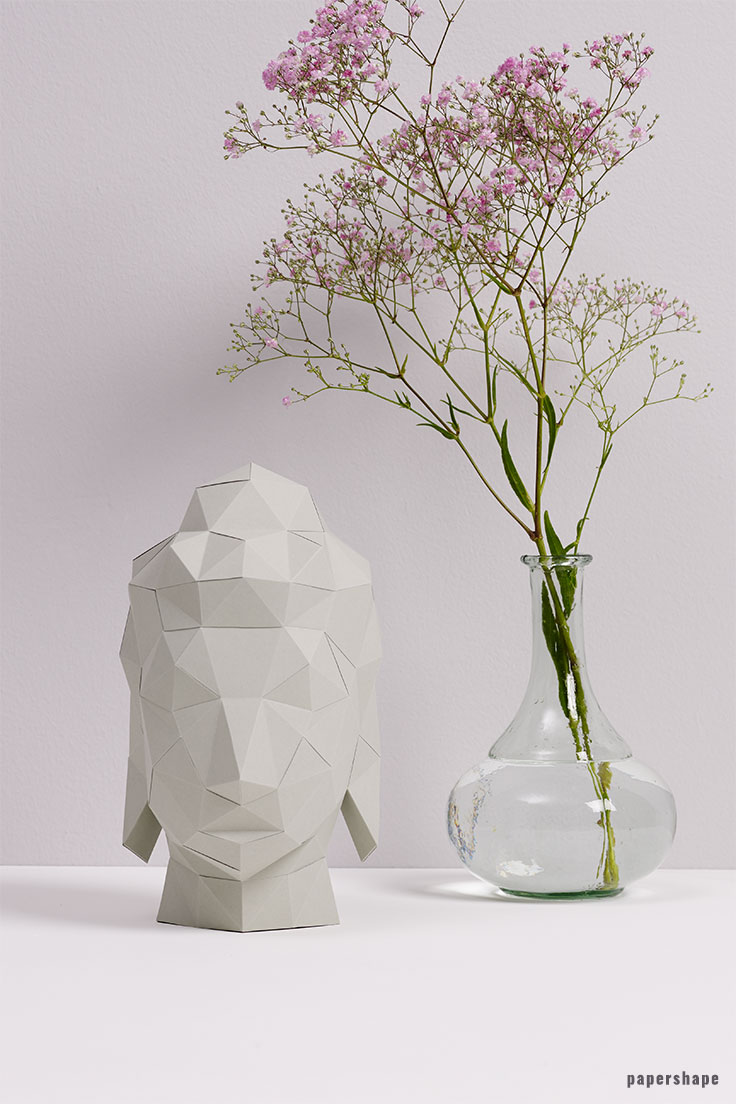
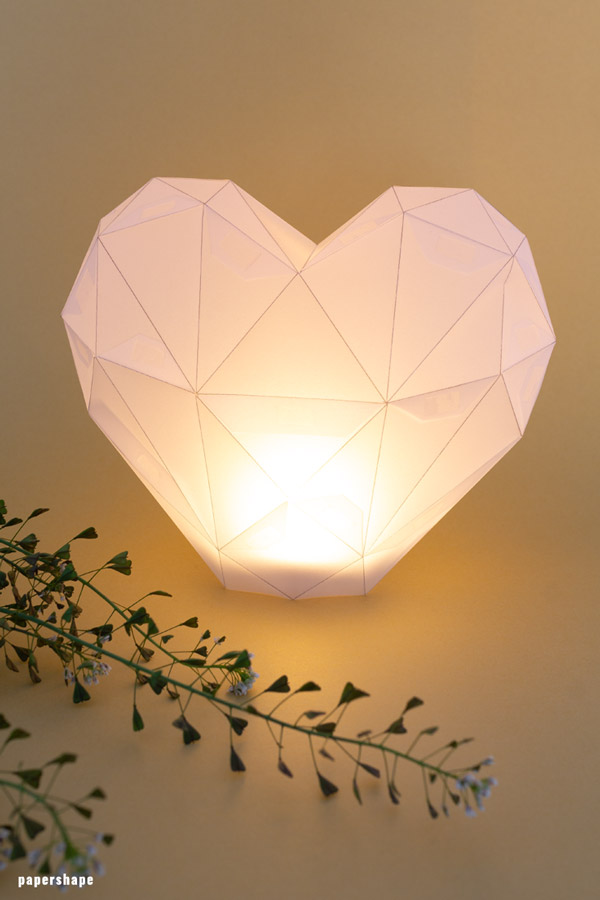
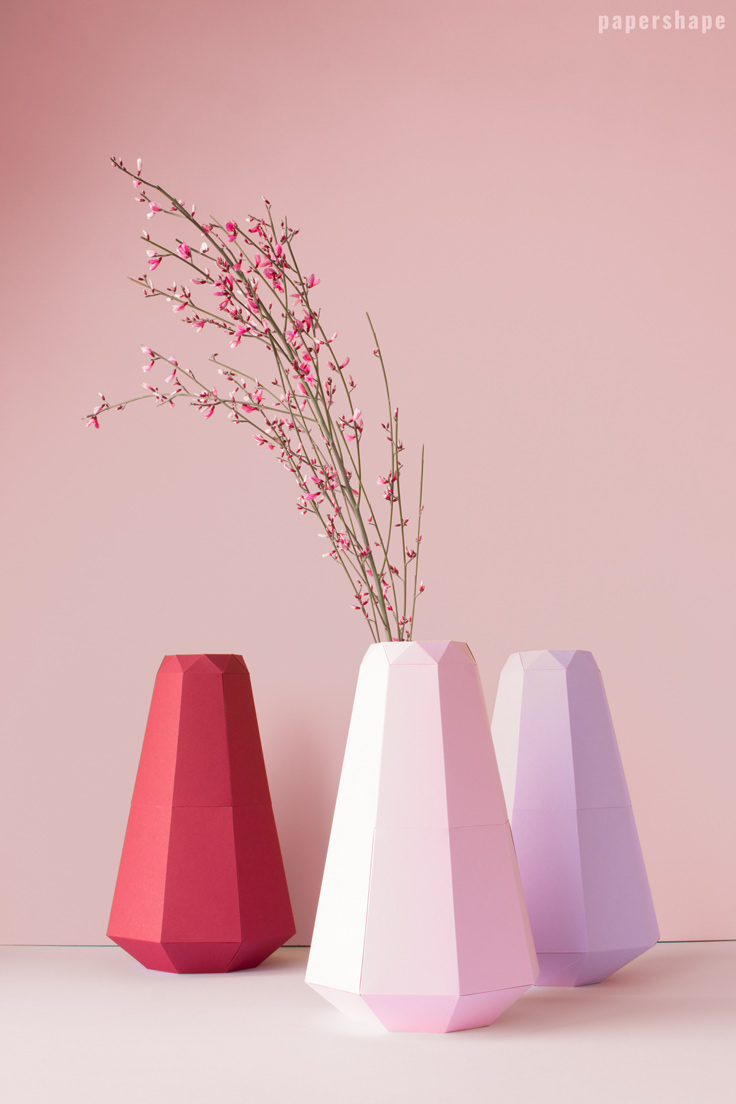
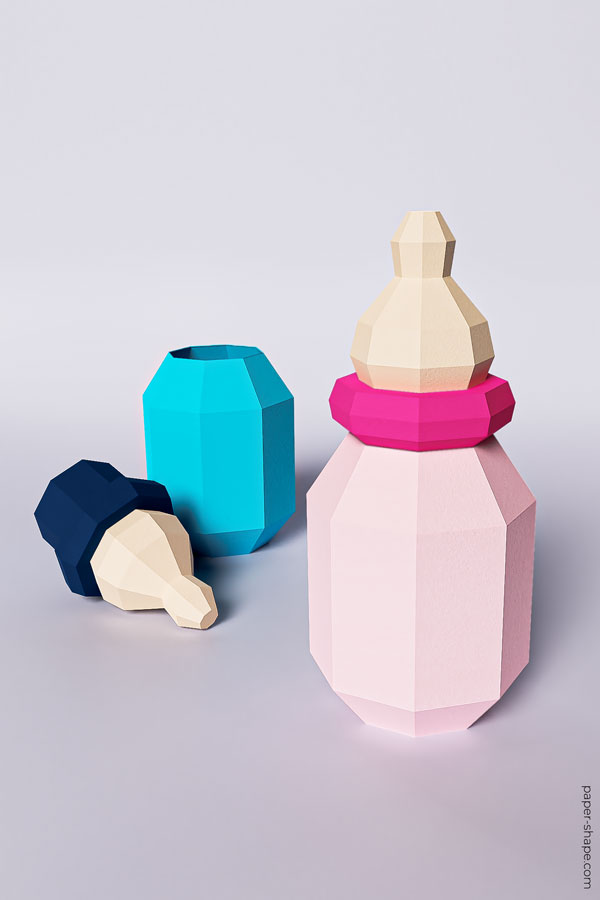
You may put the butterflies on some green branches and ready is your table decor. It is super easy and additionally you can put this diy vase from paper. on the table.

Tutorial: follow these steps for crafting paper butterflies
Materials needed
- 3 cardstock paper uni or with pattern (8.5in x 11in) (weight: 65lb / 176gsm)
- Glue or double-sided tape
- Scissors
- Ruler
- Bonefolder / awl / ball pen refill etc.
- Cutting mat
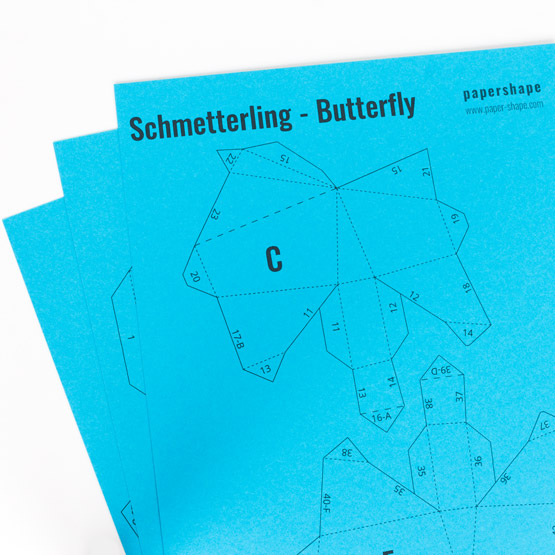
1. Print the paper butterfly template (US letter) on paper of your choice.
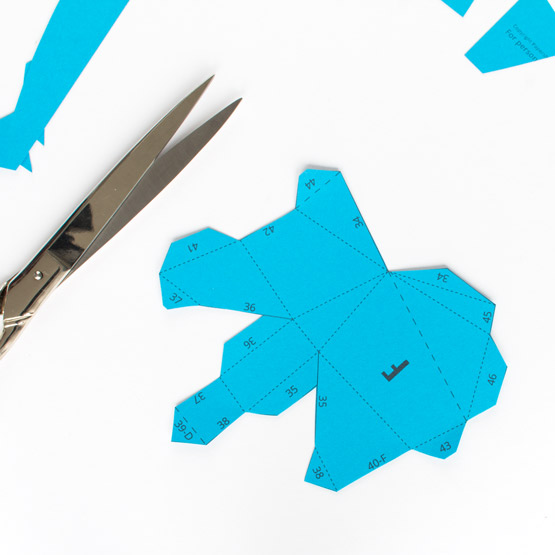
2. Cut out the paper parts (A, B, C, ...) by cutting along the solid lines of the butterfly template.
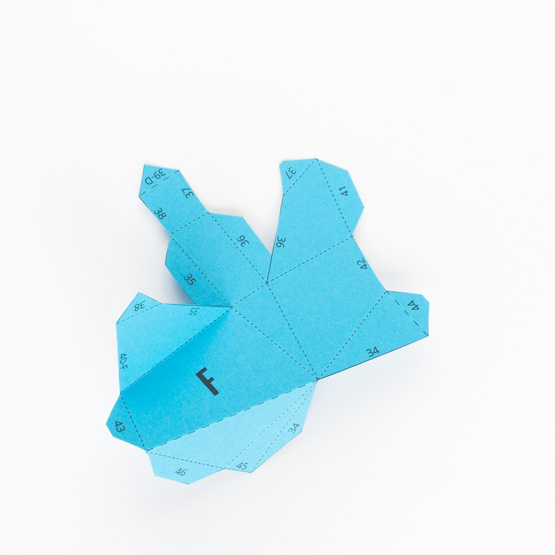
3. Place a ruler on the dotted lines and mark the folds by pressing down hard and running a bonefolder or an awl along the lines.Start with a paper piece (here F) and place it in front of you. The printed side should be facing you. Subsequently fold all the dotted lines either inwards, which means to fold up (short dotted lines) or outwards, which means to fold down (long dotted lines), according to the markings.
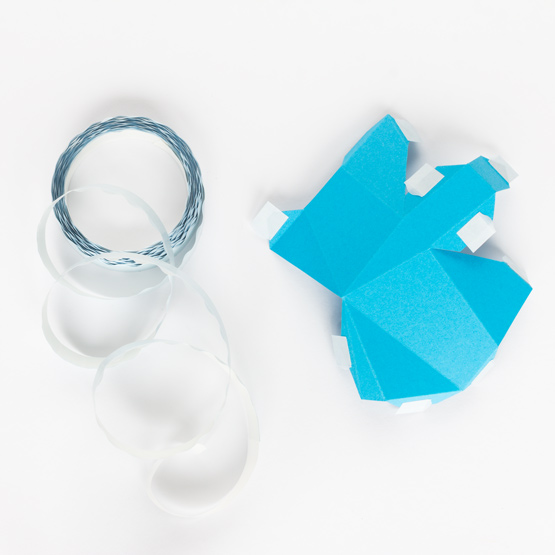
4. Use double-sided tape or any glue onto the unprinted side of the tabs. Each number exists twice. Stick all the same numbers together in ascending order (1, 2, 3, ...). Start with section 1 and stick it to the section marked 1 on paper A, pressing firmly enough to make them stick together.
5. As you can see you start with the wing.
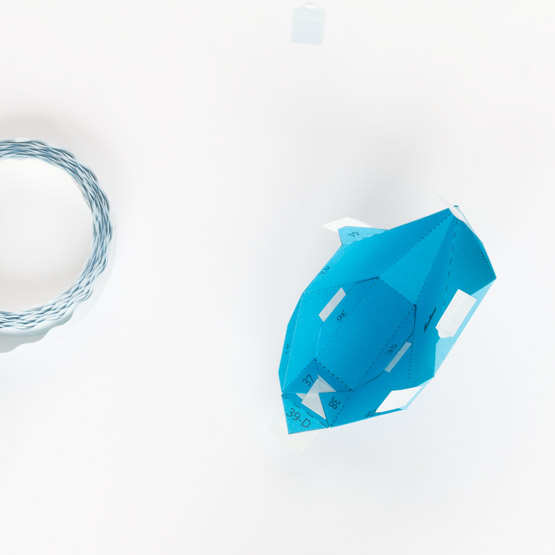
6. This is how the butterfly should look like after you glued all flaps together.
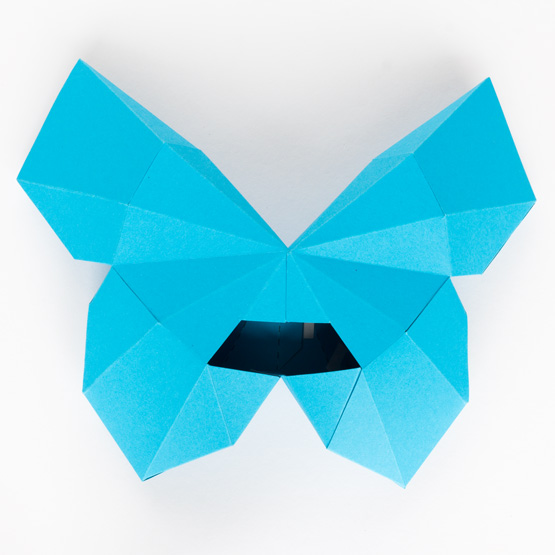
7. On the back of the butterfly you will find a hole. With this it is much easier for you to glue the last flaps together. On the bottom part of the back you can either make a hole to hang it on a nail or you use a tape to stick it to the wall.