
Make a Westie from Paper - 3D Papercraft Instructions, Template and Making-of
A lovely customer from the US once asked me if I could make a West Highland White Terrier out of paper. I thought, sure — it’s a dog, how hard can it be? After Franz the dachshund and Colette, his very chic dachshund friend, it felt like the perfect time to add another little character to the PaperShape dog family.
What I hadn’t really thought about was the one thing that makes a Westie look so unmistakably like a Westie: that wonderfully shaggy coat. And that turned out to be the tricky part.
After quite a few attempts, Elisabetta finally came to life. And yes, I absolutely love that name. If you prefer your Westie a little smaller, you can also scale the template down and make a half-size version.
Keep scrolling and I’ll show you how Elisabetta came together.
You can find the Westie template and the complete craft kit here.Making-of: From flat sheets to shaggy Westie coat


Because that’s the funny thing with a Westie: you can get the body pretty close, but if the head doesn’t feel right, it just doesn’t look like a Westie. Especially in low poly, those few little details make a huge difference.

And that’s exactly what you can do with your own Elisabetta too. Leave the fringe straight, curl it, mix the two — basically, give your Westie whatever hairstyle you think suits her best.

Instructions: How to make your 3D papercraft Westie in low poly style
Materials needed
- 18 sheets of A4 or US Letter cardstock (min. 230 g/m²)
- Adhesive pads or glue
- Scissors
- Ruler
- Folding tool
- Cutting mat
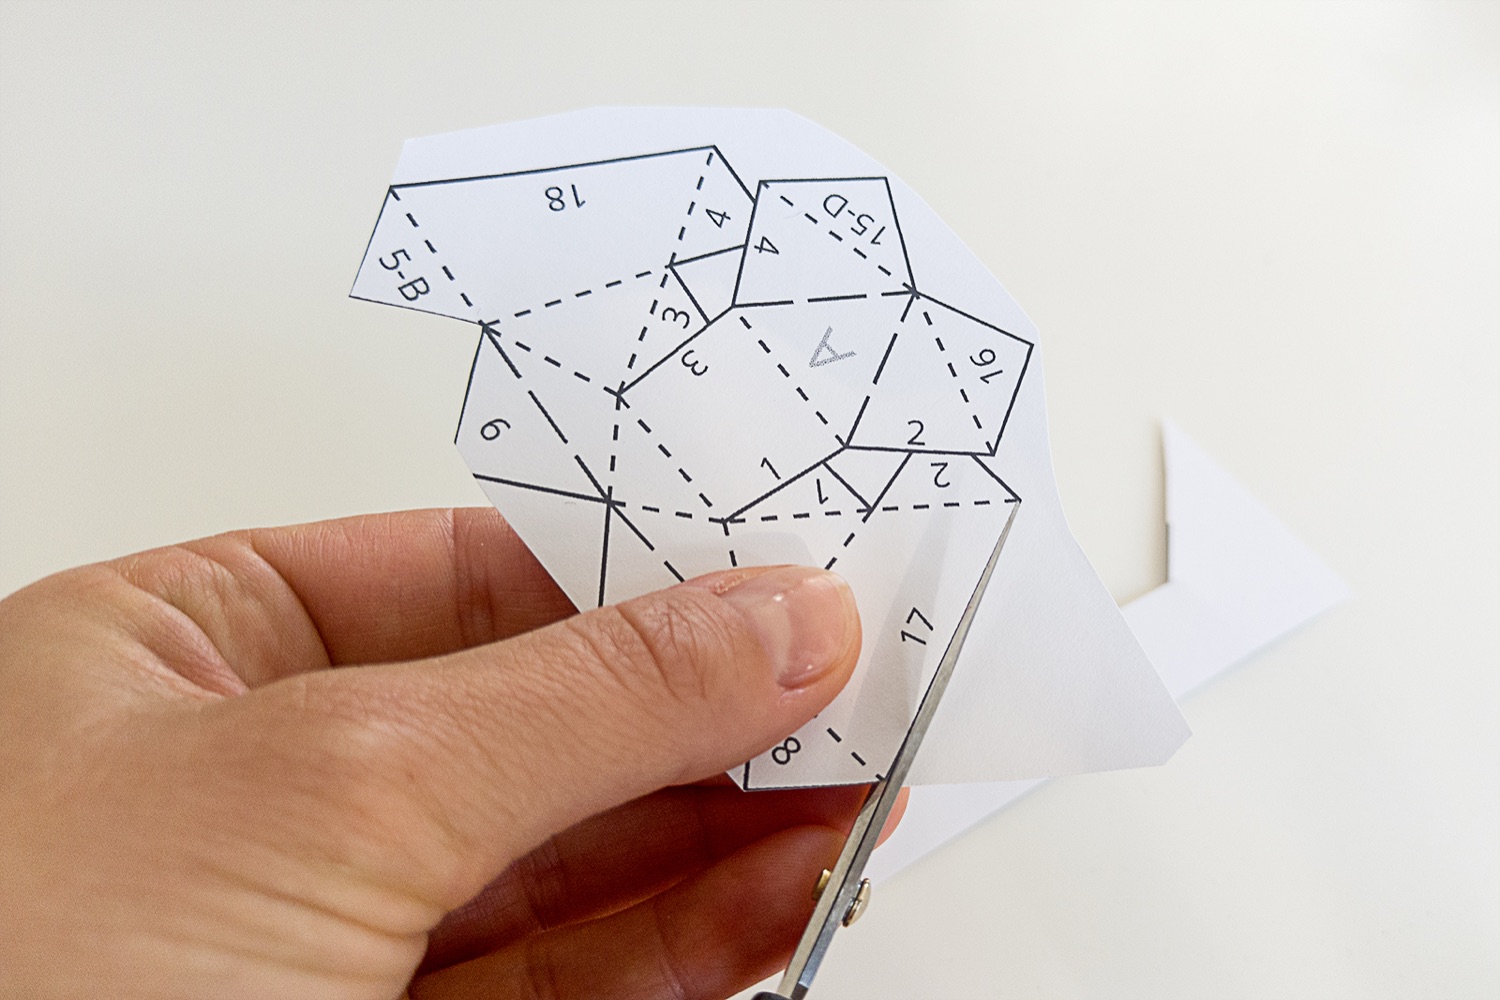
1.Start by printing the PDF template onto the cardstock of your choice. If you’d rather skip the printing part, you can also use the complete craft kit with all the sheets already printed for you.
Then grab your scissors or a cutter and cut out all the pieces along the solid outer lines.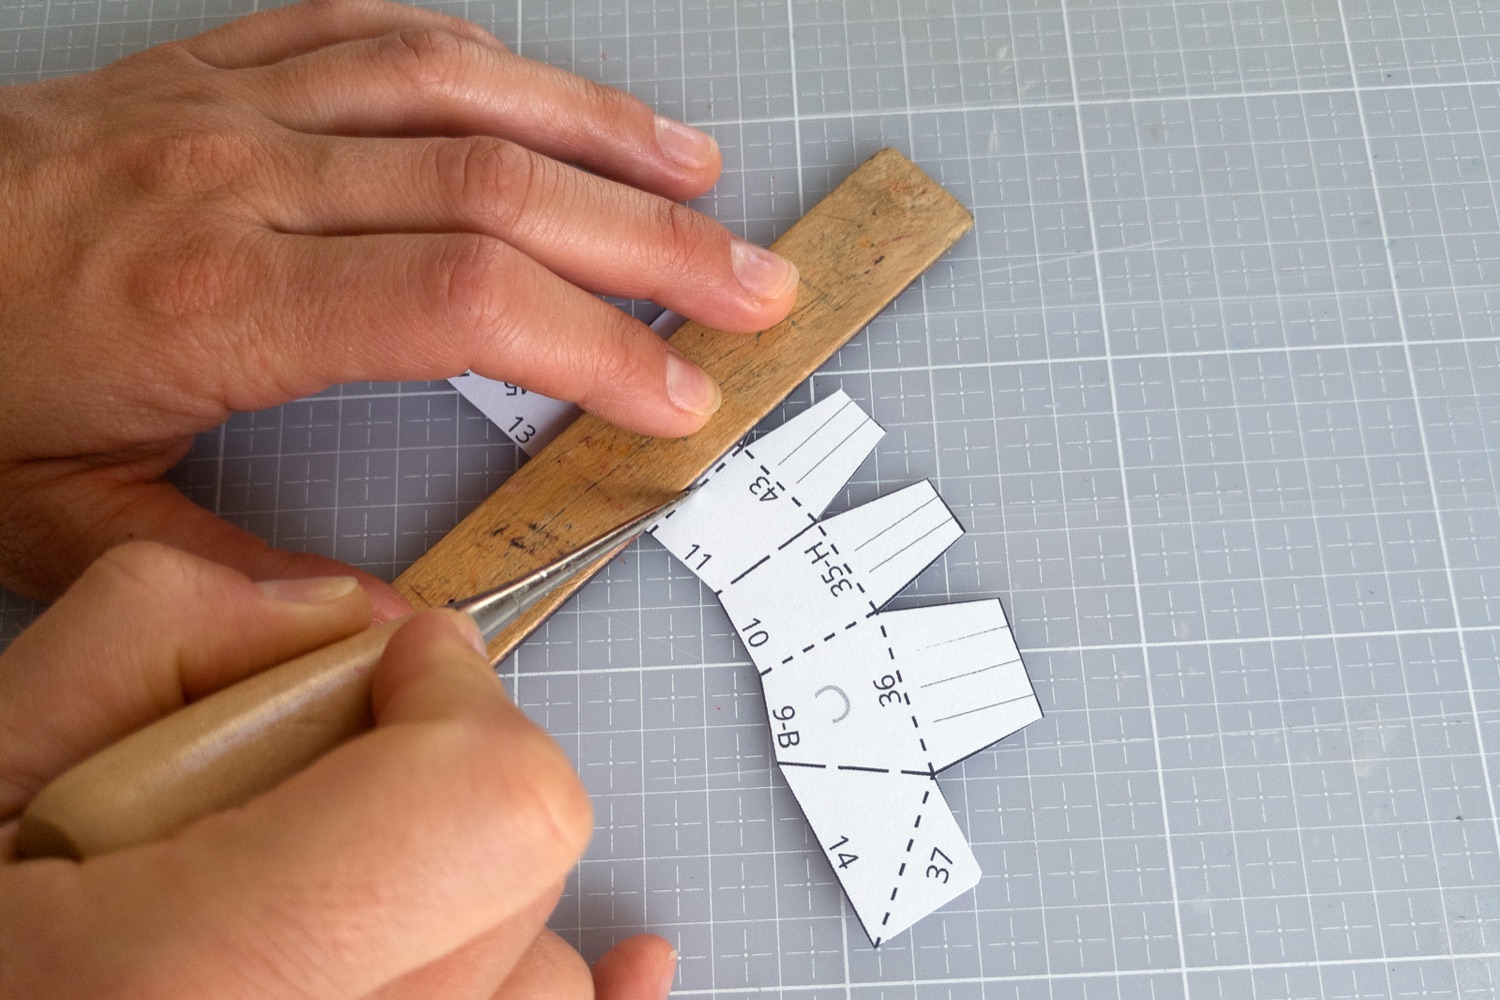
2.Before you start folding, score all the dashed lines first. I usually use a ruler and an awl for this.
It might feel like an extra step, but it really makes a difference. The paper folds much more neatly afterwards and you get those lovely crisp edges without the cardstock cracking.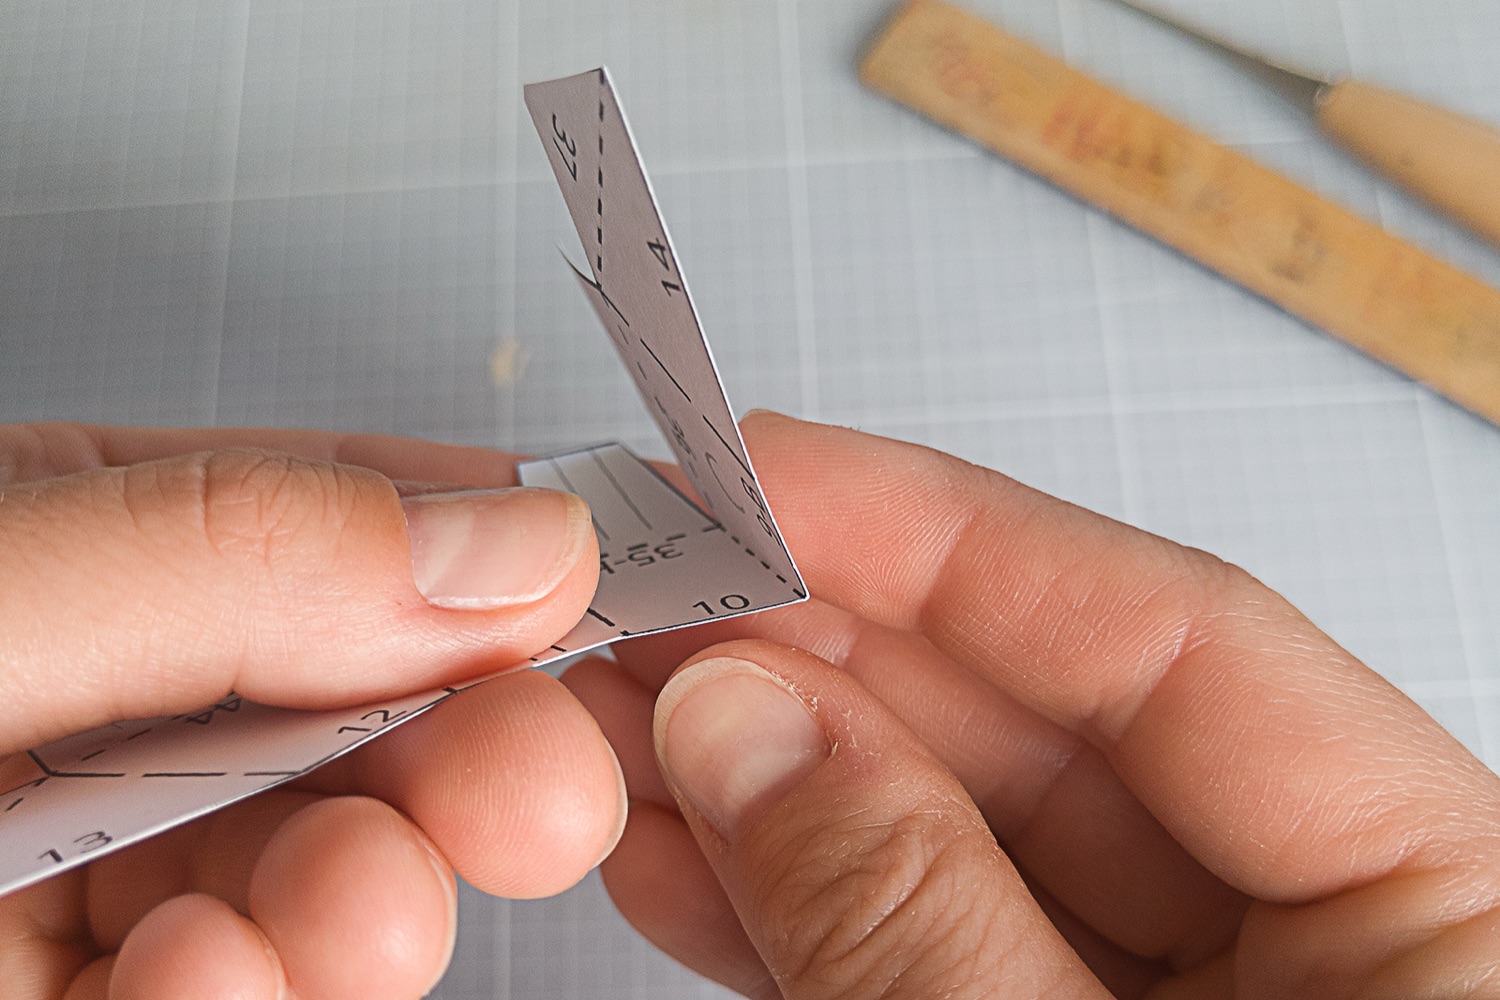
3.Now place the piece in front of you with the printed numbers facing upwards.
The short dashed lines are your valley folds, so fold those towards you. Once you’ve done a few, you’ll get into the rhythm pretty quickly.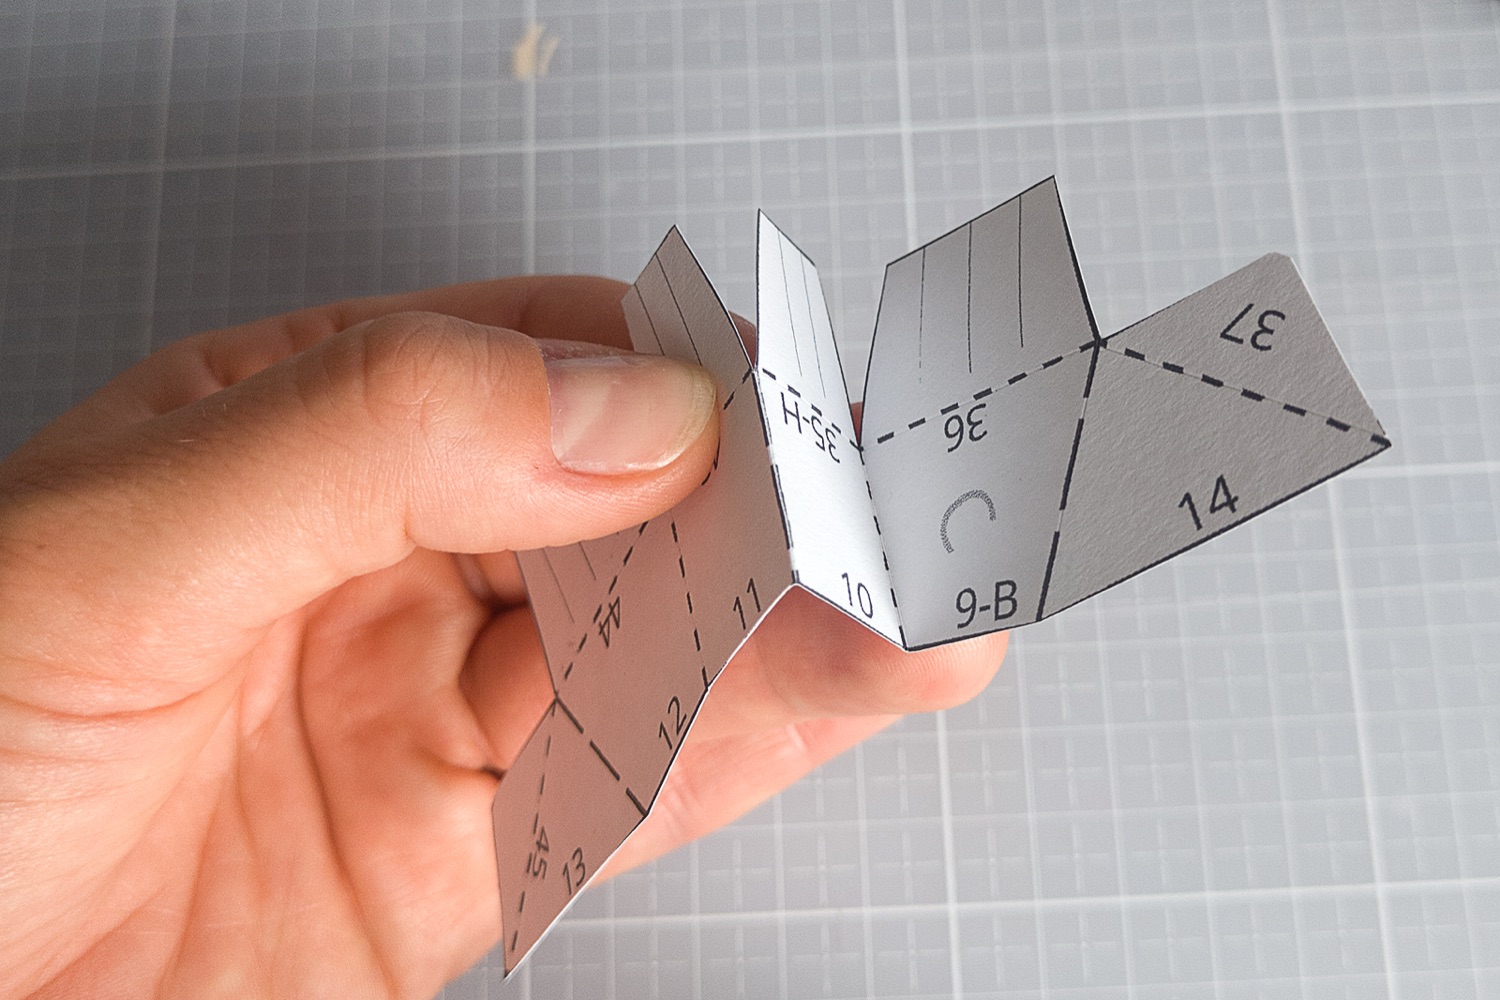
4.The long dashed lines go the other way — fold those away from you to create the mountain folds.
If you scored everything properly in the previous step, the paper almost tells you where it wants to go. Slowly, those flat pieces start turning into little three-dimensional shapes.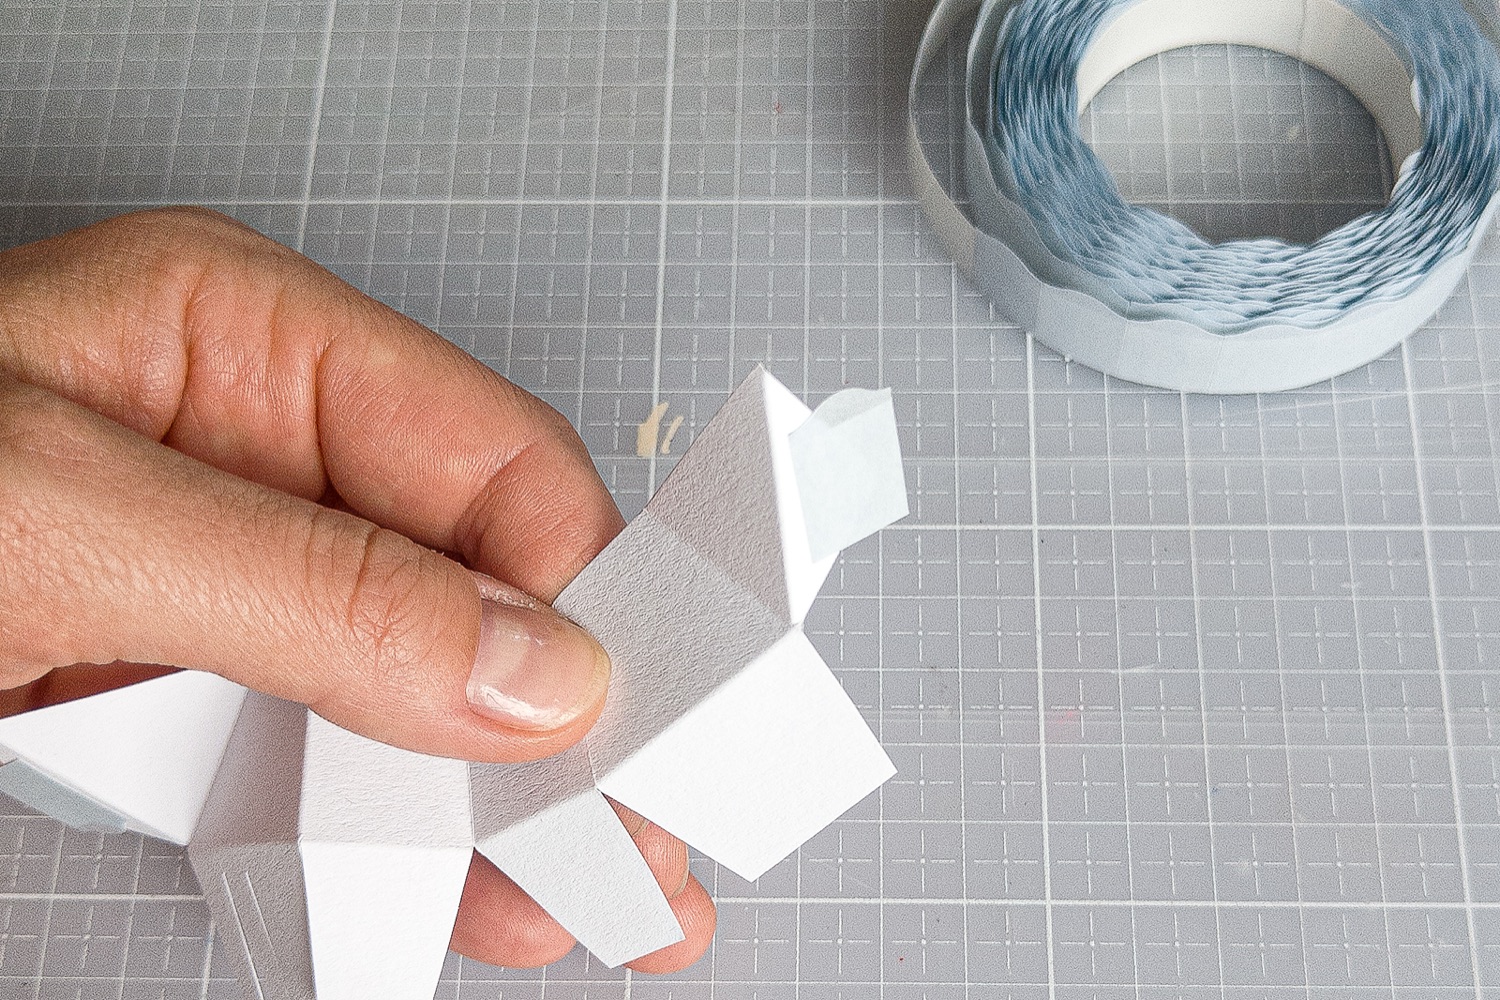
5.Now it’s time to start joining everything together.
Add glue or double-sided adhesive pads to the tabs and match up the numbers that belong together. I’d definitely recommend starting with number 1 and then simply working your way through the numbers in order.
I personally love adhesive pads for this because nothing drips or squeezes out at the edges — and, as a bonus, your fingers stay much cleaner too.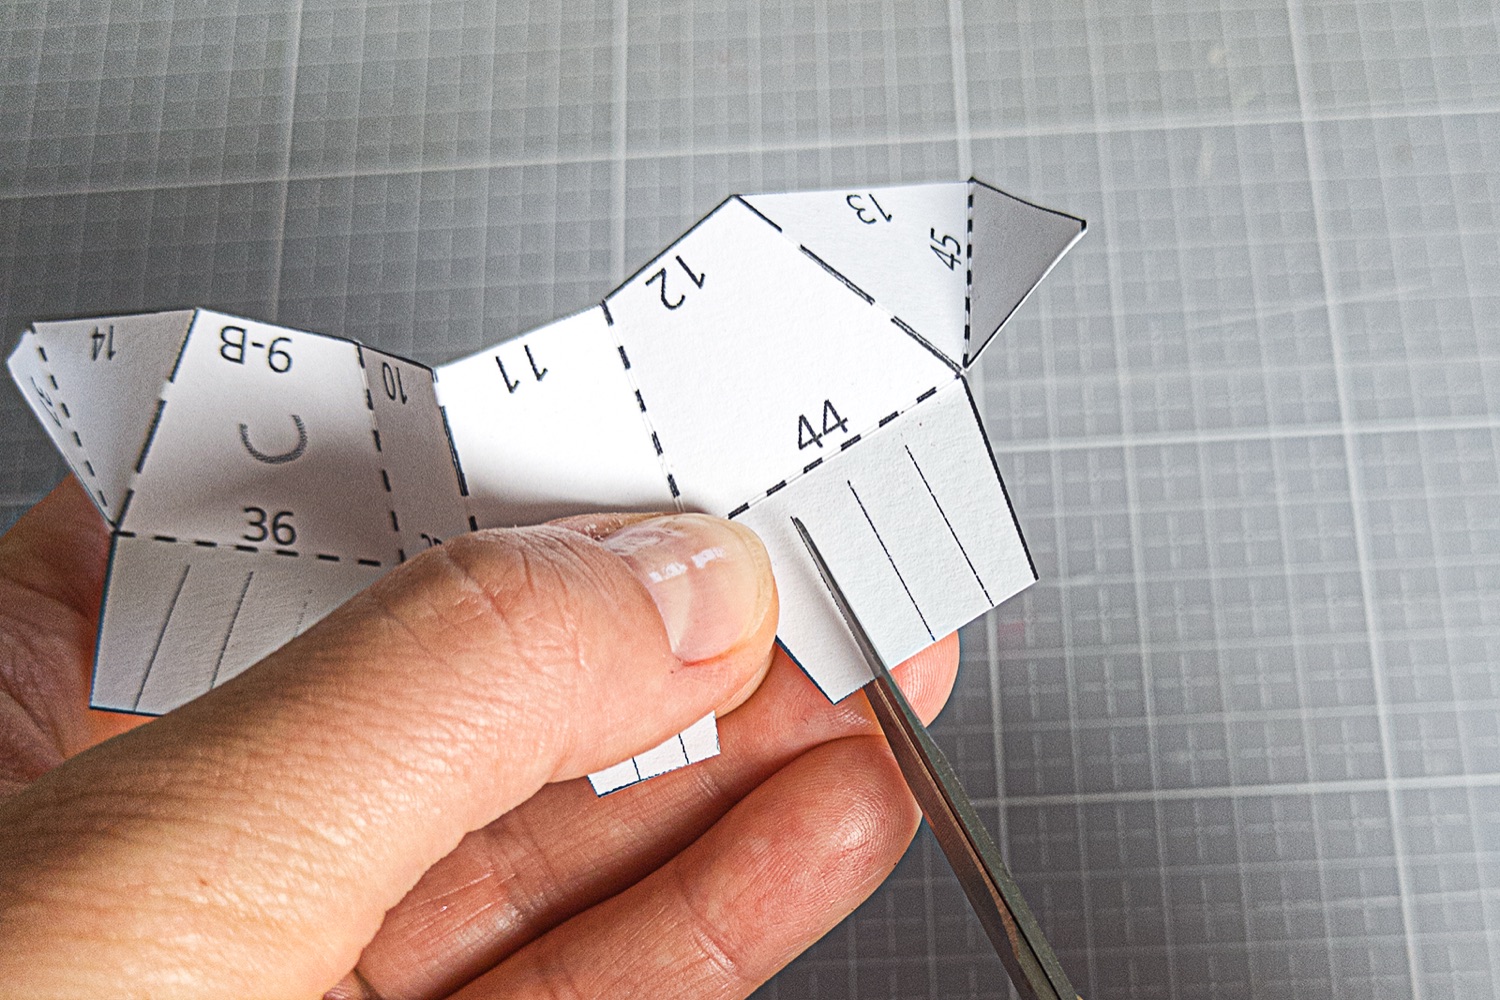
6.And now we get to the fun part: the Westie fur.
Carefully cut along the marked lines to create lots of narrow paper fringes. Take your time here and try not to cut past the end of the lines.
Especially around the head, these tiny cuts completely change the look of the model. This is the moment when a geometric paper dog slowly starts looking like a proper little Westie.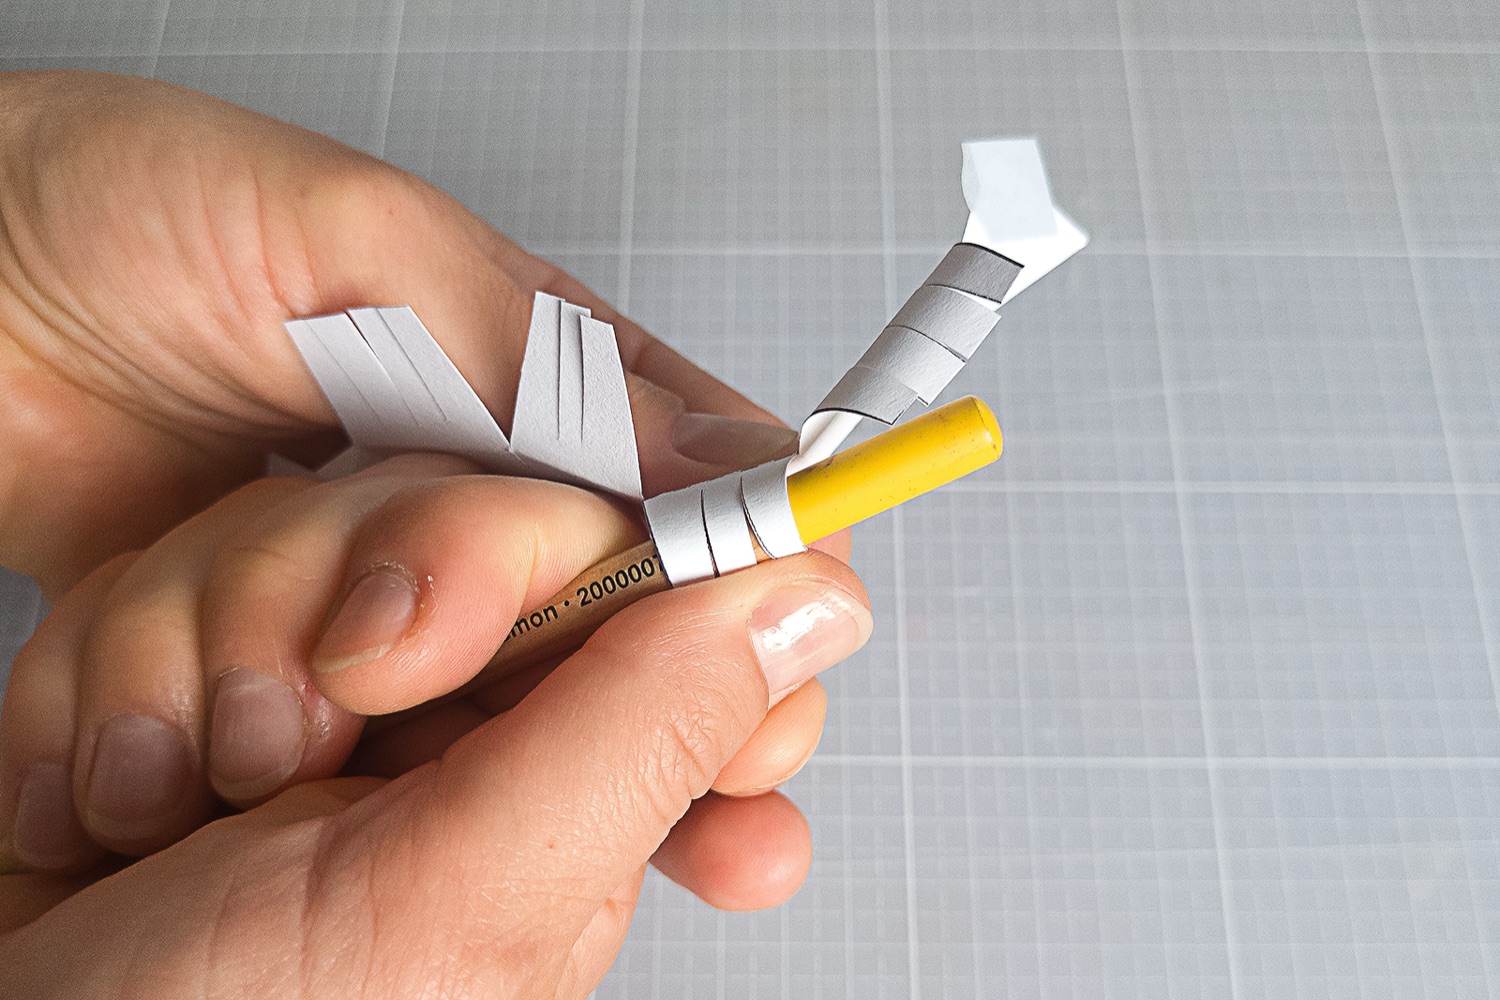
7.Once all the fringes are cut, you can start styling them.
Leave them straight if you like a slightly wilder look, or wrap them gently around a thin pencil to give them a curl. I actually like a mixture of both.
There really isn’t a wrong way to do this. Your Westie, your hairstyle.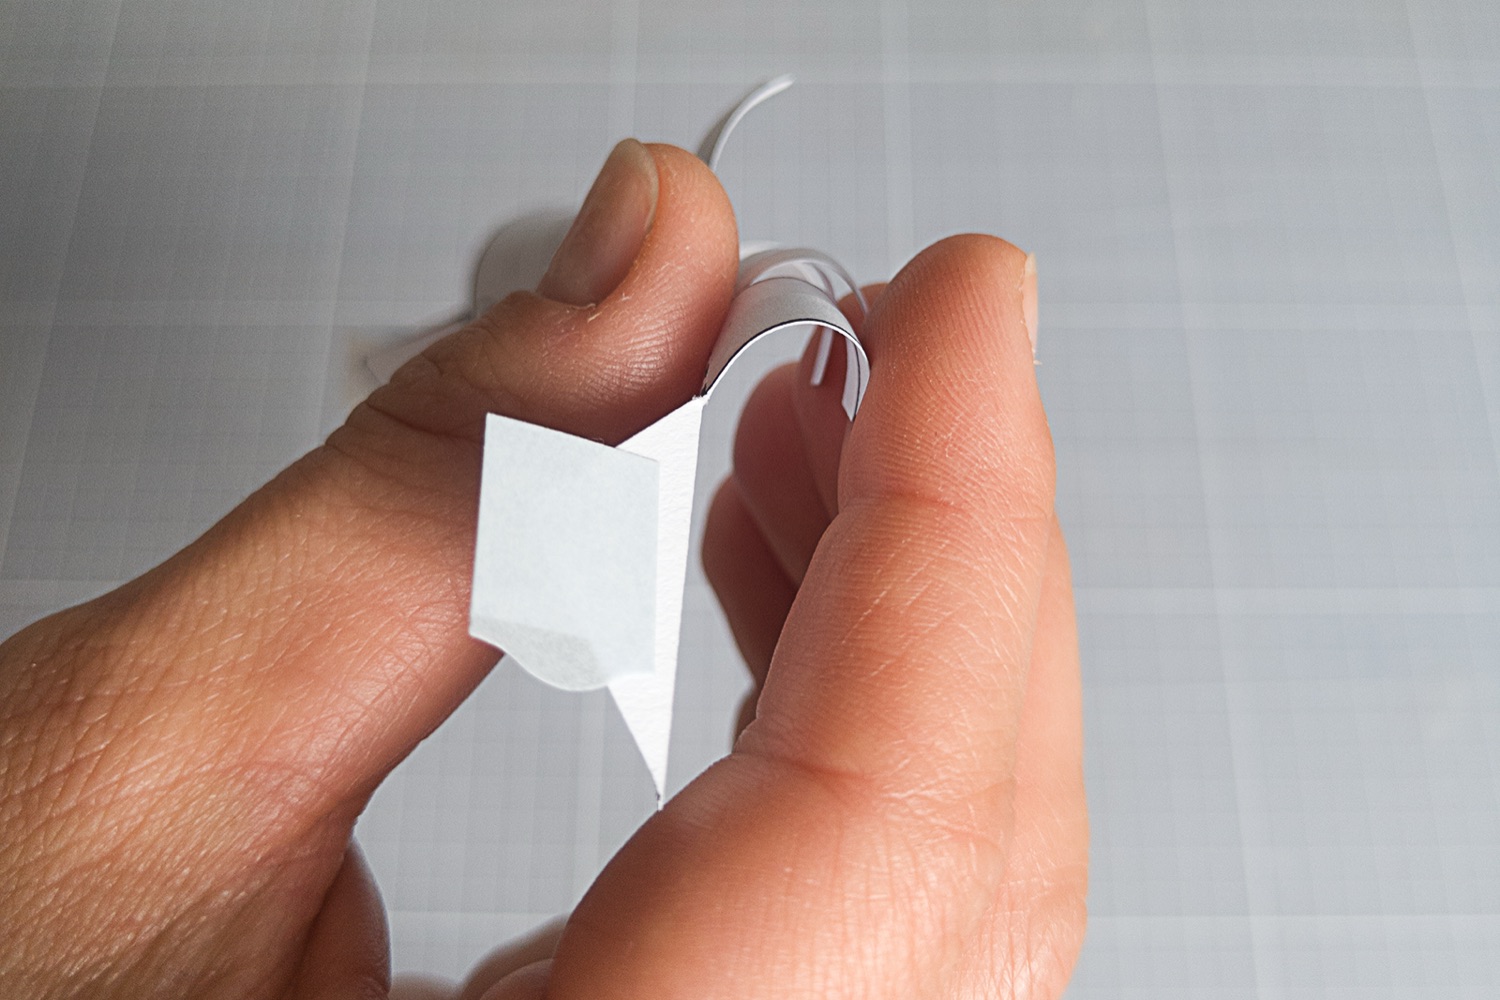
8.At the very end, I usually go back over the fringes with my fingers and tweak a few of them.
Some get a bit more curl, others get loosened up again. It’s a tiny bit of fussing around, but especially around the face it makes a huge difference. This is where your paper Westie suddenly gets her own little personality.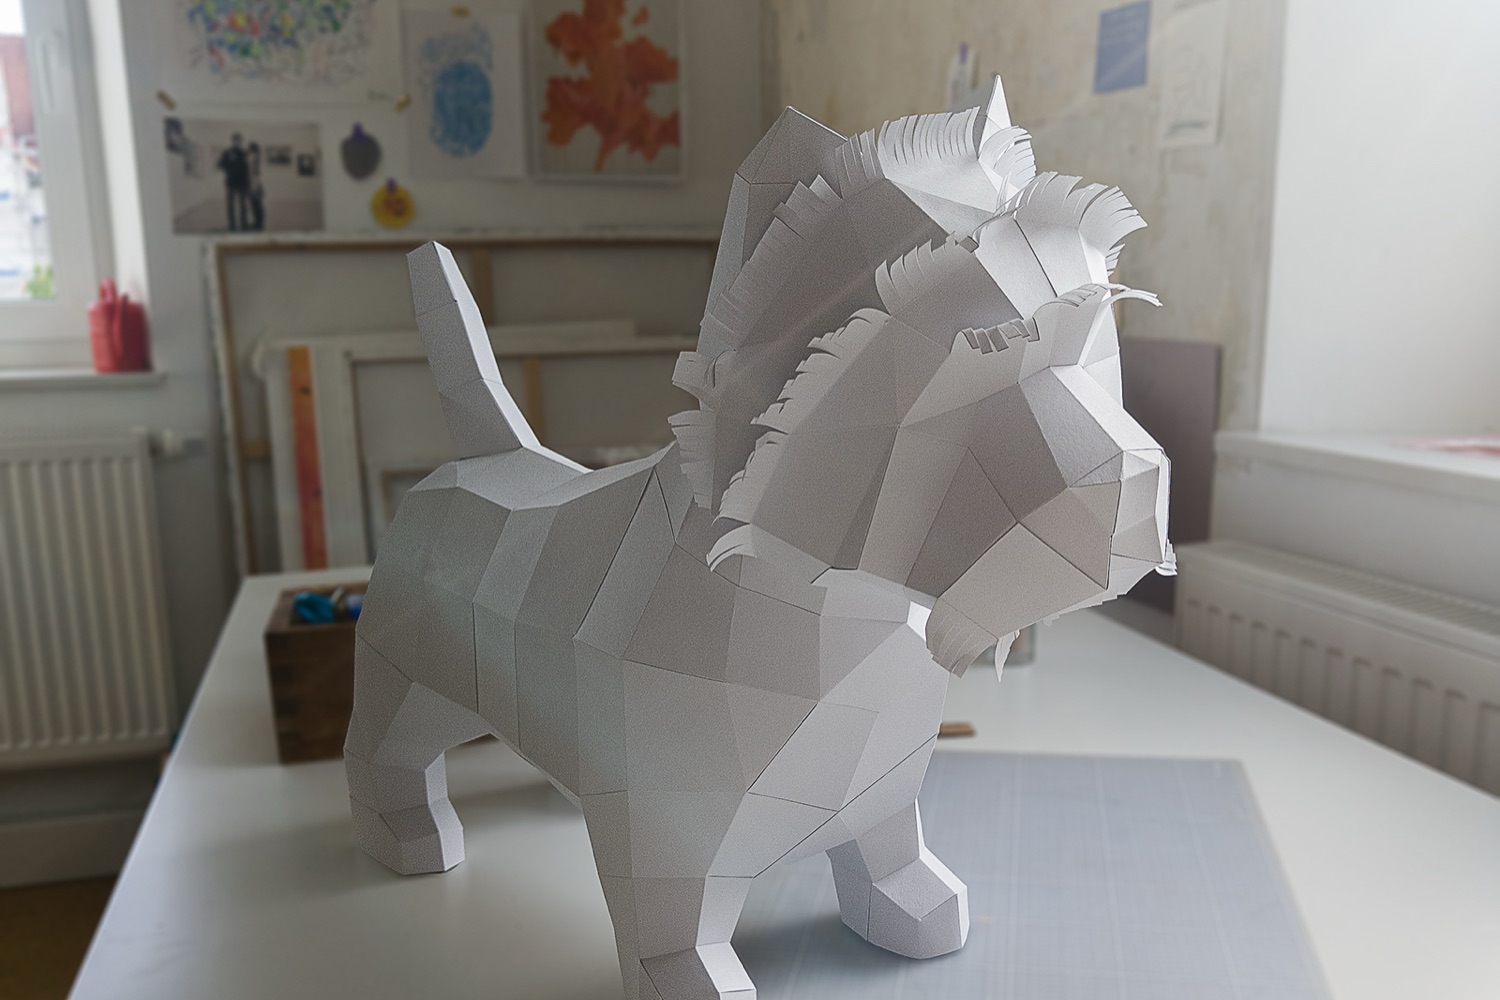
9.And there she is.
All those flat pieces of cardstock have turned into a three-dimensional West Highland White Terrier made entirely from paper.
I especially love the contrast between the clean geometric low-poly shapes and the messy little paper fringes. That’s what gives Elisabetta her character — somewhere between a modern paper sculpture and a very fluffy little Westie.
You can order the template or the complete craft kit here.


more DIY tutorials


