


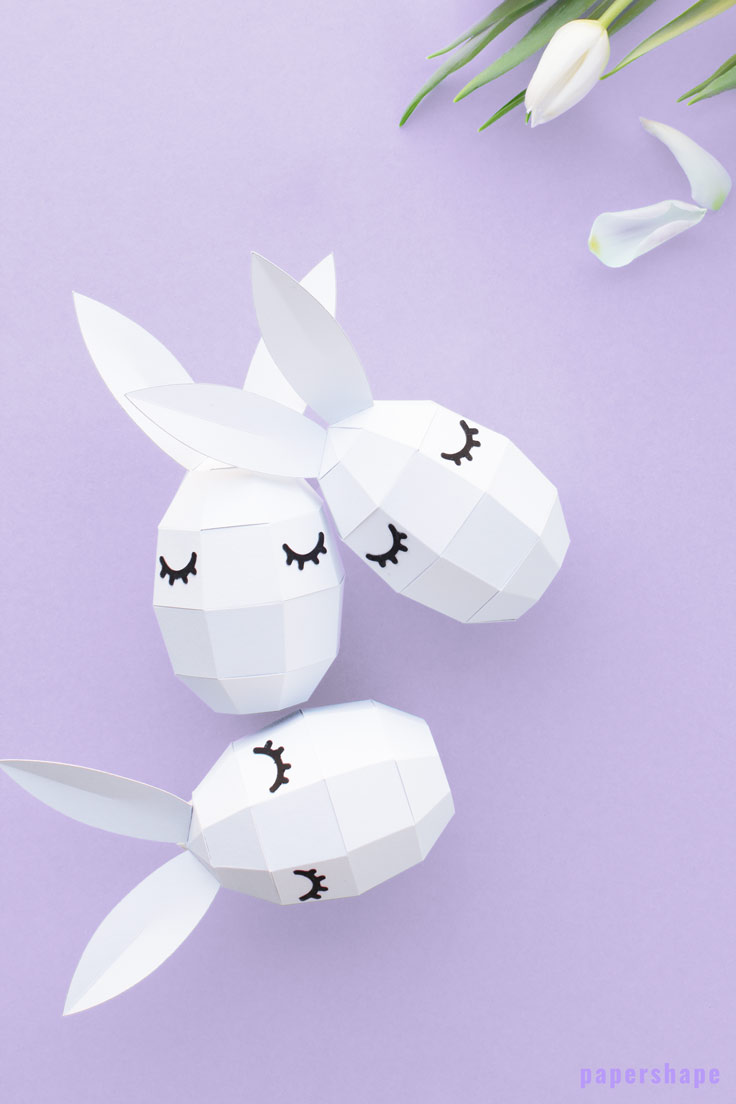


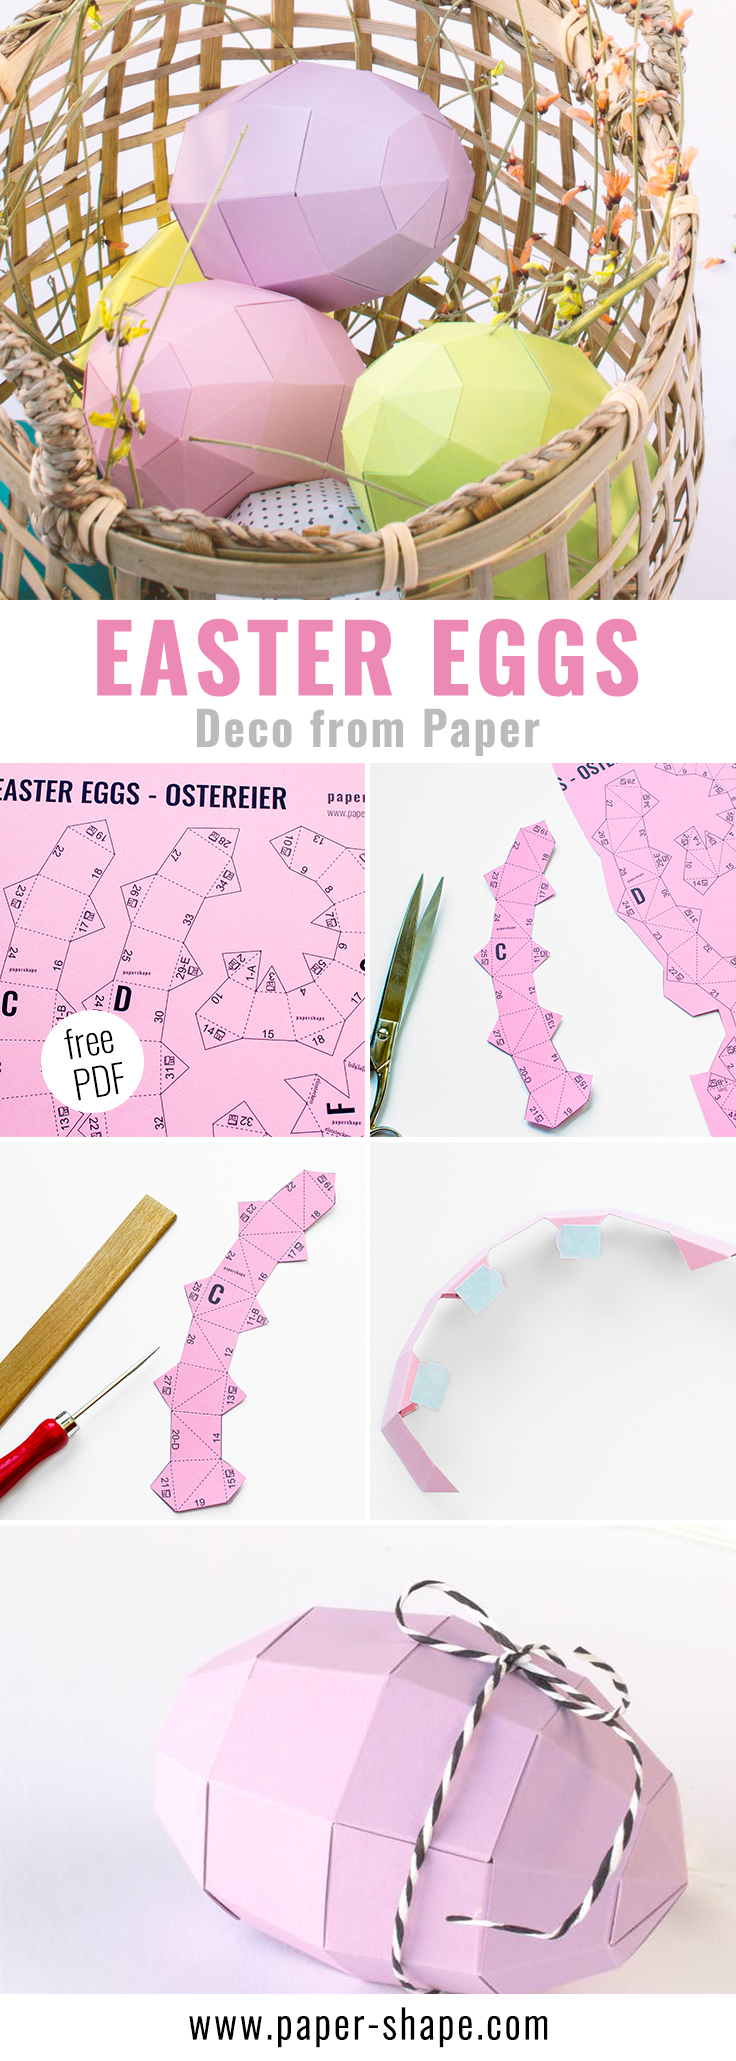
How to make a 3d paper egg (for Easter)
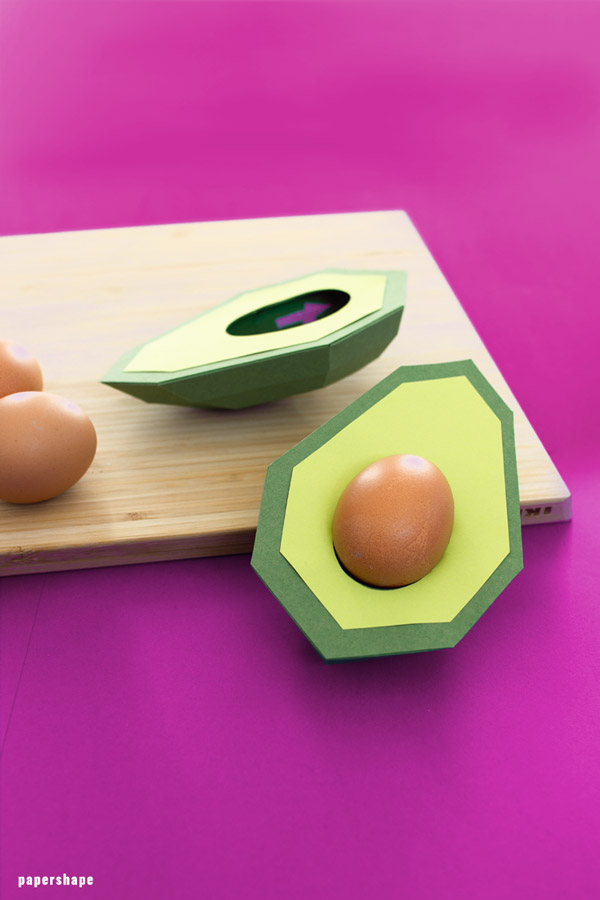
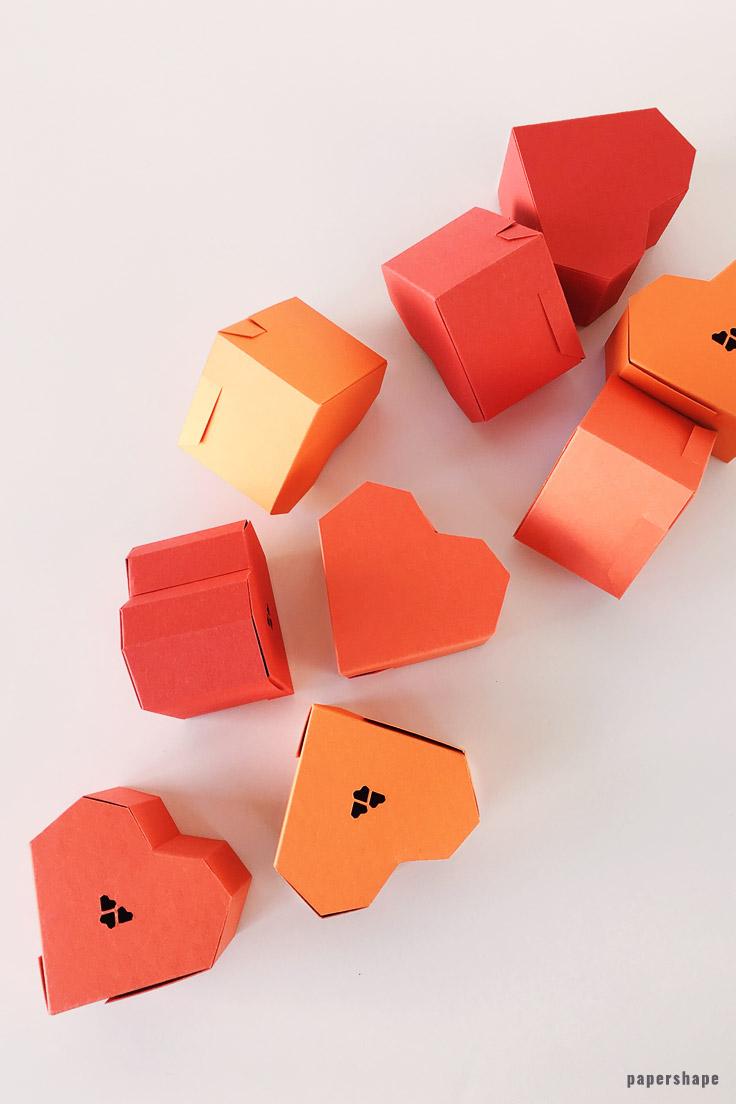
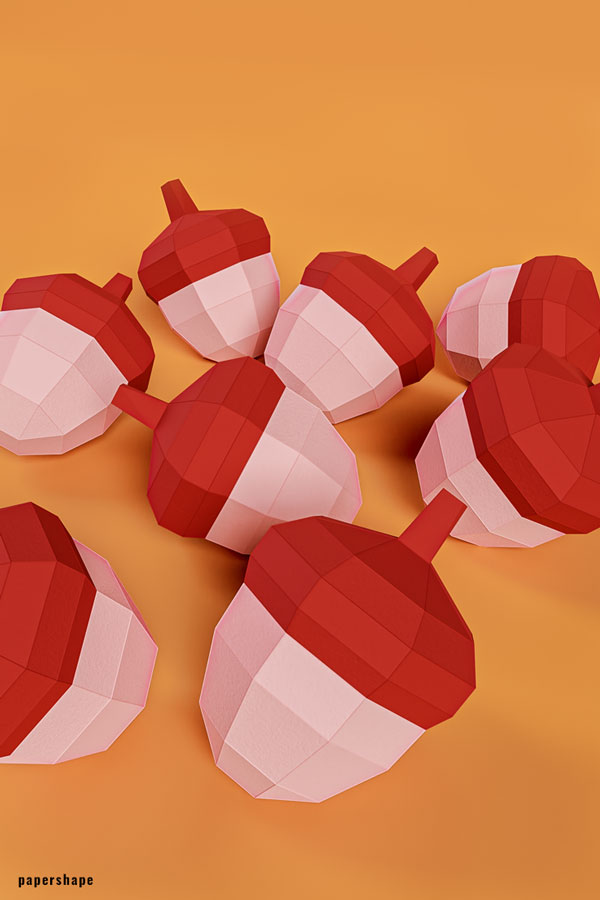
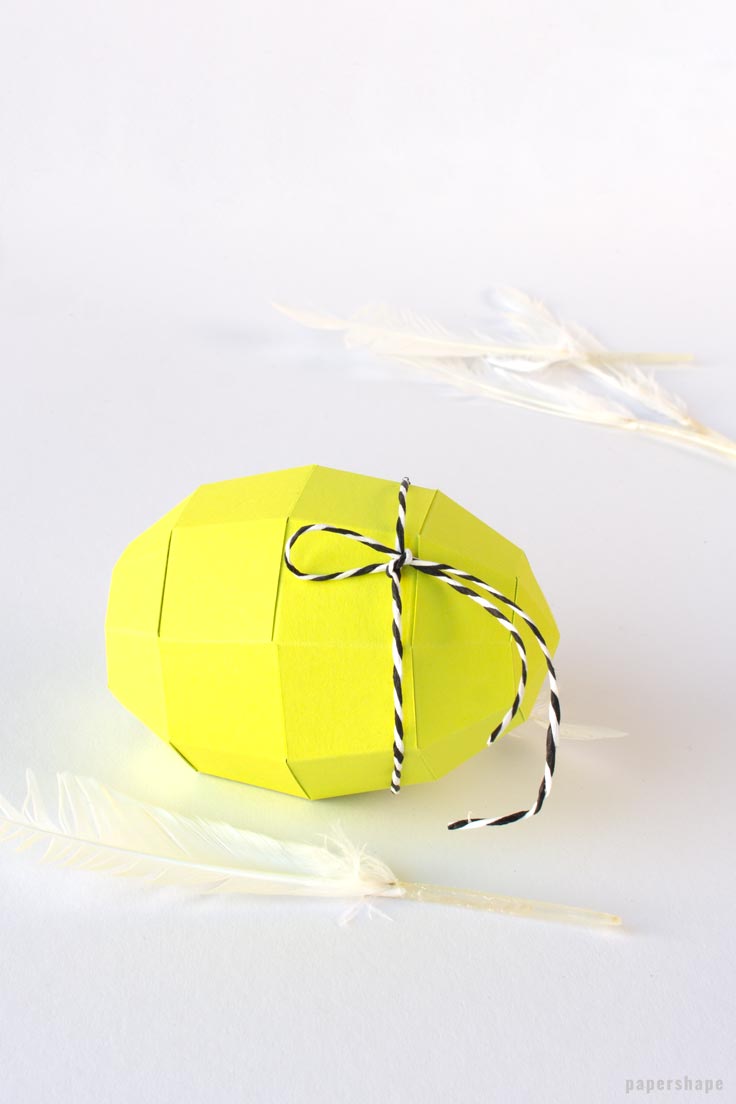
Searching for a paper egg in 3d for Easter that you can also use as a giftbox? Welcome, this tutorial is for you! I love hiding small sweets and this Easter egg is so cute as a decoration. No one would expect something to be inside - so the perfect hideout.
The template is easy. You go in circles and the possibilities with these paper eggs are endless. You can paint on it or just leave it plain.
How to make paper Easter eggs with just one sheet of paper?
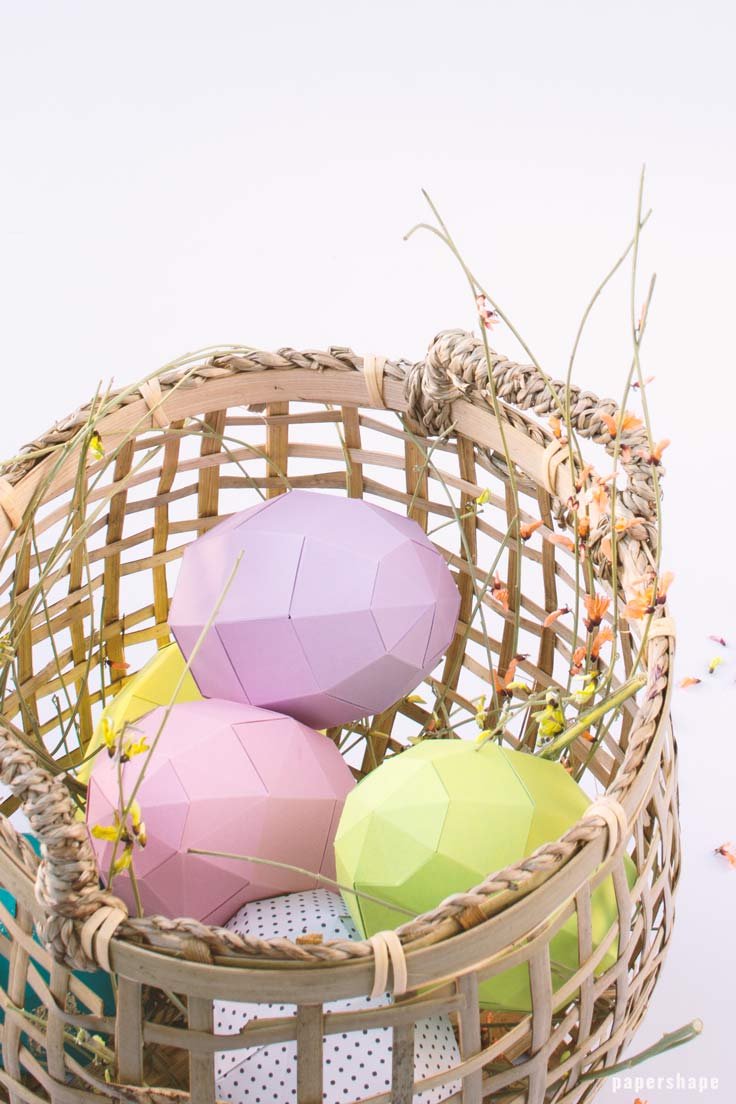
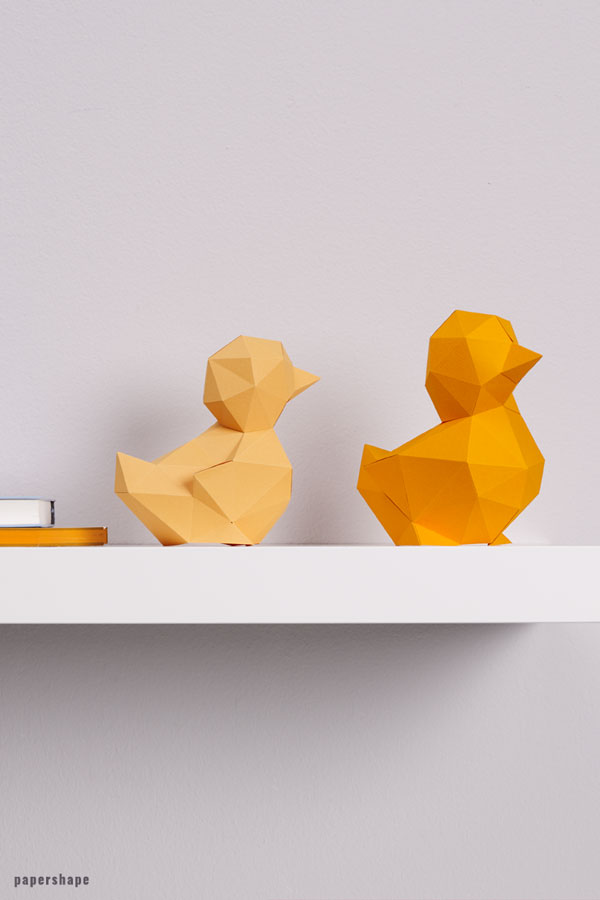
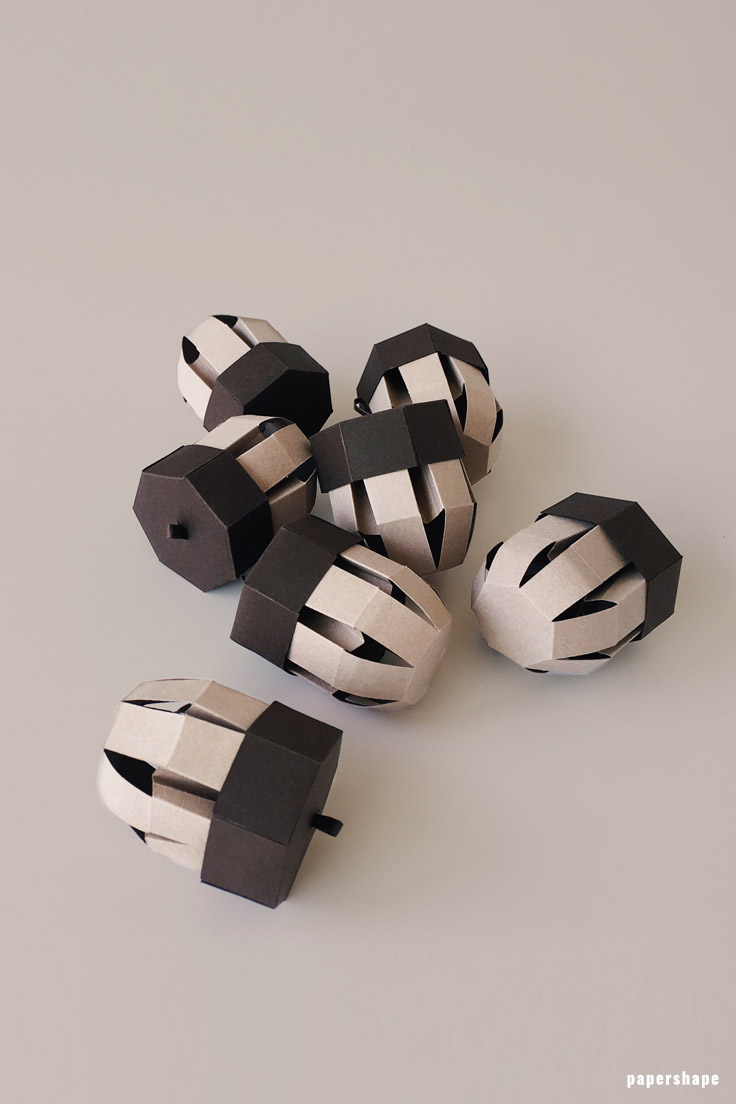
This basket full of colorful Easter eggs is so adorable. I love putting them at the hallway.
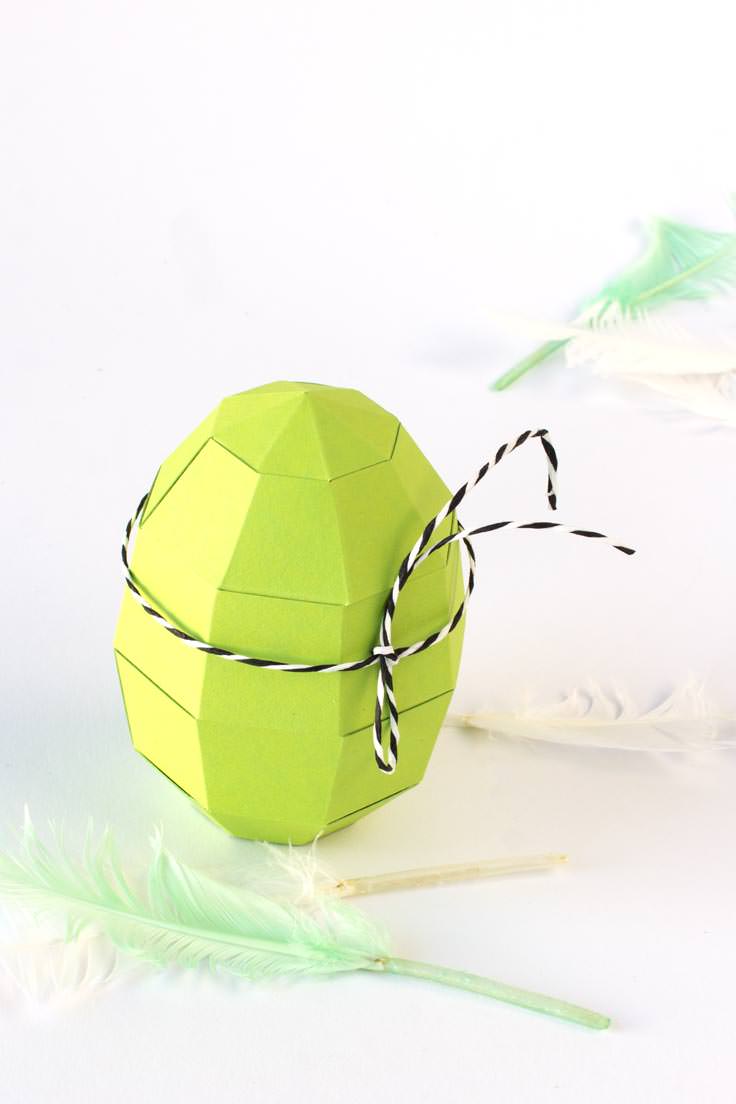
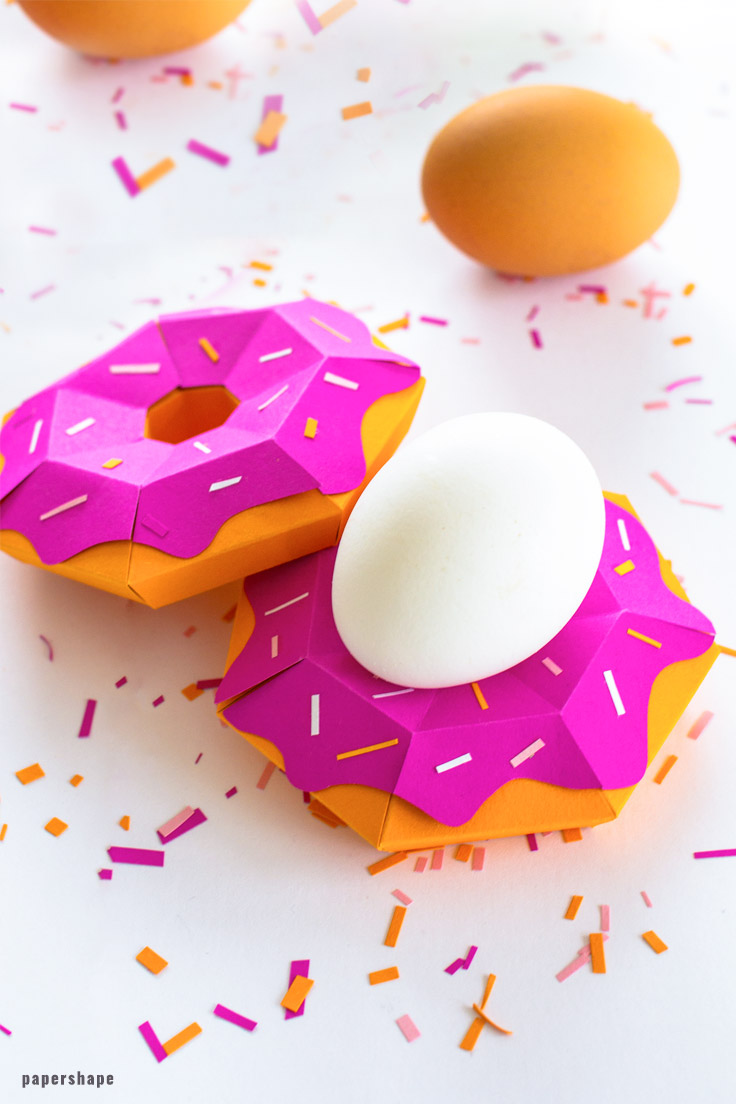
You may want to tie some cord around the egg in order to give it a cute look.
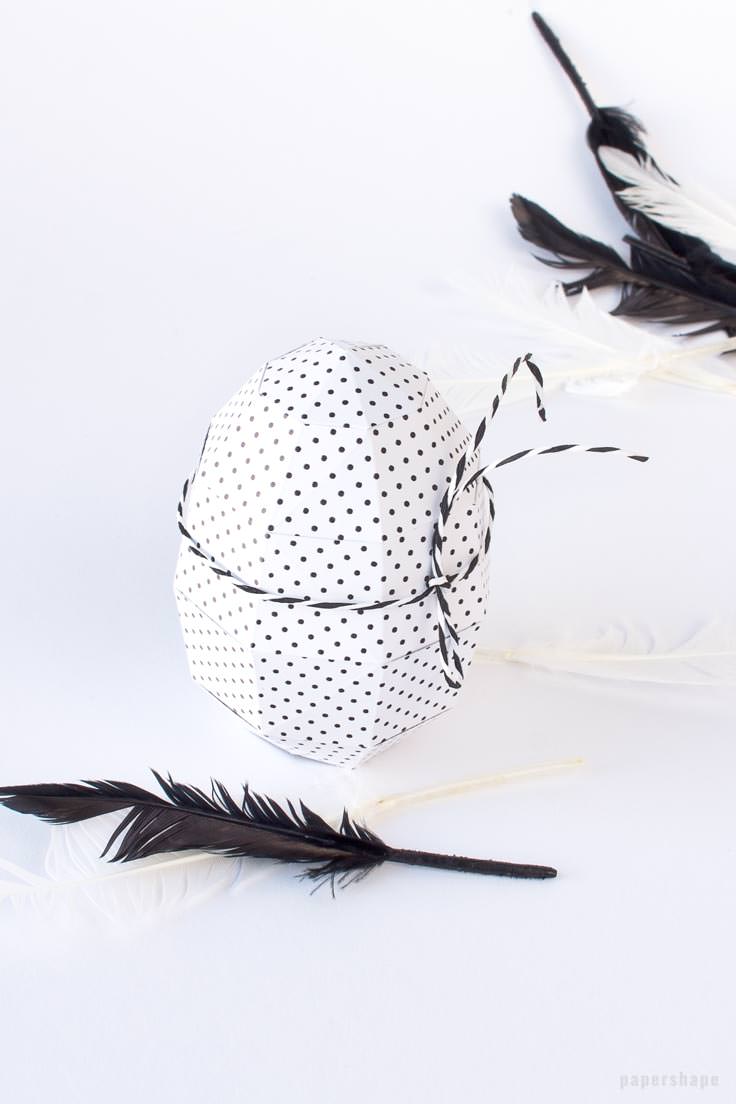
Uni colors are cool, but you can also use patterned cardboard and craft these adorable eggs and add a more interesting look to them.
Tutorial: follow these steps for crafting paper eggs
Materials needed
- 1 cardstock paper uni or with pattern (8.5in x 11in) (weight: 65lb-110lb / 176gsm-300gsm)
- Glue or double-sided tape
- Scissors
- Ruler
- Bonefolder / awl / ball pen refill etc.
- Cutting mat
- Sweets for filling
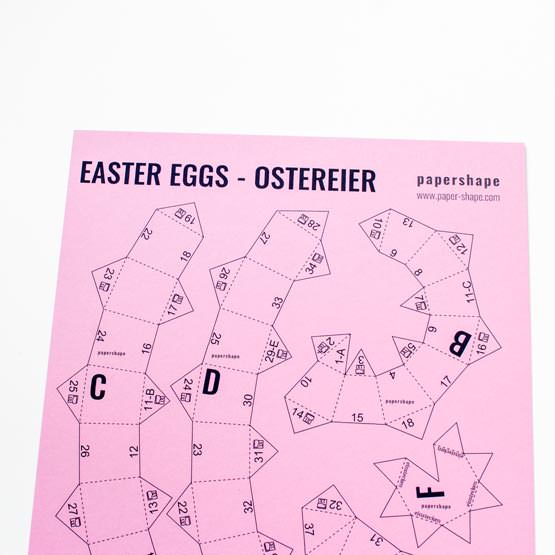
1. Print the paper egg template (US letter) on paper of your choice.
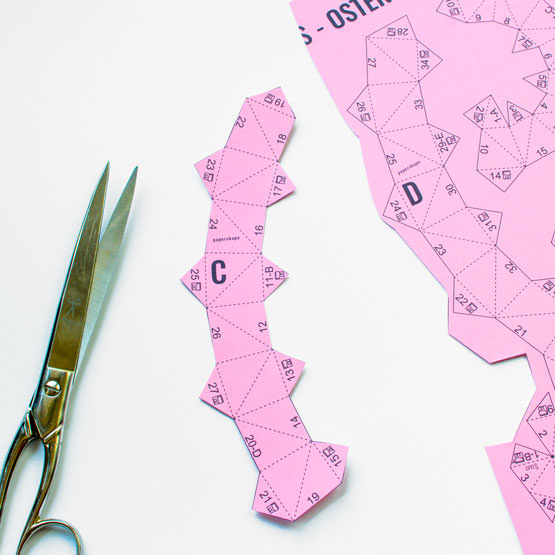
2. Cut out the paper parts (A, B, C, ...) by cutting along the solid lines of the Easter egg template.
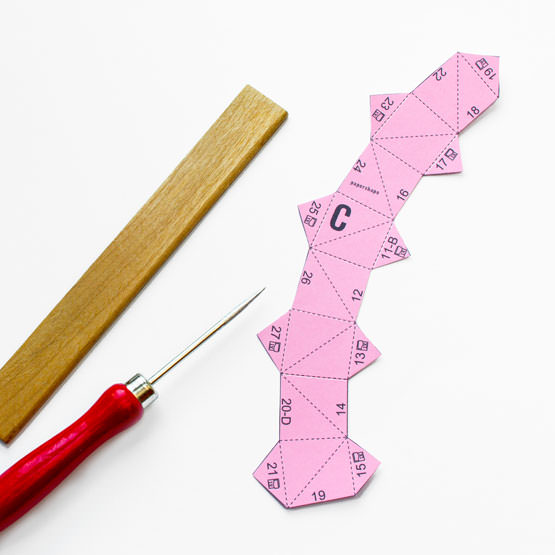
3. Place a ruler on the dotted lines and mark the folds by pressing down hard and running a bonefolder or an awl along the lines. Don't skip this step - no matter what paper you use. The result will look so much better.
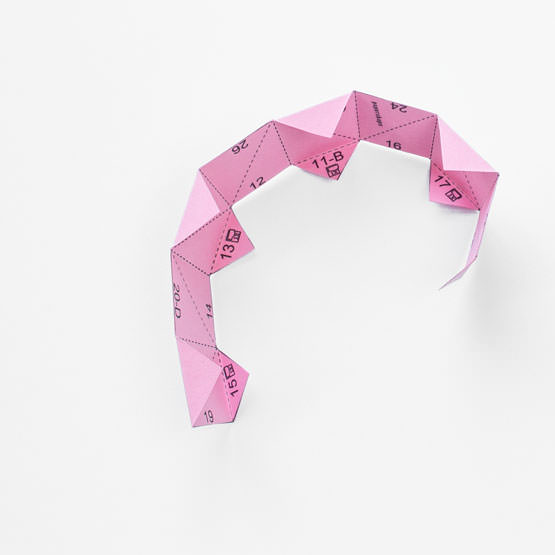
4. Start with the paper piece A and place it in front of you. The printed side should be facing you. Subsequently fold all the dotted lines either inwards, which means to fold up (short dotted lines) or outwards, which means to fold down (long dotted lines), according to the markings.

5. Use double-sided tape or any glue onto the unprinted side of the tabs. Each number exists twice. Stick all the same numbers together in ascending order (1, 2, 3, ...). Start with section 1 and stick it to the section marked 1 on paper A, pressing firmly enough to make them stick together.