


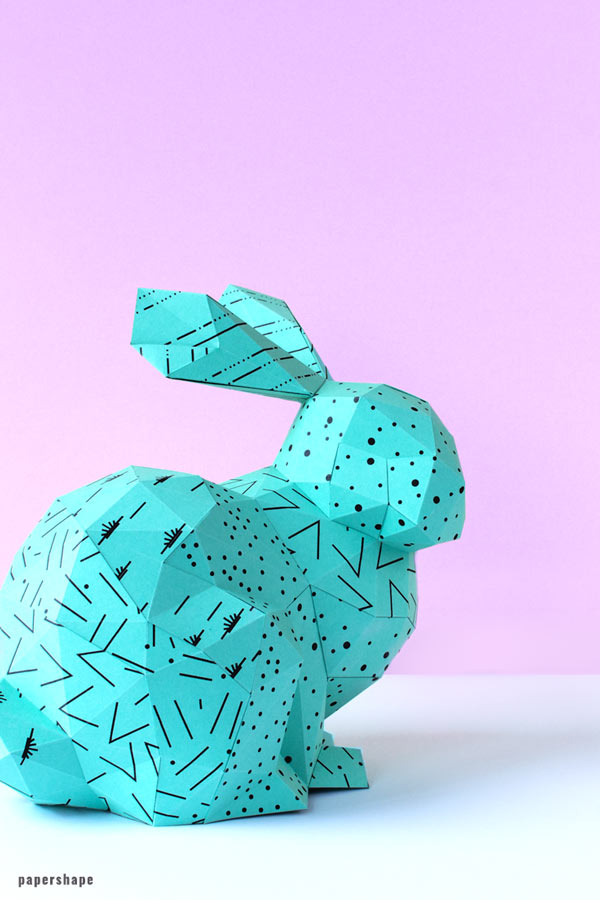
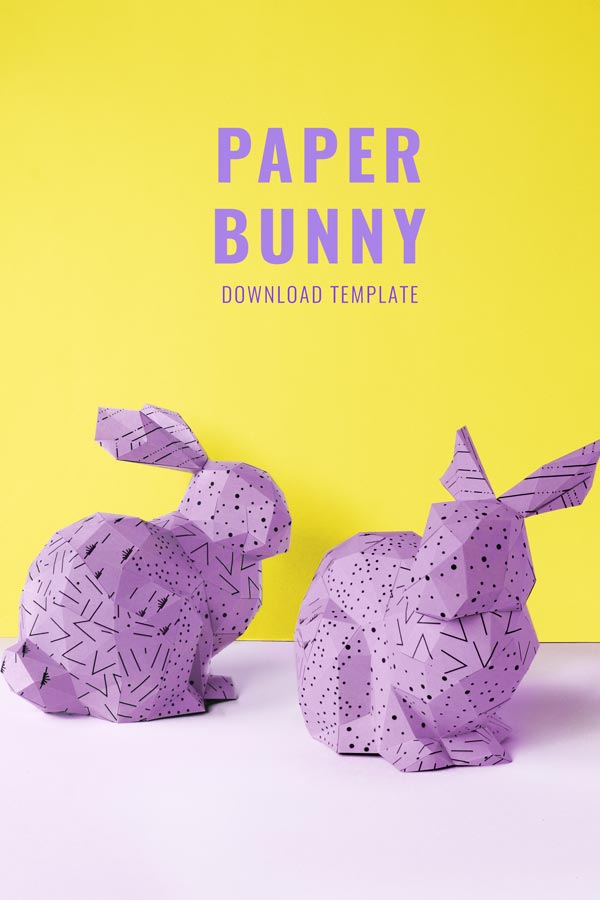
How to make a 3D paper bunny (template)
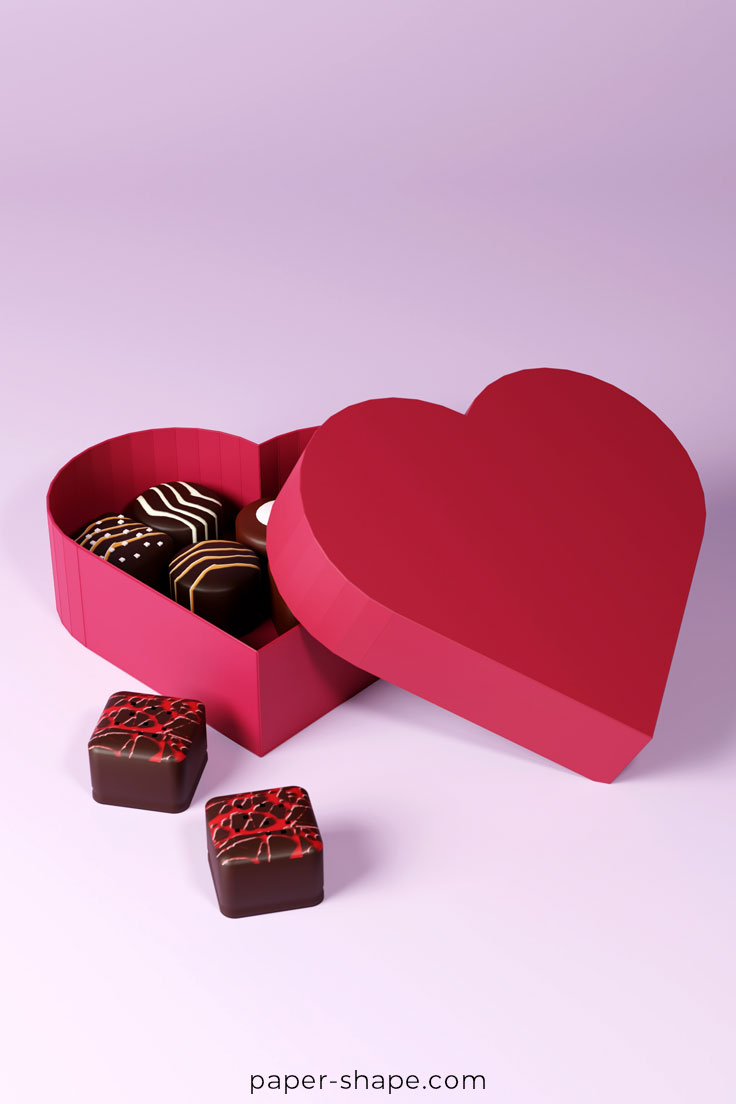
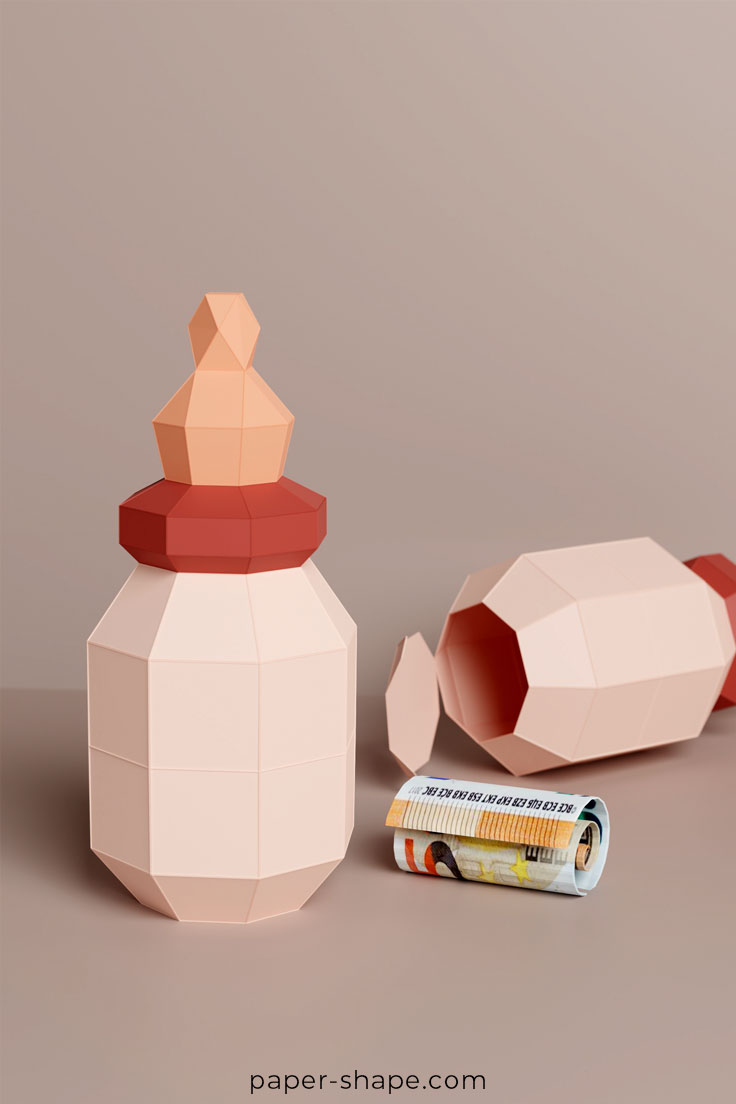
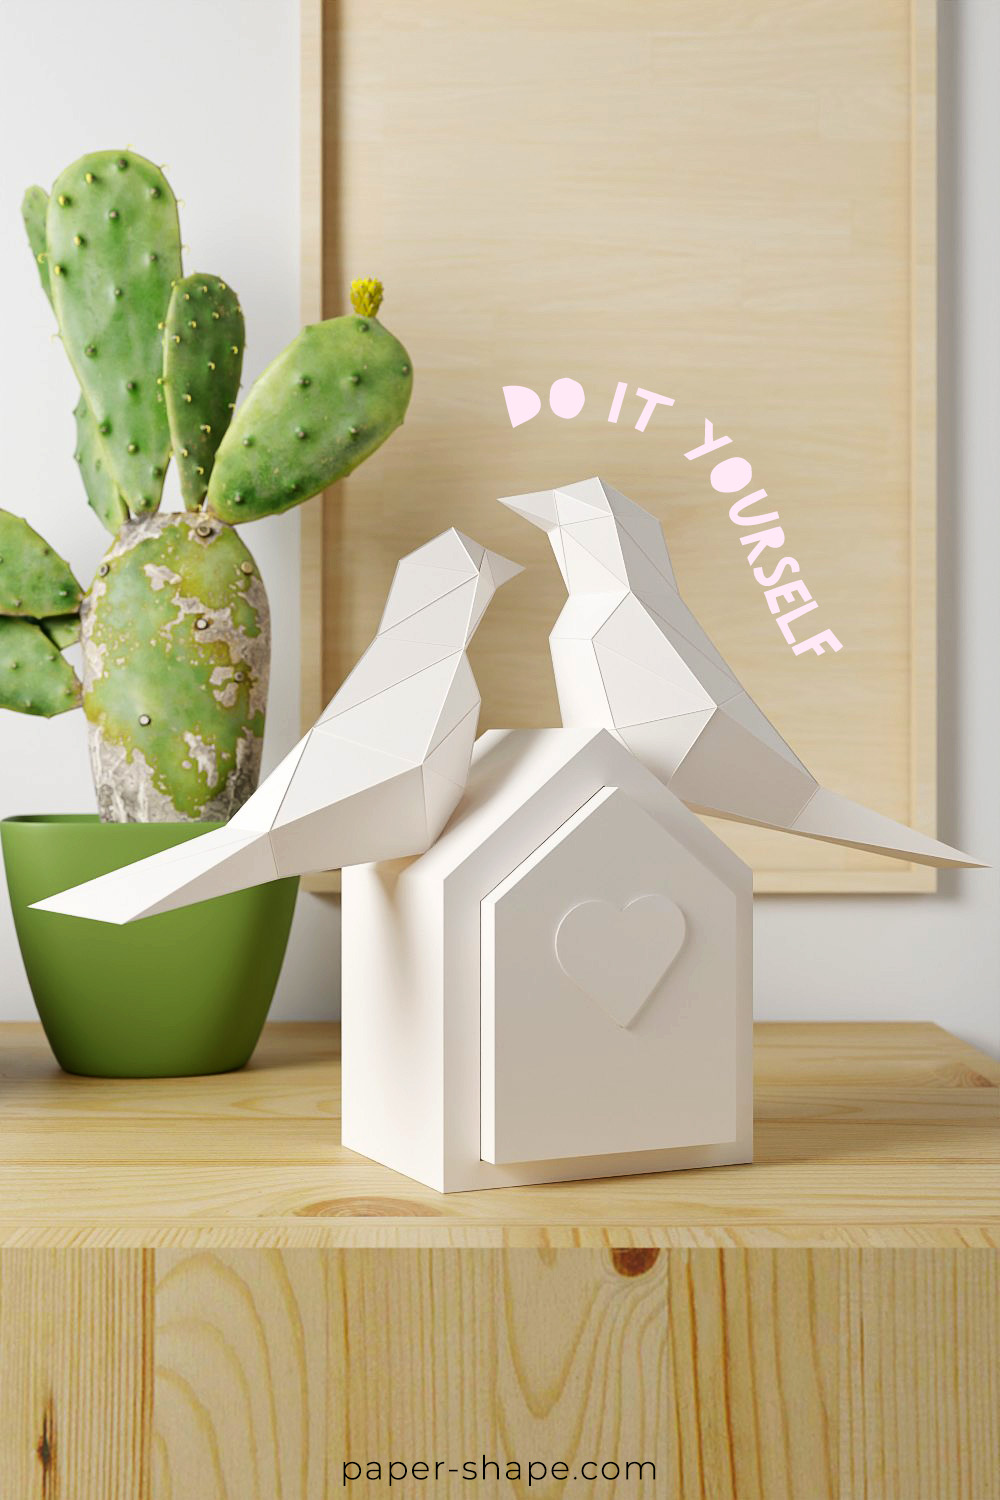
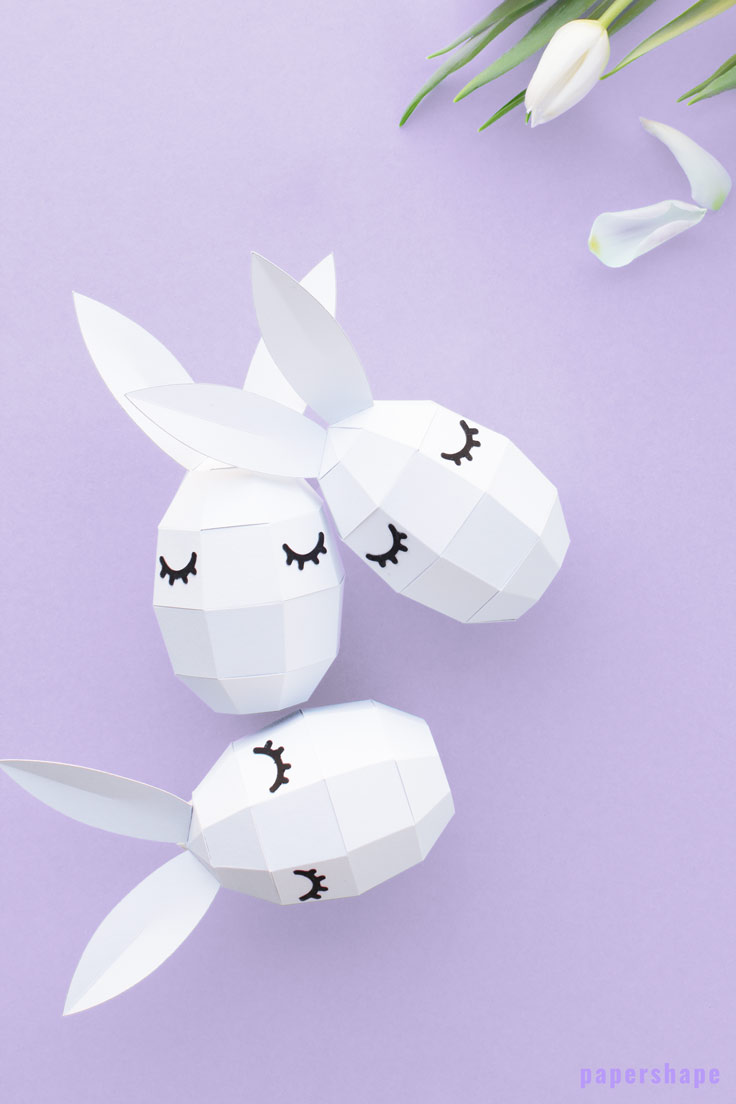
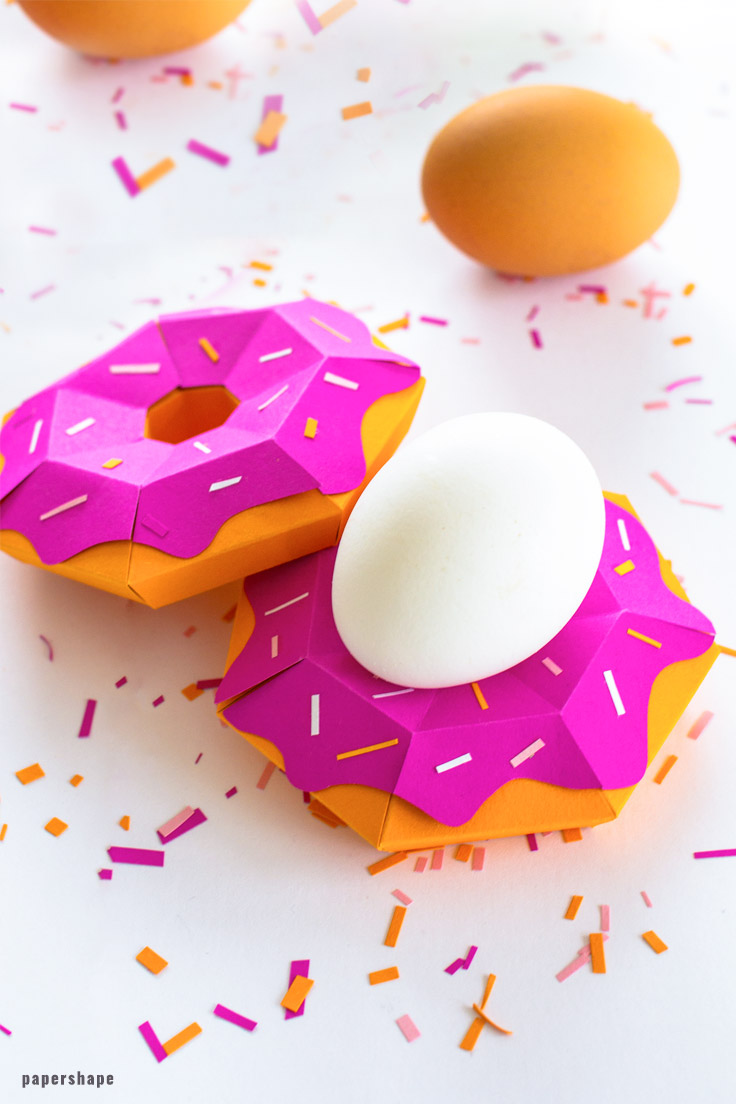
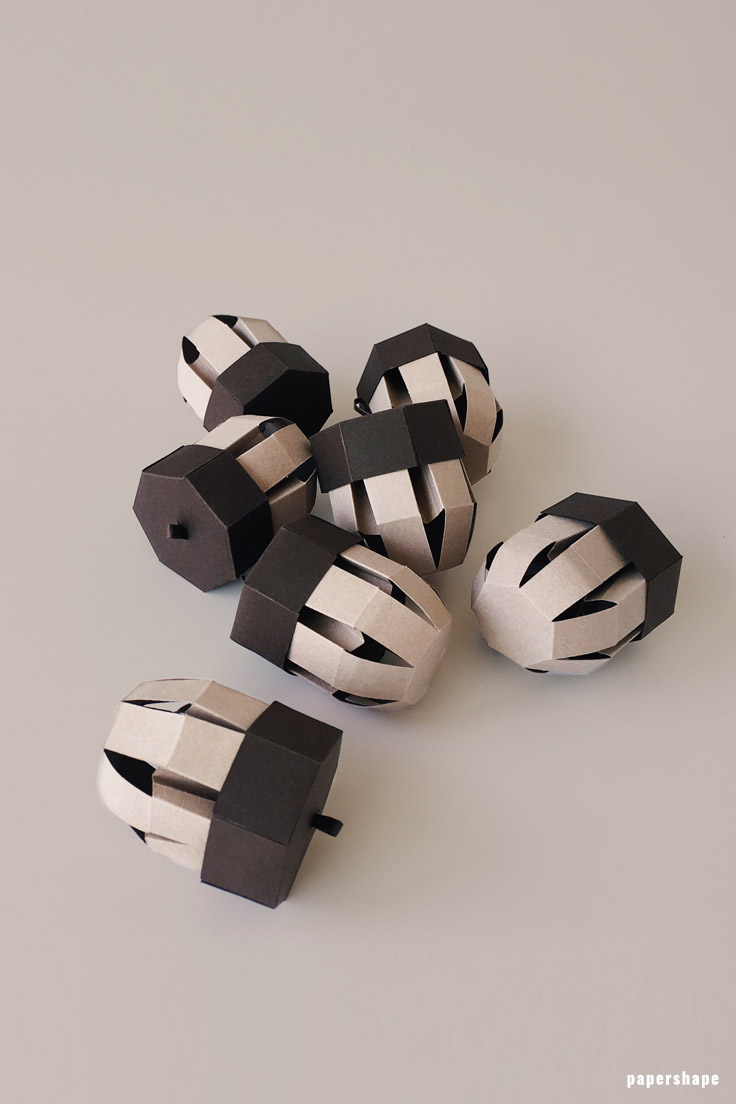
Spring is coming and most of us are searching for fancy Easter decoration. I love decor with function and that's why I created a paper Easter bunny with a hideout. In its belly there is plenty of space to hide small gifts.
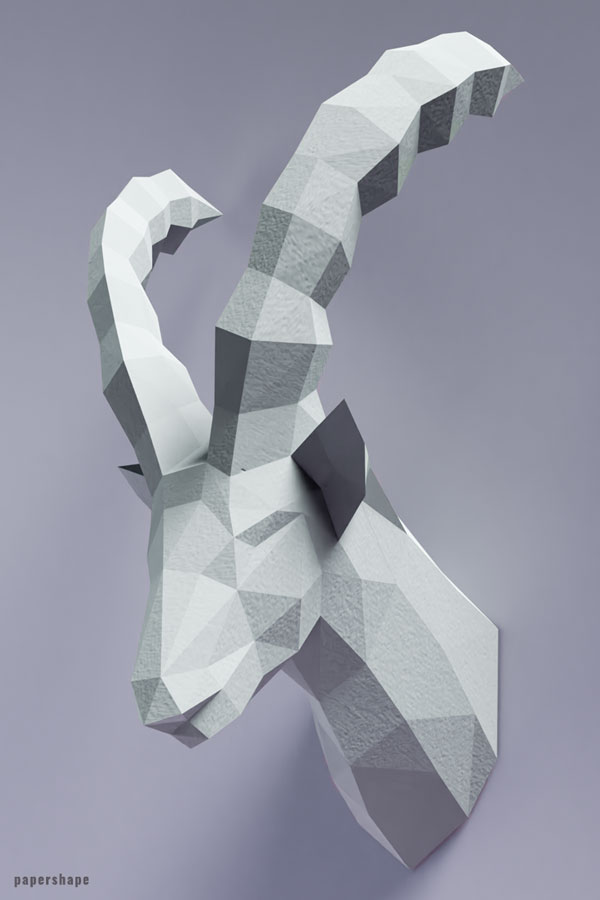
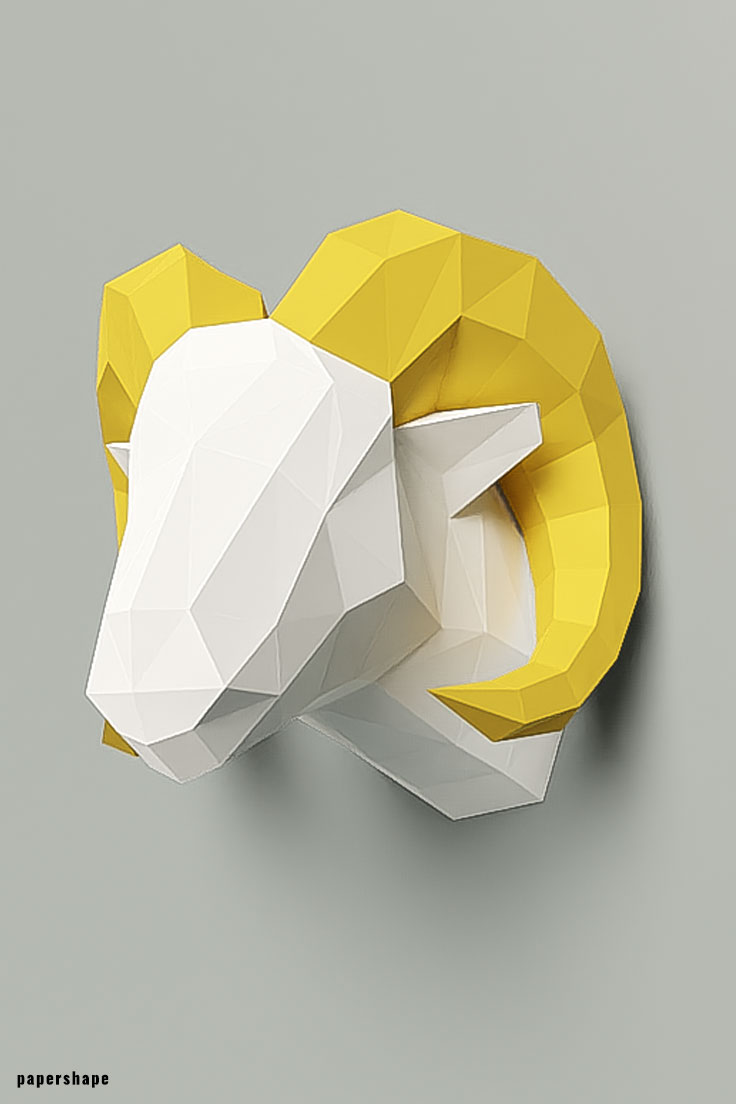
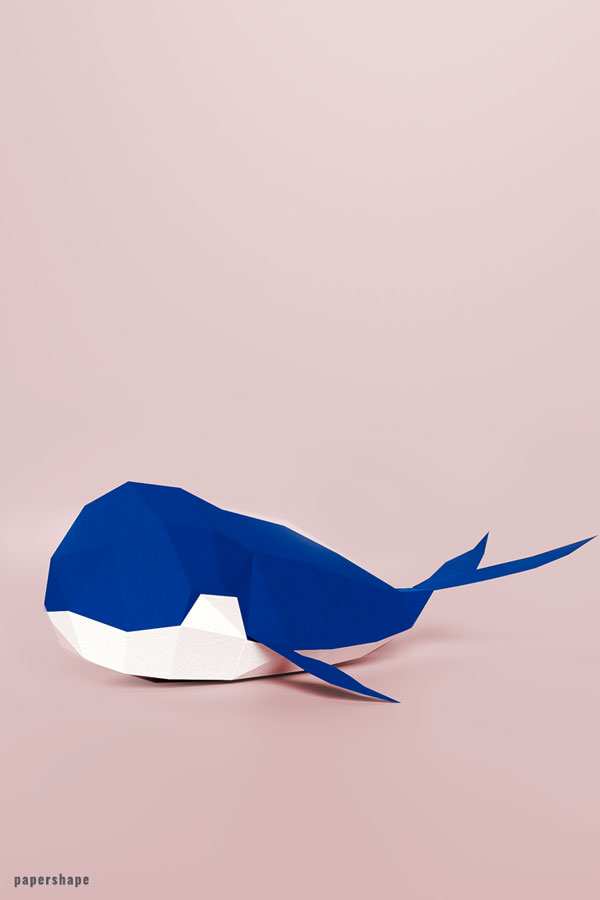
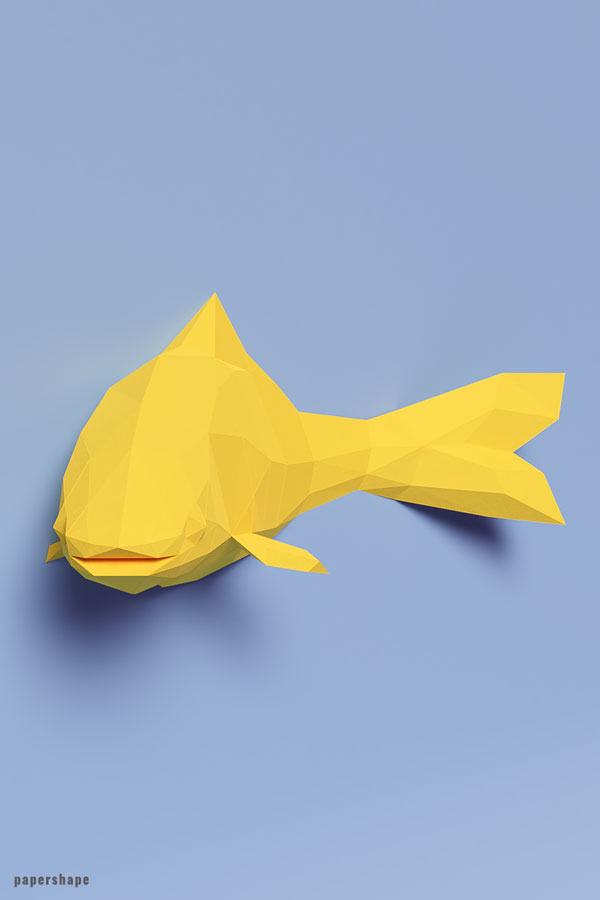
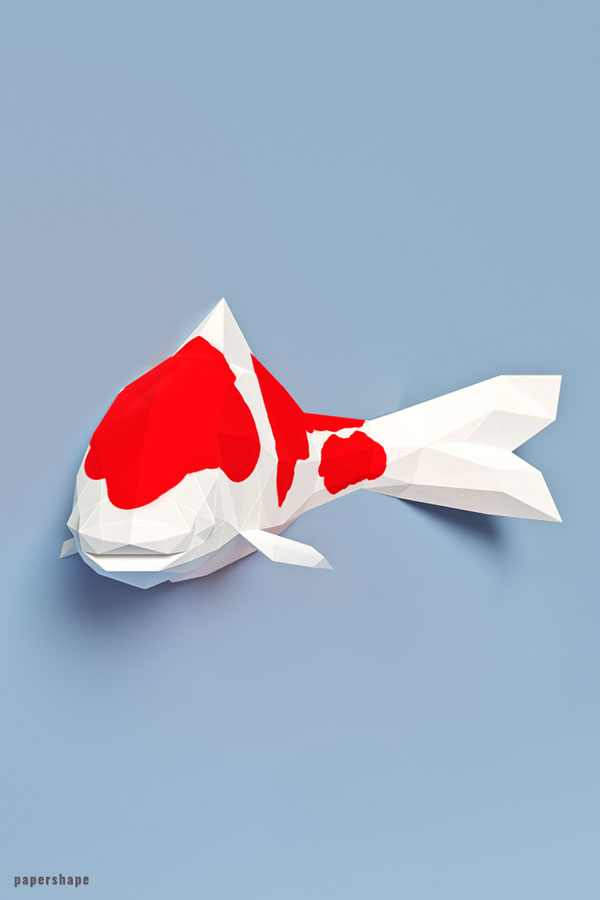
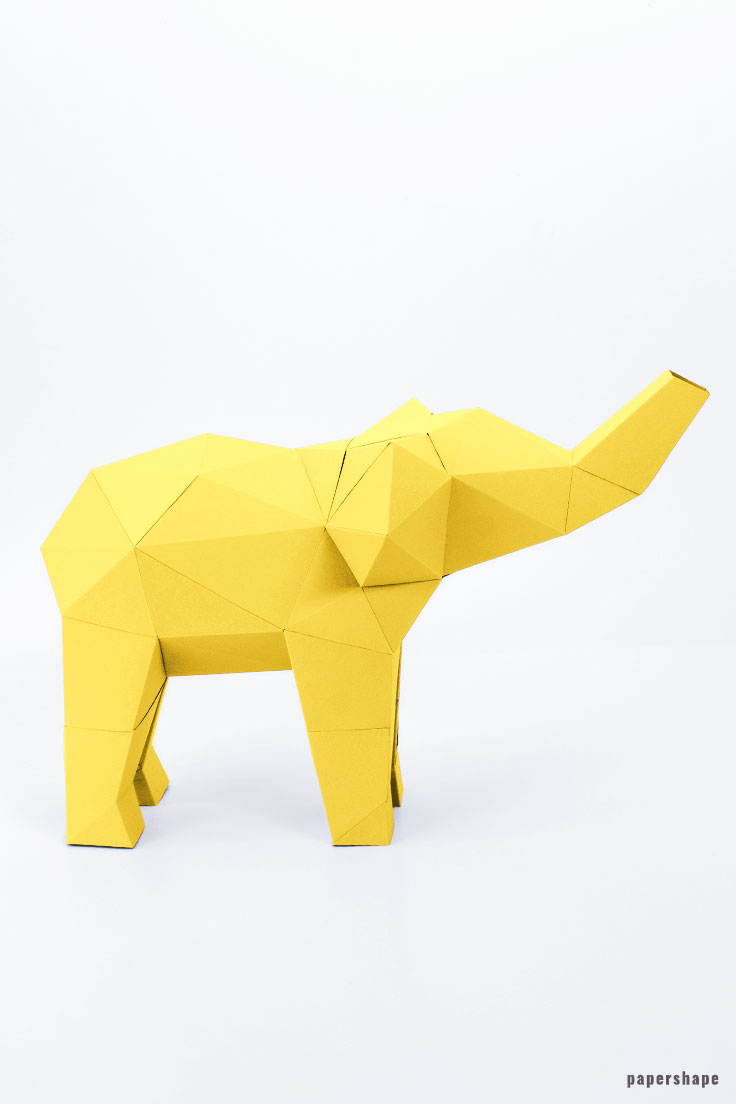
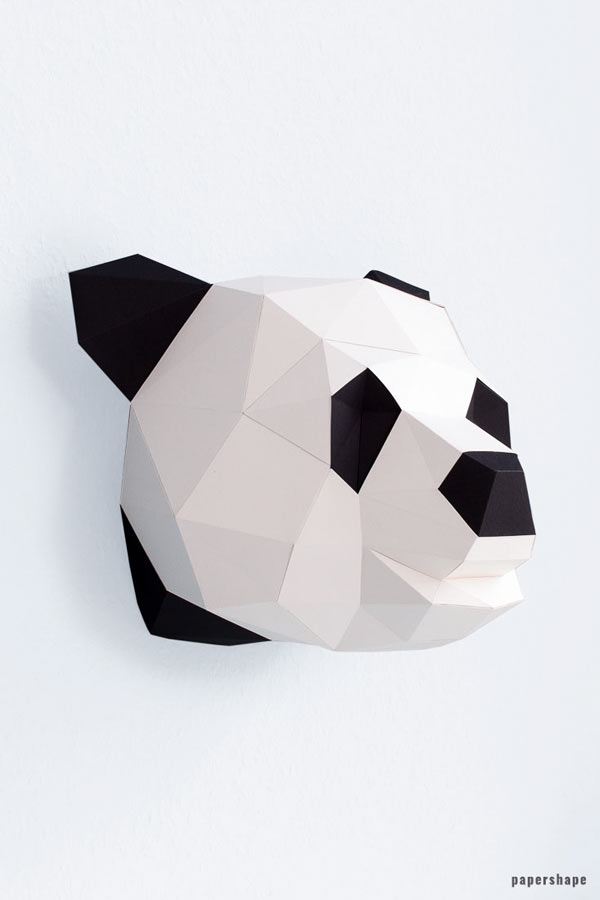
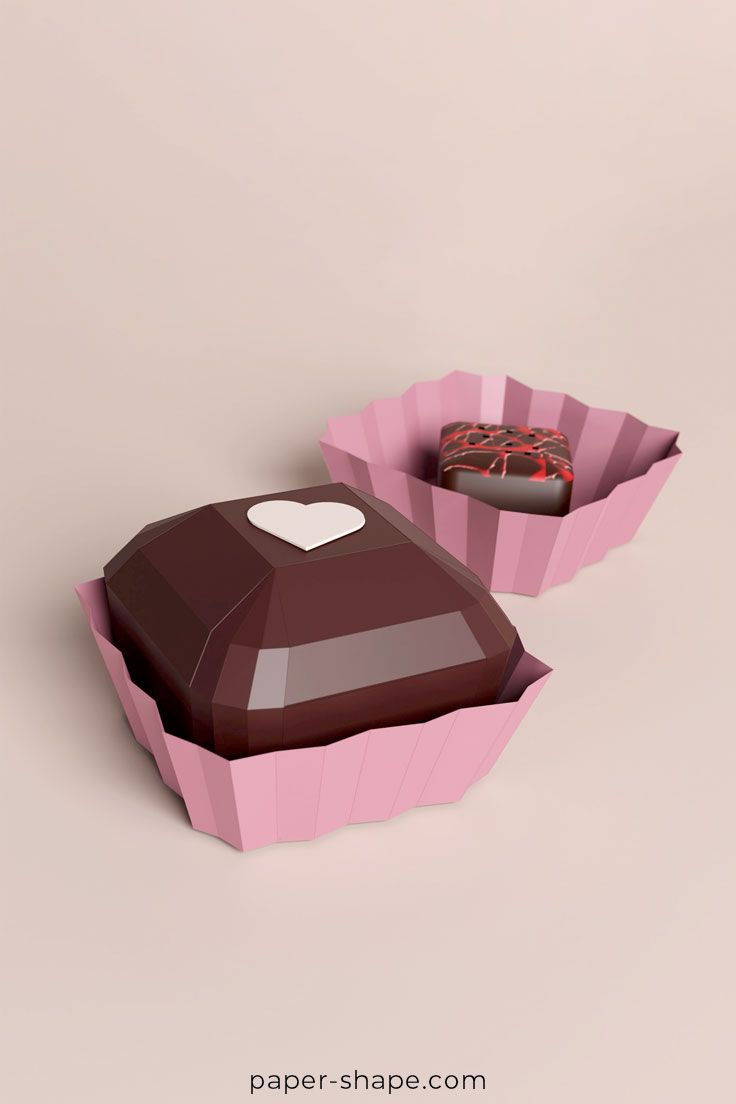
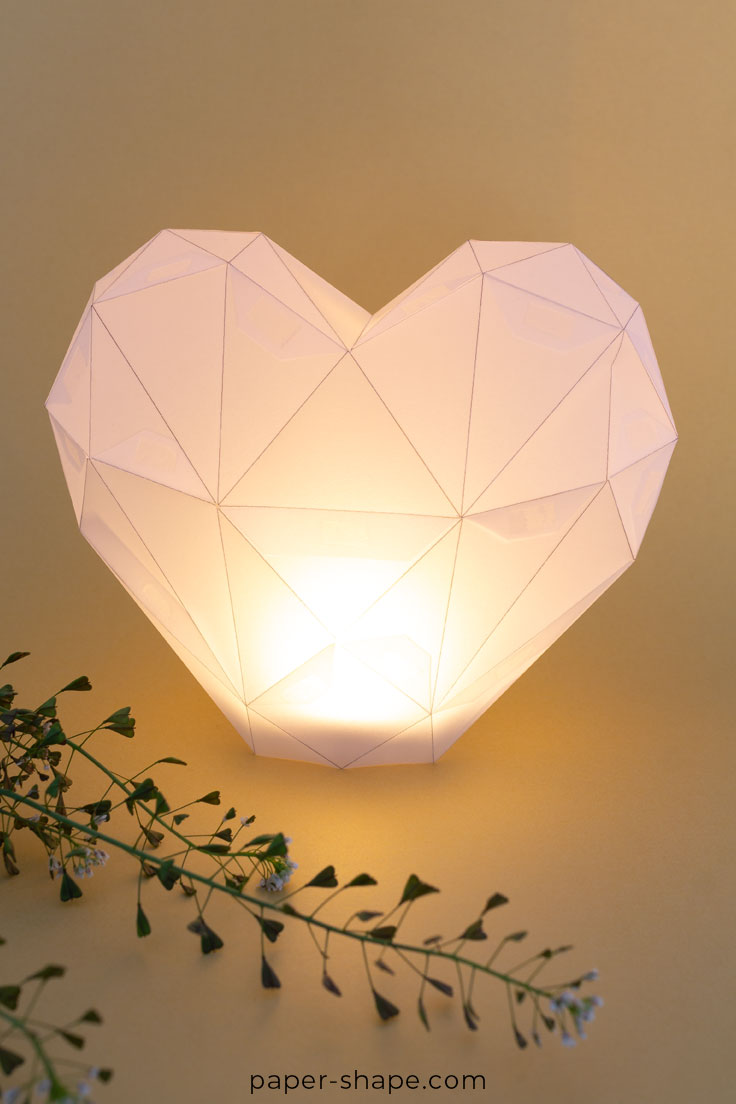
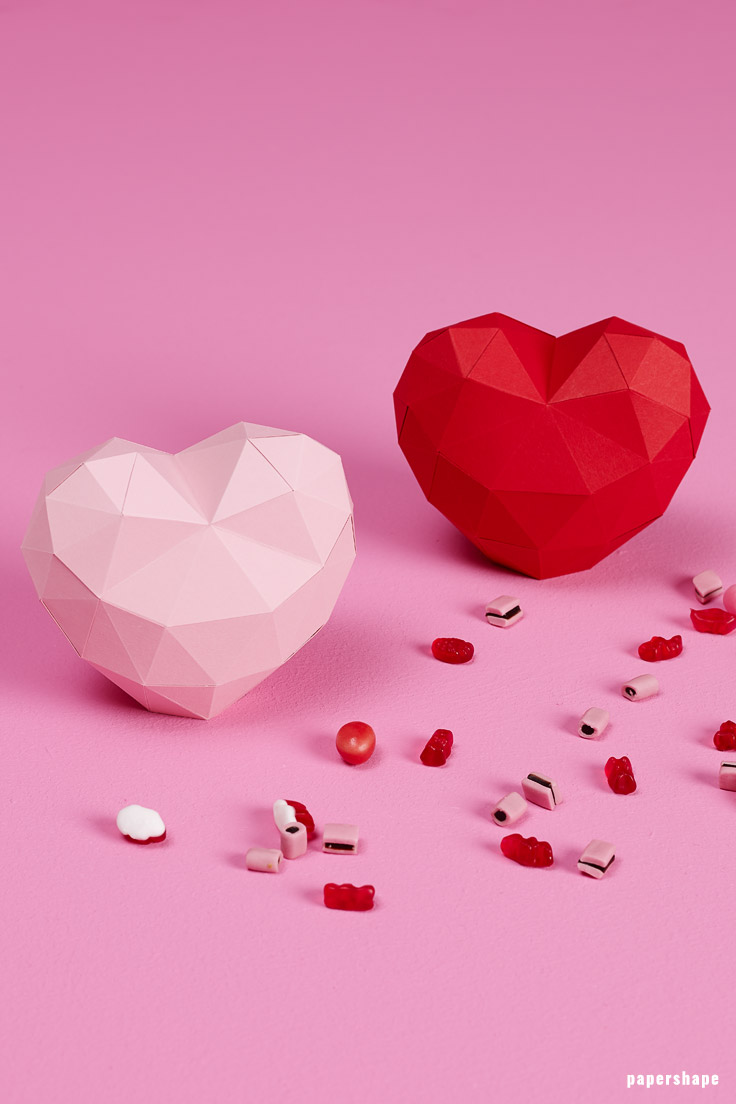
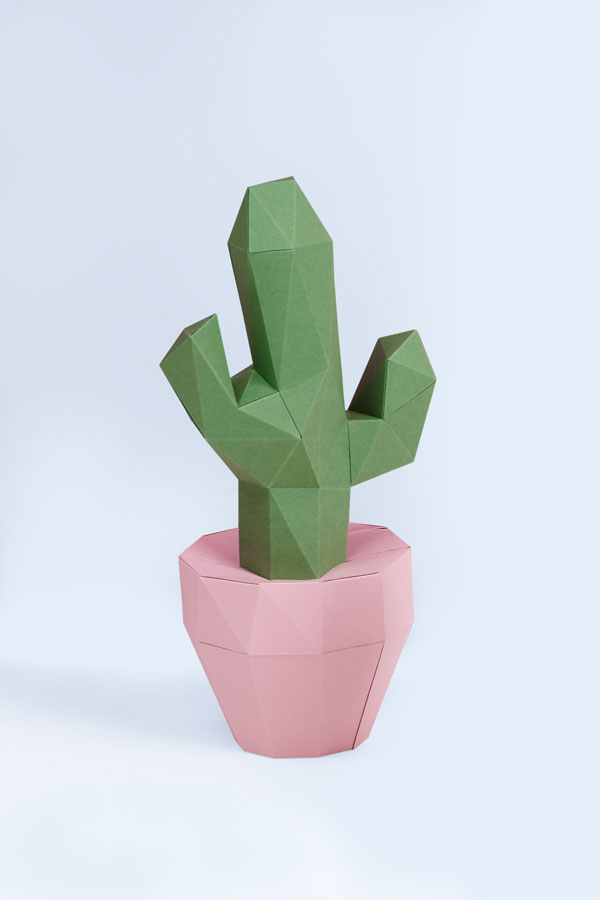
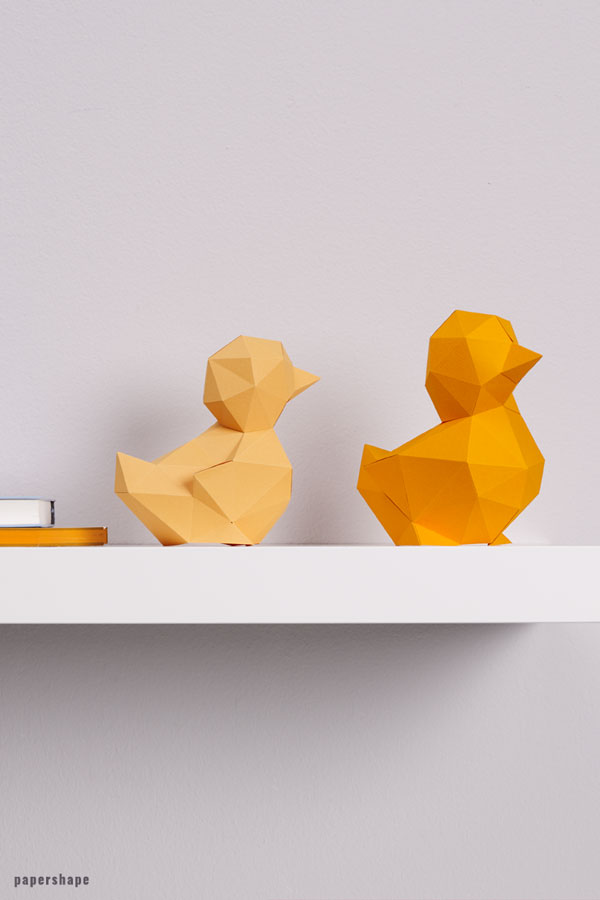
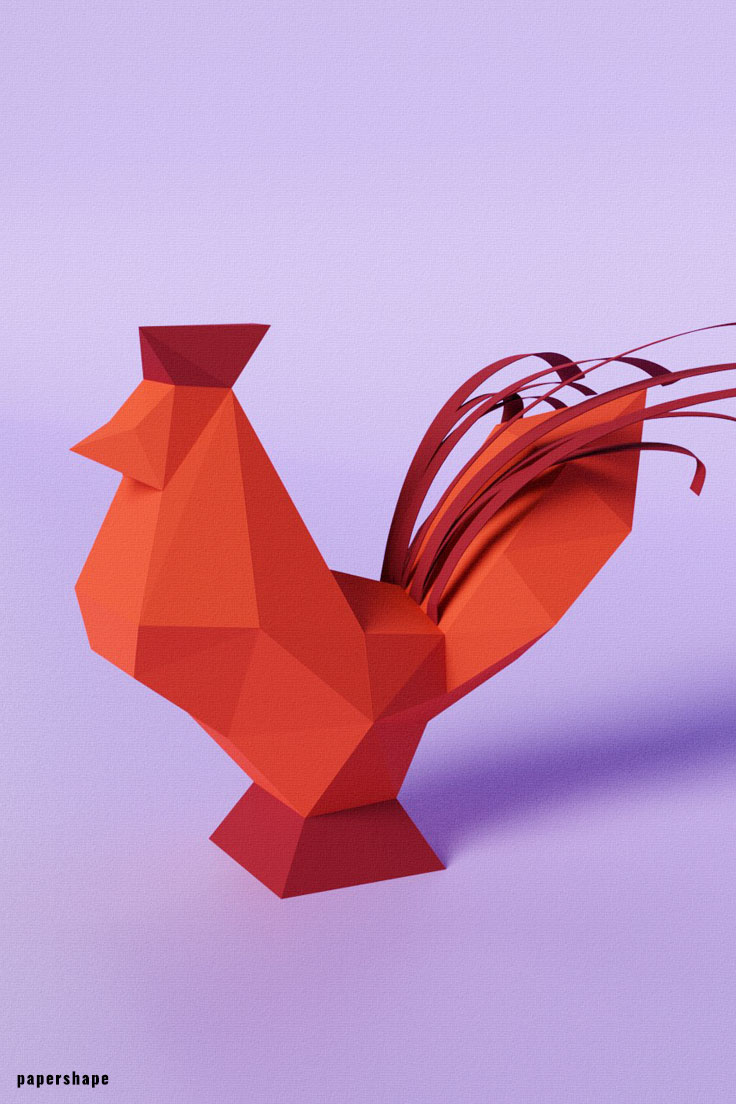
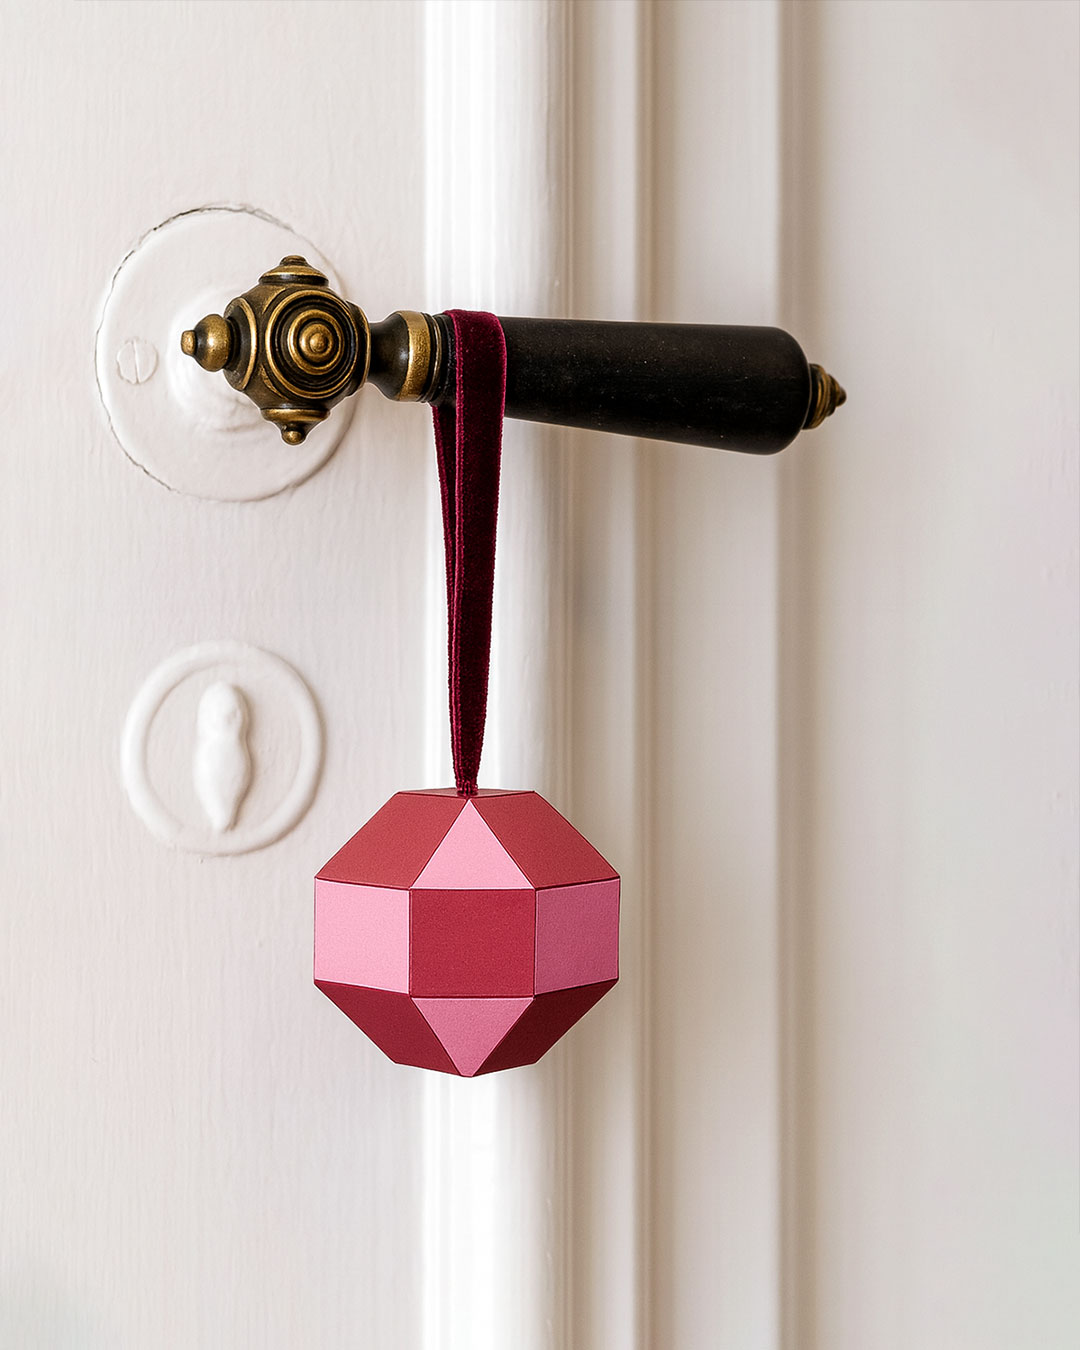
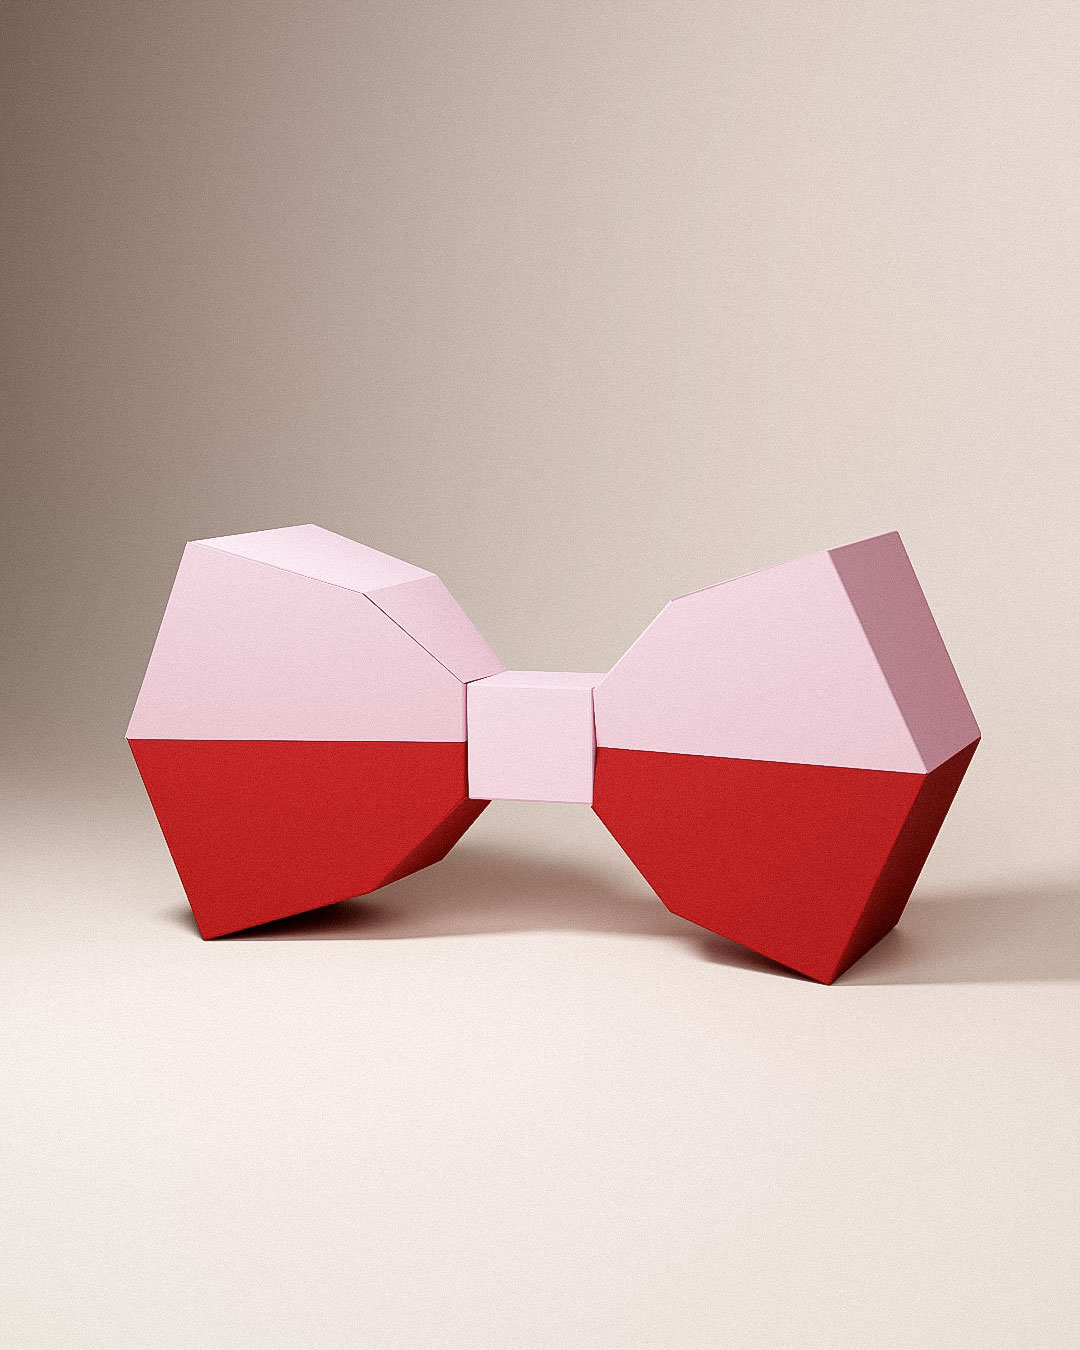
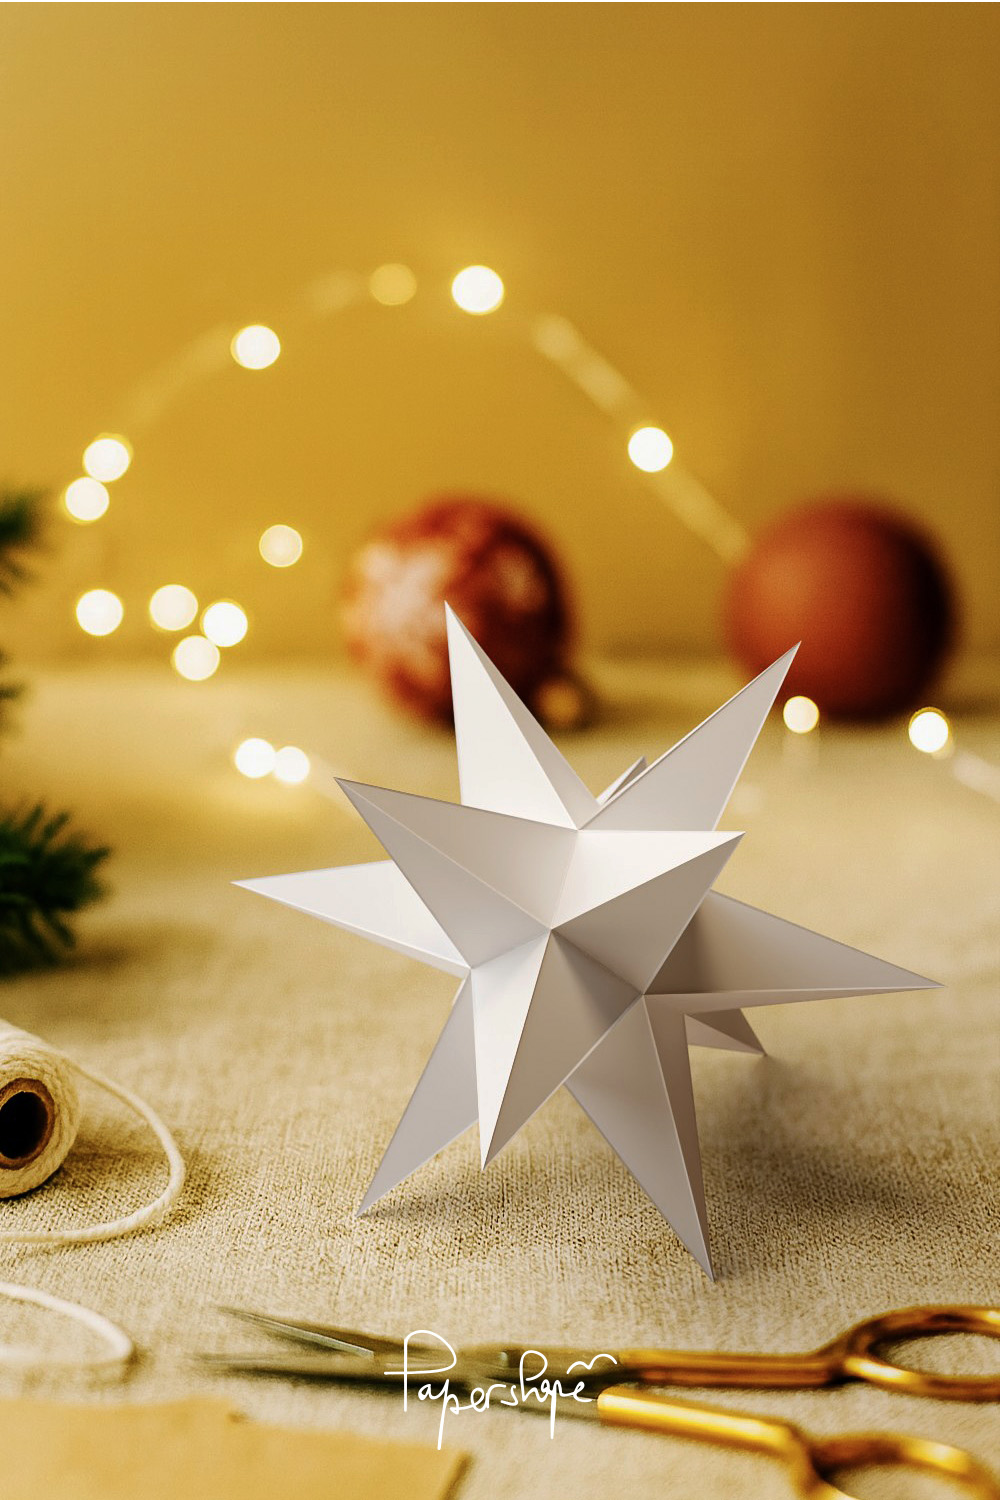
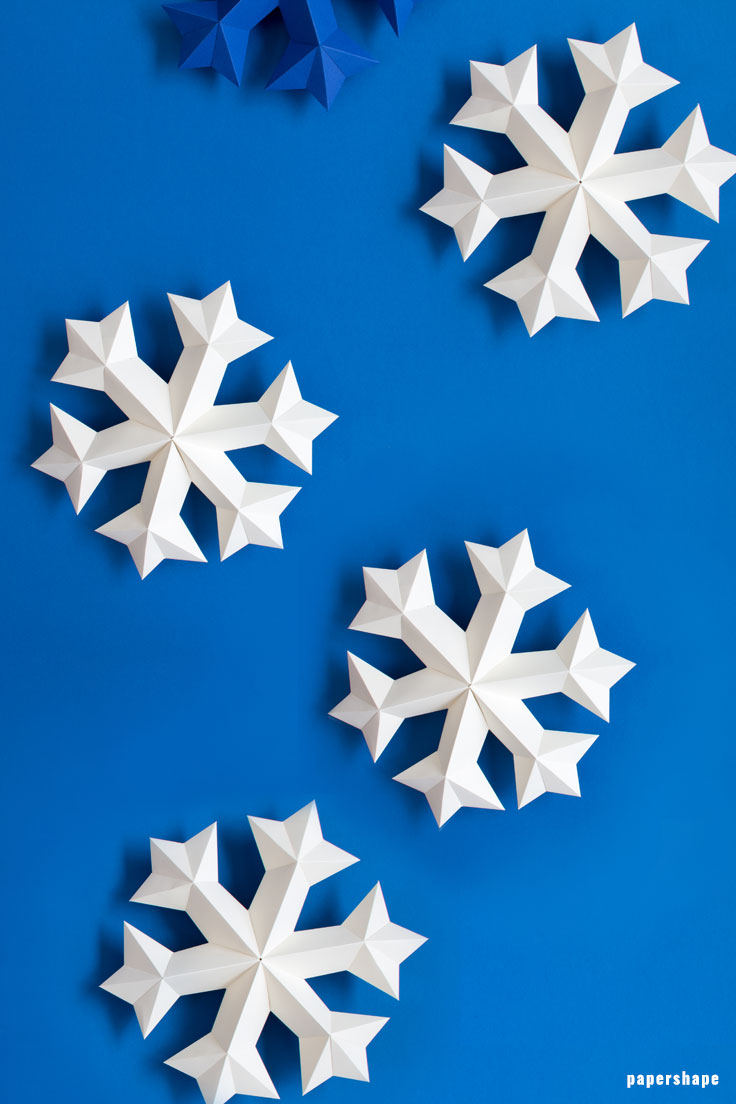
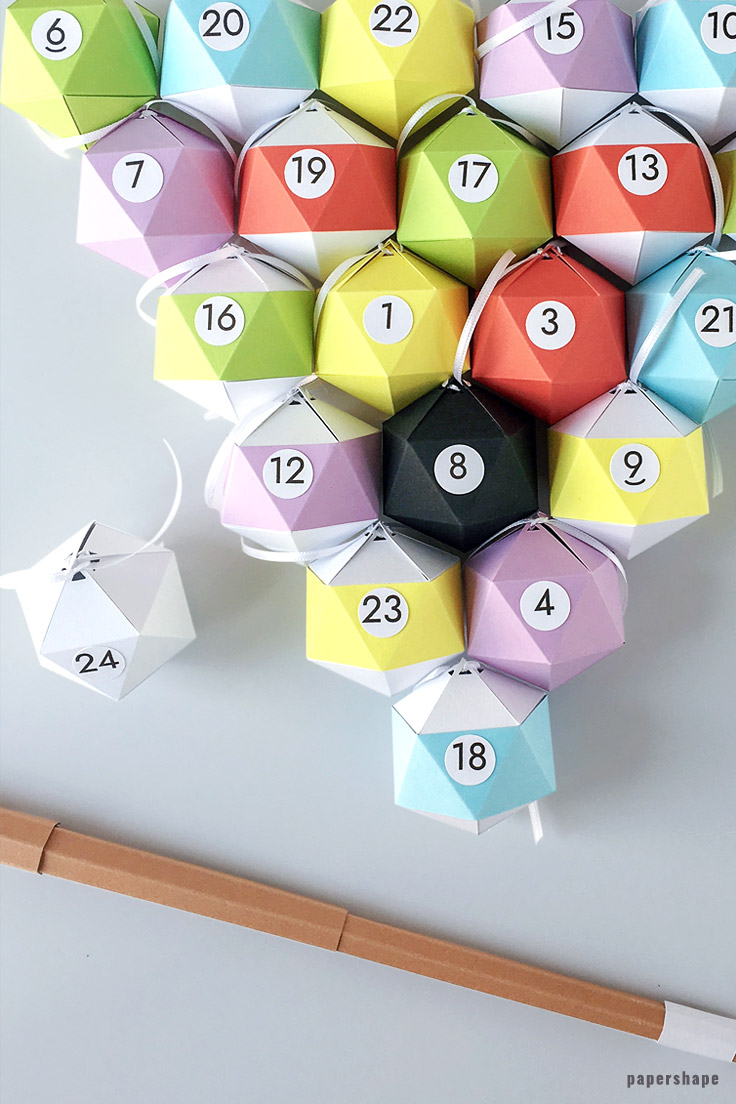
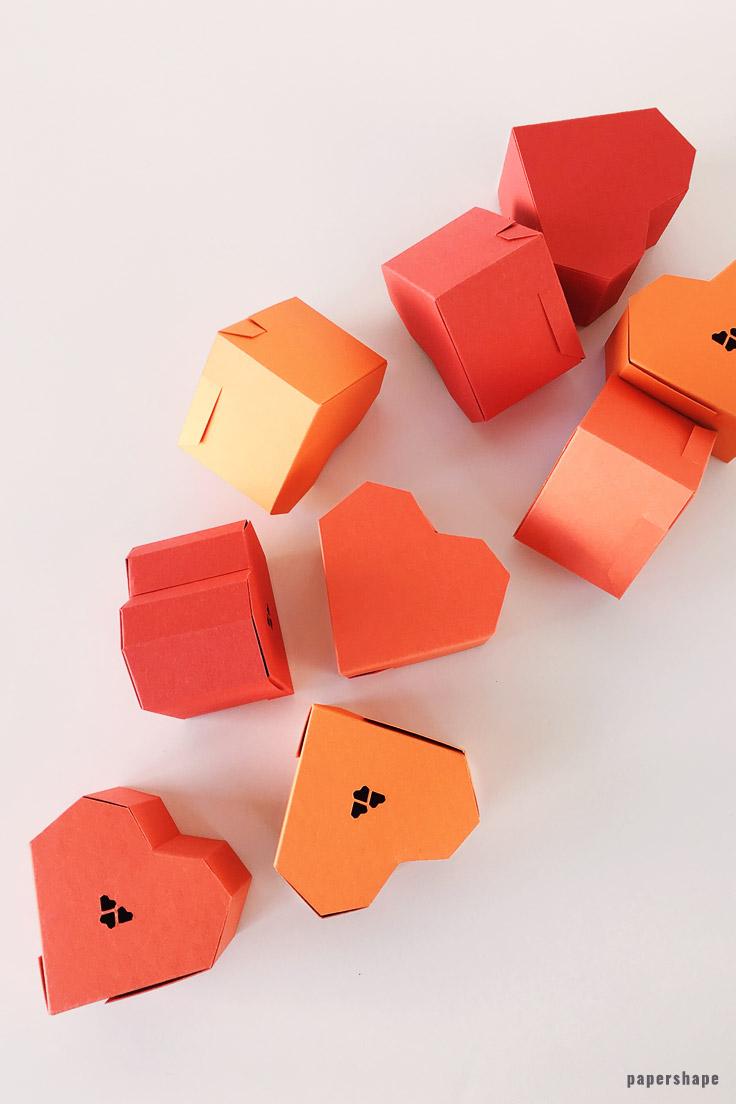
You can either fold the Easter bunny in uni colors or with a geometric pattern. I love both styles.
How to make a rabbit with paper for Easter (with template)
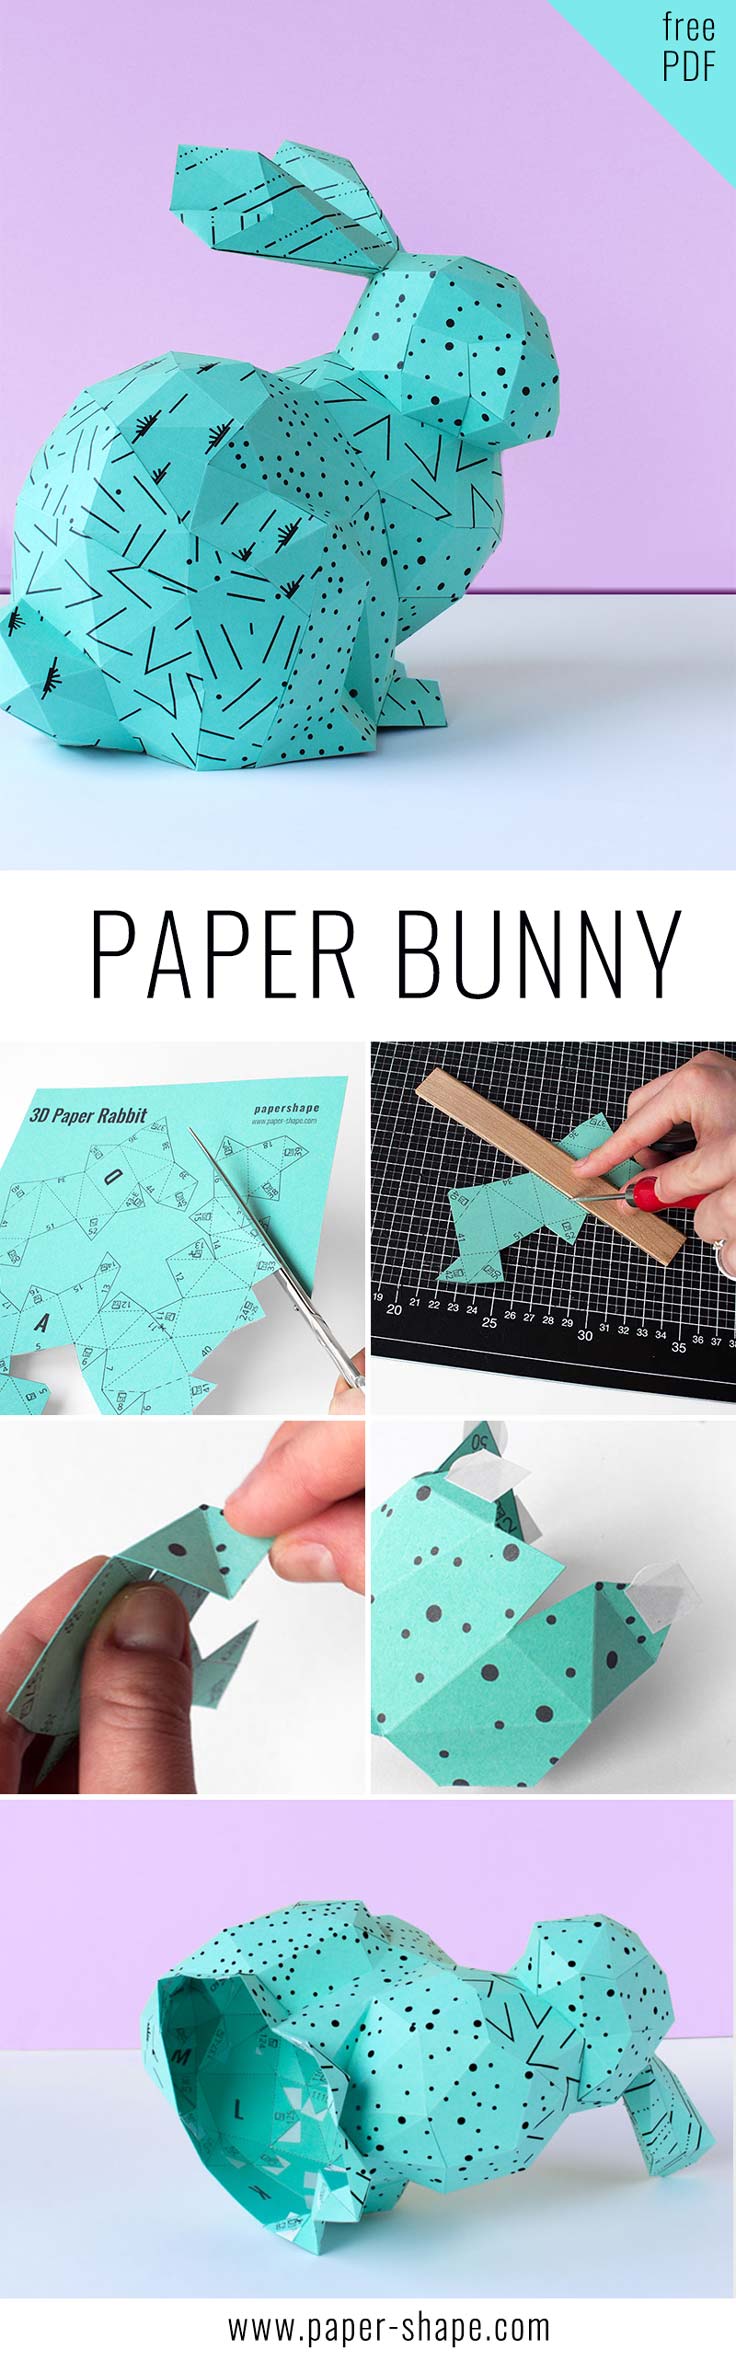
Paper craft: Easter bunny instructions
Materials needed
- PDF Template
- 7 cardstock paper uni or with pattern (8.5in x 11in) (weight: 65lb-110lb / 176gsm-300gsm)
- Glue or double-sided tape
- Scissors
- Ruler
- Bonefolder / awl / ball pen refill etc.
- Cutting mat
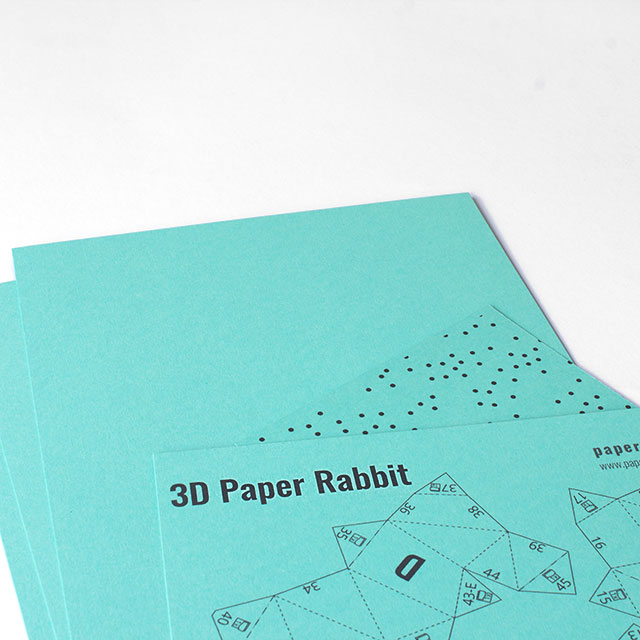
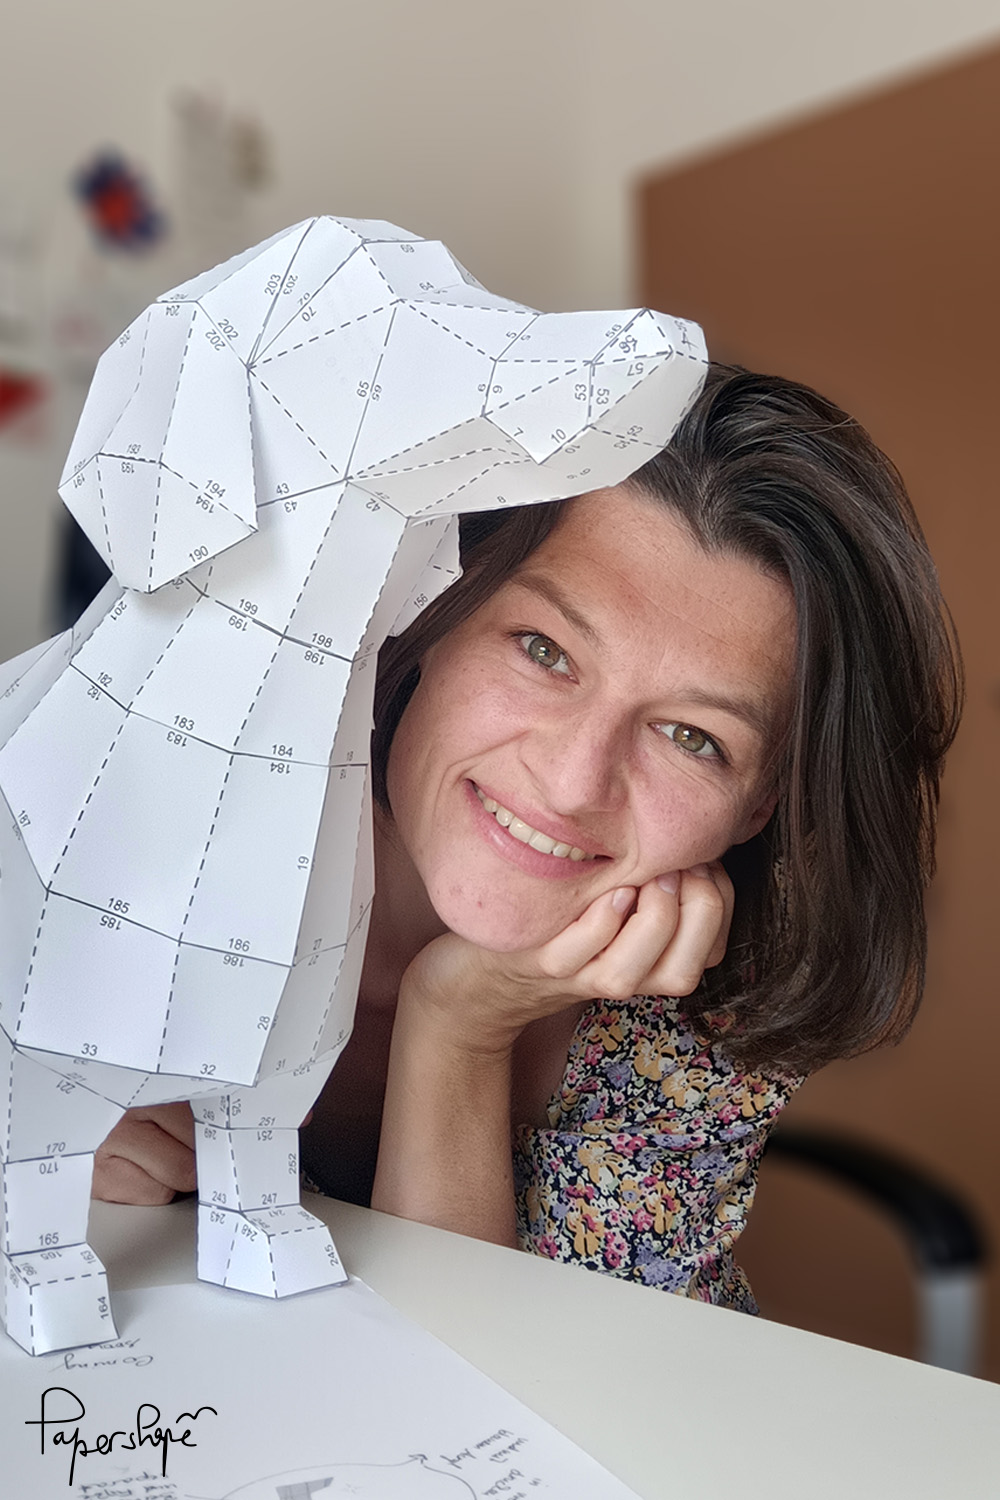
1. Print the bunny template (DIN A4) on paper of your choice. Originally I designed this template for our German paper size. That is why you have to scale down the size of the template to around 80%.
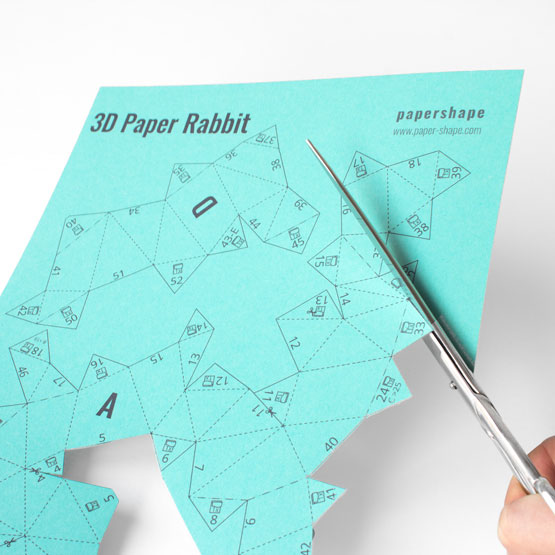
2. Cut out the paper parts (A, B, C, ...) by cutting along the solid lines. I usually do that with scissors but as there are some tricky parts you may prefer to use a cutter knife.
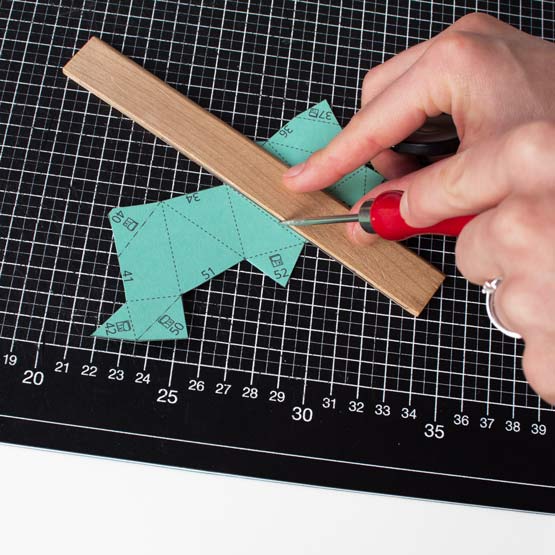
3. Place a ruler on the dotted lines and mark the folds by pressing down hard and running a bonefolder or an awl along the lines. Don't skip this step - no matter what paper you use. The result will look so much better.
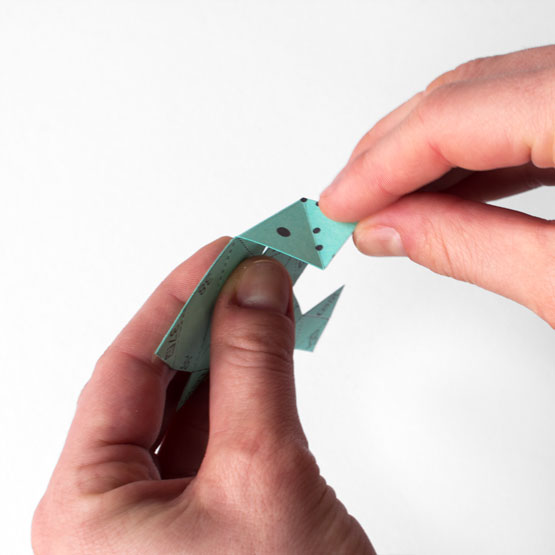
4. Start with the paper piece A and place it in front of you. The printed side should be facing you. Subsequently fold all the dotted lines either inwards, which means to fold up (short dotted lines) or outwards, which means to fold down (long dotted lines), according to the markings.
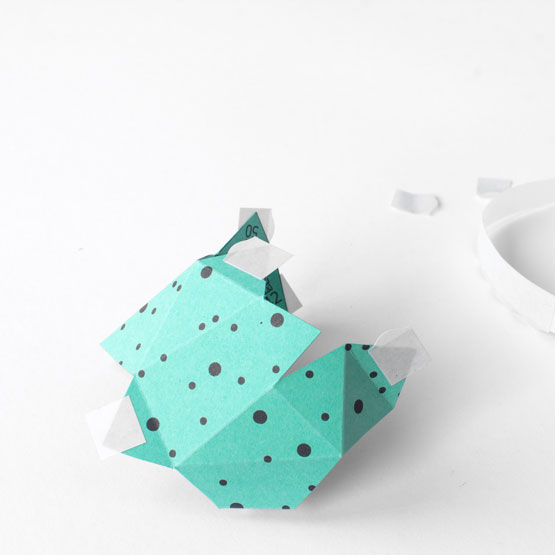
5. Use double-sided tape or any glue onto the unprinted side of the tabs. I prefer to craft with adhesive tape because your fingers stay clean. Each number exists twice. Stick all the same numbers together in ascending order (1, 2, 3, ...). Start with section 1 and stick it to the section marked 1 on paper A, pressing firmly enough to make them stick together.
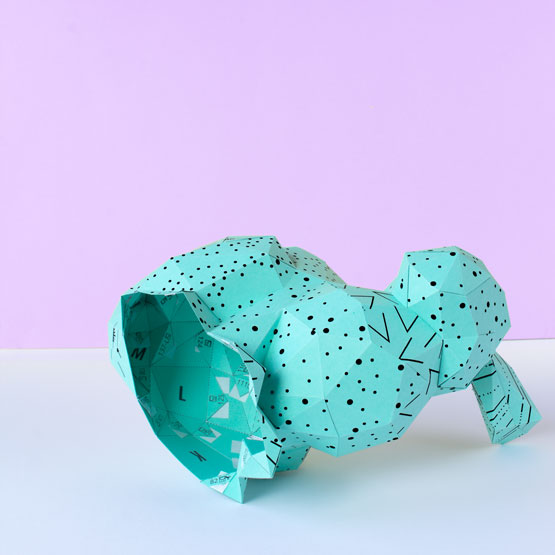
6. Either put small gifts inside or just use it as lovely spring decoration.
Don't miss the Easter bunny video and learn how to attach easily the ears to the head.
You will learn how to craft the paper bunny ears and how to stick them to the head.
Digital template as pdf
- Digital template as pdf
- craft as many bunnies as you wish
- make your own unique Easter bunny
DIY Kit
- printed DIN A4 sheets of paper
- Double-sided adhesive pads
- step by step instructions