


Craft an XXL 3D Christmas Star - with Printable Template Download
Would you like to craft a large 3D Christmas star from paper - with 20 striking points and impressive volume, yet easy to make? You're in the right place!
This design was originally created for German TV: In 2017, the ARD-Buffet team invited me to create a special Christmas star for their viewers. I always loved the look of Bascetta stars - but the complex interlocking process never really worked for me. So I decided to create a star that looks just as stunning, but is much easier to assemble.
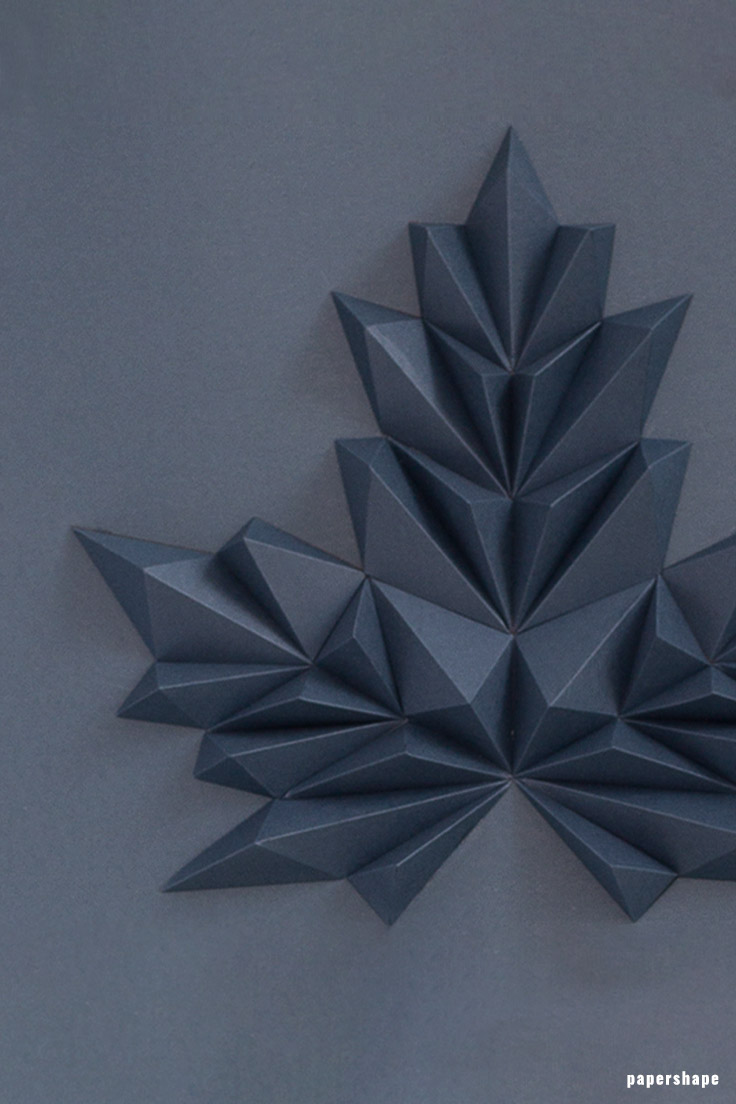
The result is this XXL paper star with 20 points and a size of about 30 cm. It's bold, elegant - and makes a perfect window decoration or festive centerpiece.
No modular folding required here! This star is simply cut, folded, and glued together. It's the perfect DIY project to relax and get creative.
Inside the tutorial, you'll get step-by-step instructions plus a downloadable 3D PDF template (just 9.90 Euro). All you need is paper, glue, scissors - and a bit of time to craft your own personal Christmas highlight.
Want more ideas? Discover even more creative projects on my main page for 3D paper stars - from mini table stars to large statement pieces.
Ready? Print the template, gather your materials - and let's get started!
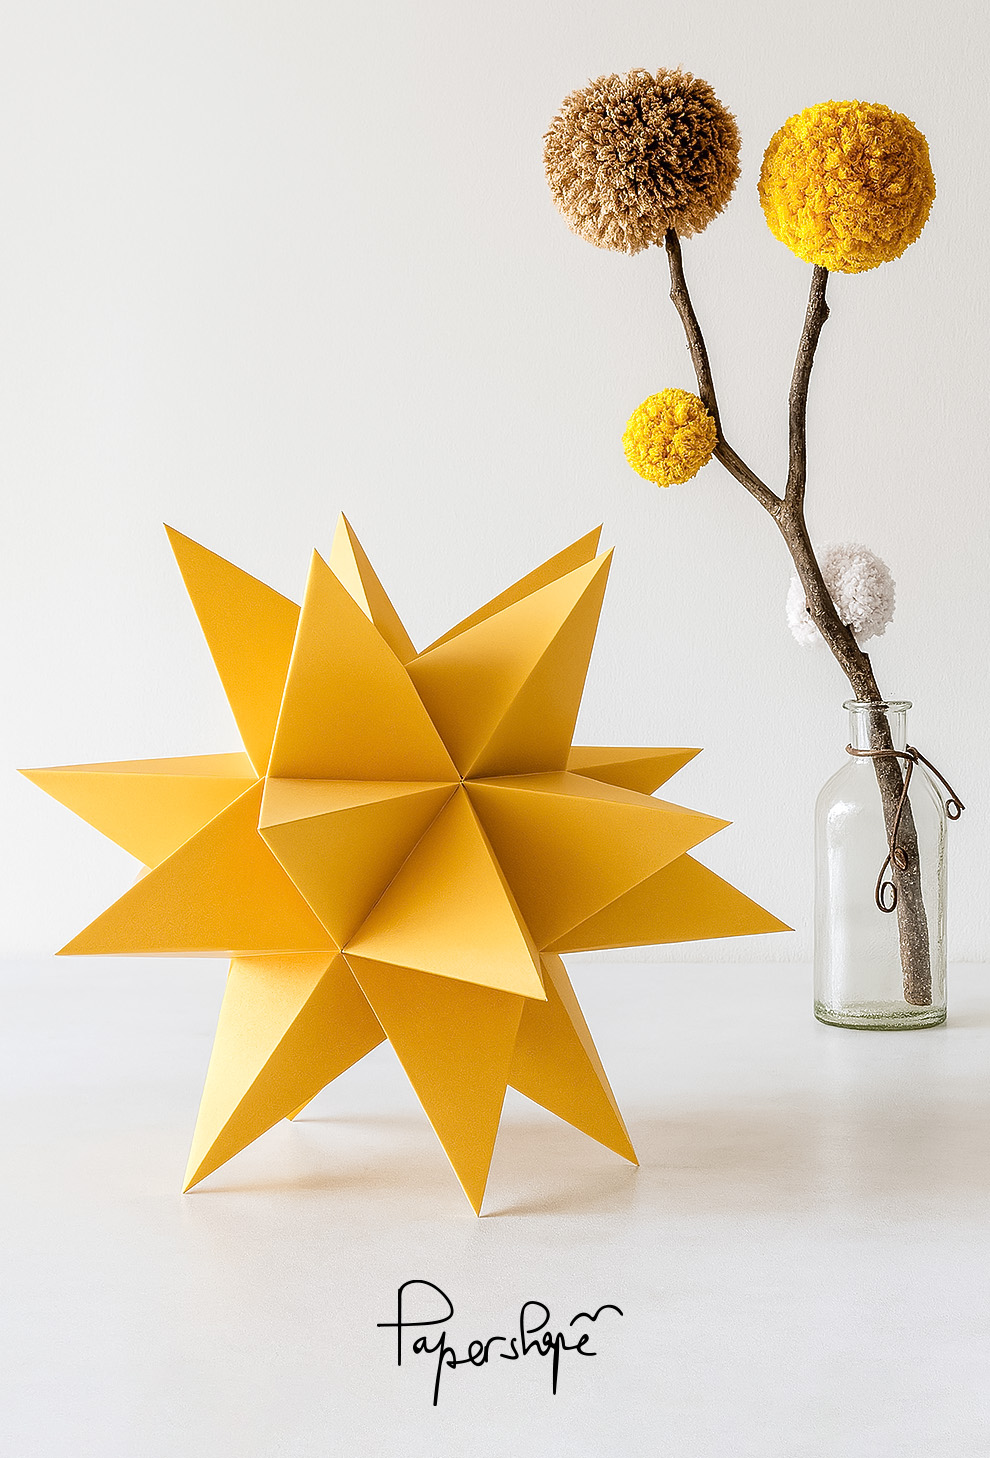
This golden star shines with its clear lines. It looks even more playful next to a pom-pom branch.
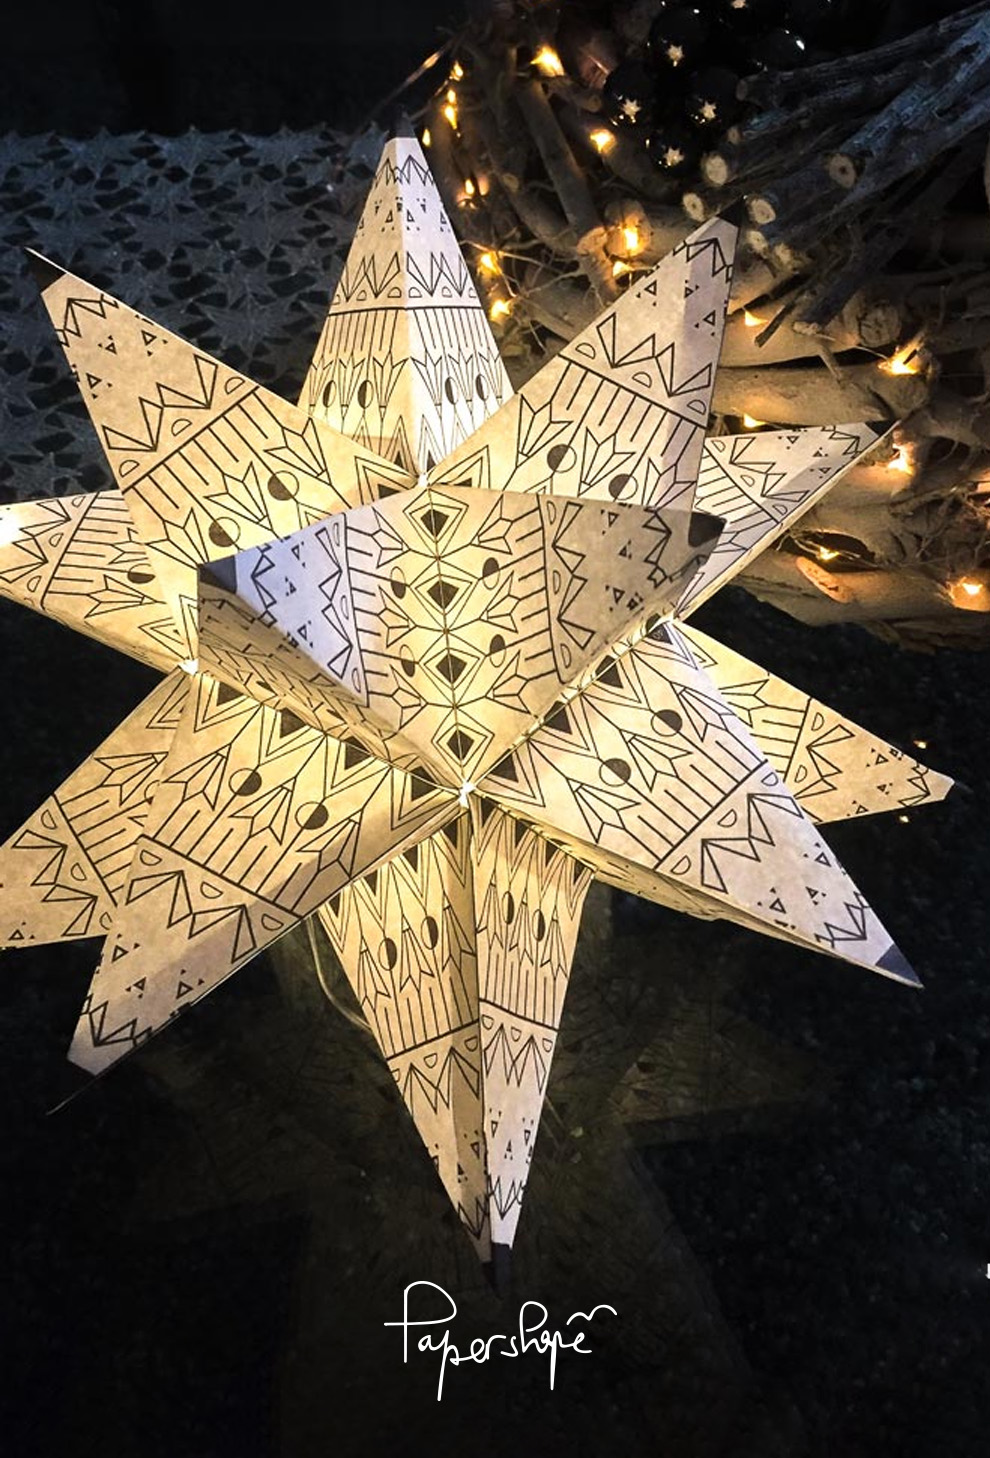
The large star with an ethnic pattern was made by a dear customer and fitted with a string of lights inside
Step-by-step tutorial: How to make a large 3D Christmas star from paper
Materials needed
- 10 paper sheets in your favorite color (300g)
- self-adhesive tape
- darning needle
- Scissors
- Ruler
- Cutting mat
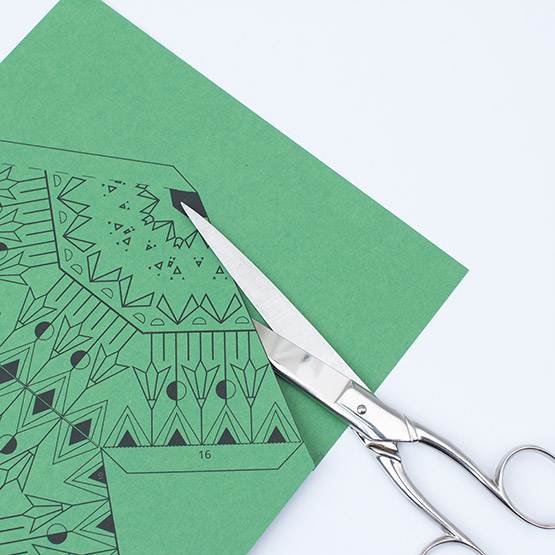
1. Print the templates from pages 1-10 and cut out the printed paper pieces along each solid line. There is one star with a pattern and another without.
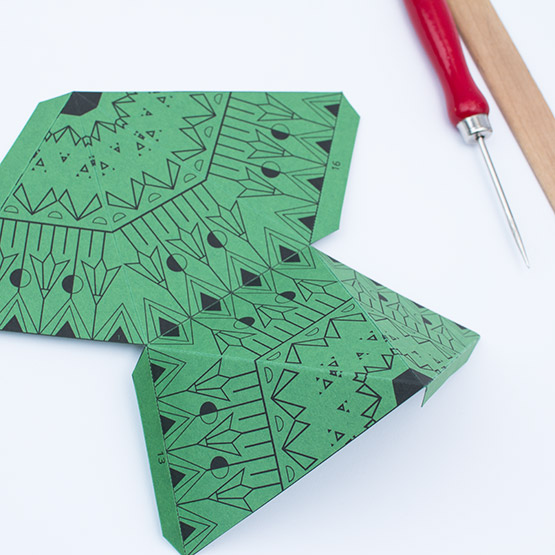
2. Place a ruler along the dashed lines and score them by running the back of a butter knife or an awl along them. The thumbnail on page 1 shows exactly where you need to fold. Short dashed lines are folded towards you, and long dashed lines are folded away from you.
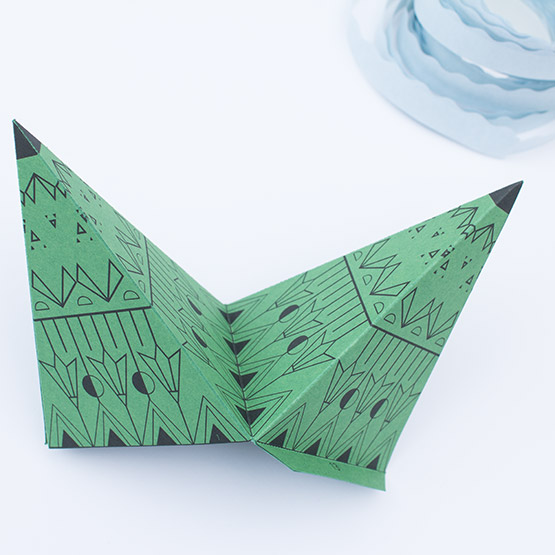
3. Start by gluing the tips of each polygon. These do not have number pairs.
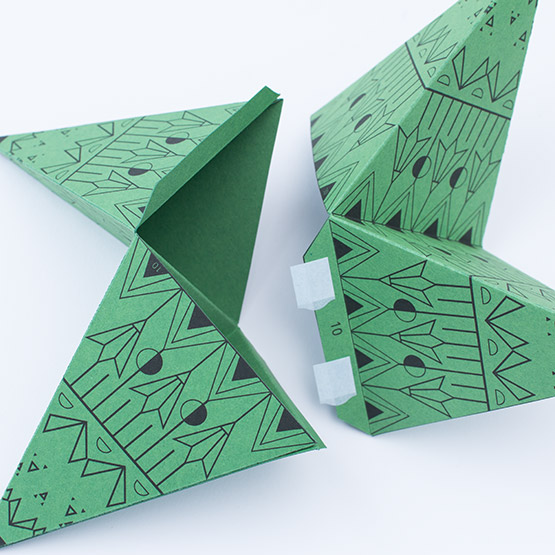
4. Next, you can continue with any adjacent number you like. The gluing here does not follow numerical order. In the example shown, number 10 is glued to number 10. There is always a matching number pair. You can start wherever you like, but it’s important to attach the triangles from page 10 at the very end. The final stage is a bit challenging as there is less space for gluing. It’s best to attach the triangle with number 7 first, and towards the very end the one with number 5. The last triangle is slotted in. Now you can either hang the Christmas star or simply place it as a decoration.

5. This is how the finished red XXL Christmas star looks with its snowflake pattern and impressive 30 cm size. Well done.