


How to make a diy paper photo frame?
You can use them for everything:
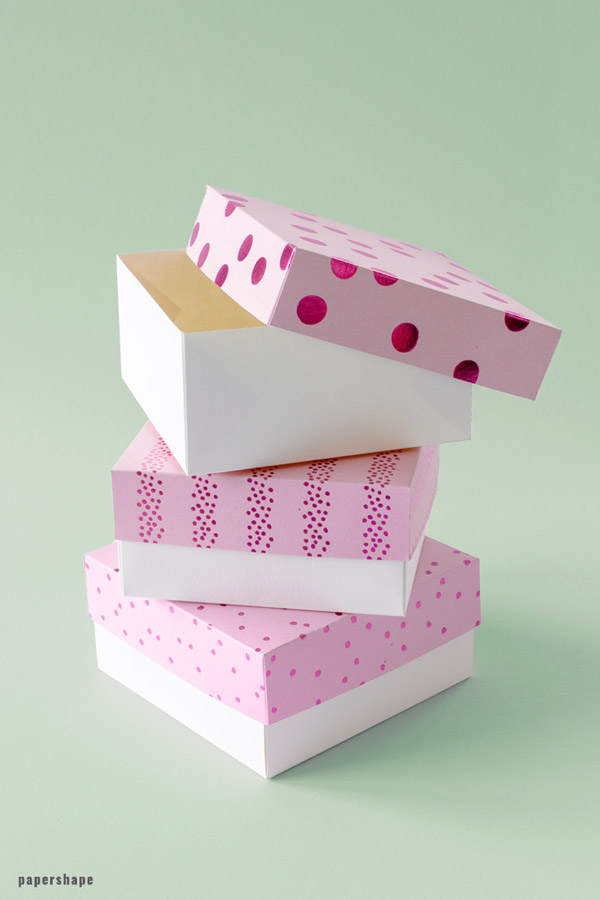
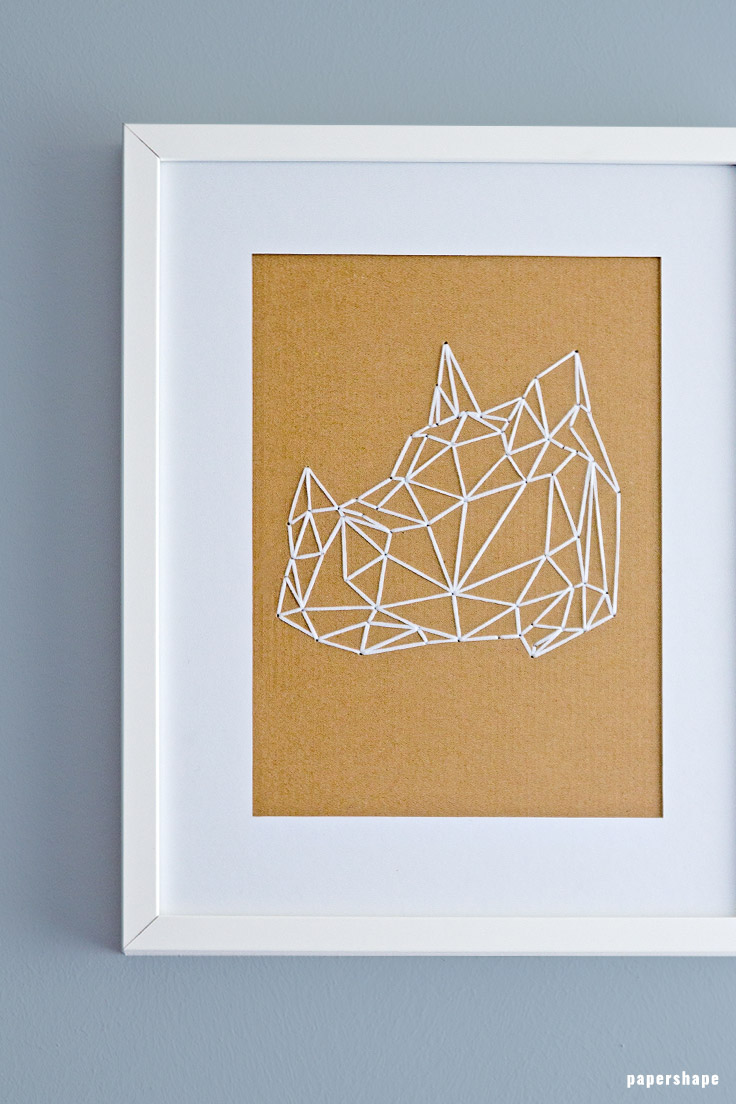
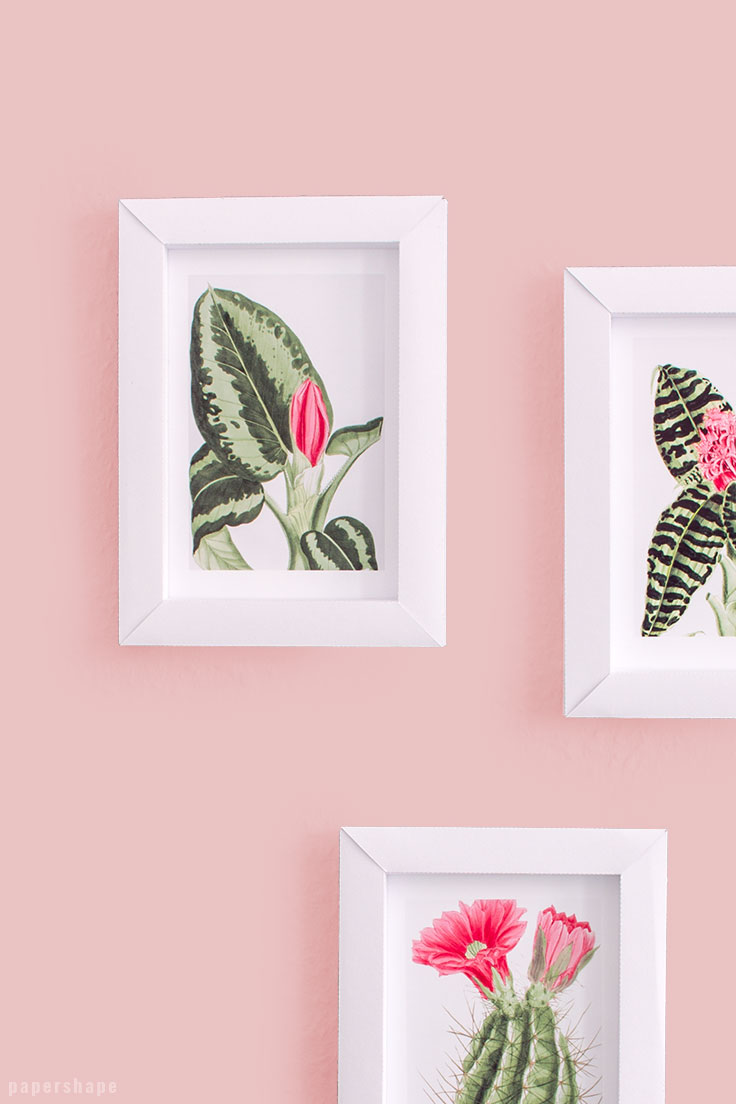
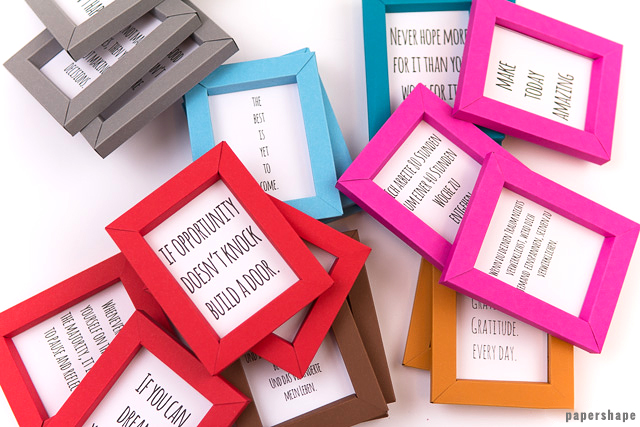
These photo frames are so easy to make and even with children you will enjoy decorating these fancy frames. You can hang them on walls, use them as gift tags or simply put them in your cupboards as cute decoration.
In this post you will find two templates for two different sizes of the photo frame. While the small one is made out of one sheet of paper, you will need 3 for the bigger one.
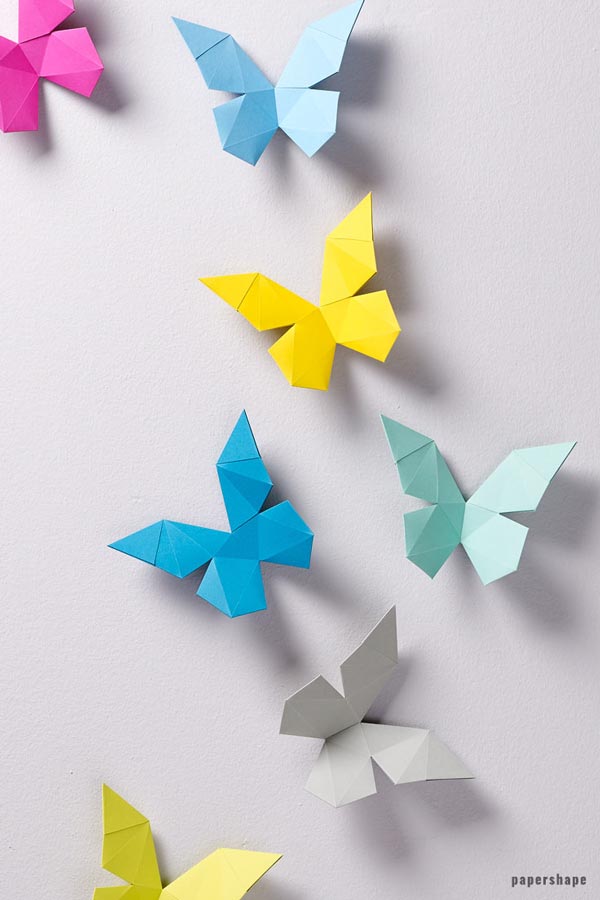
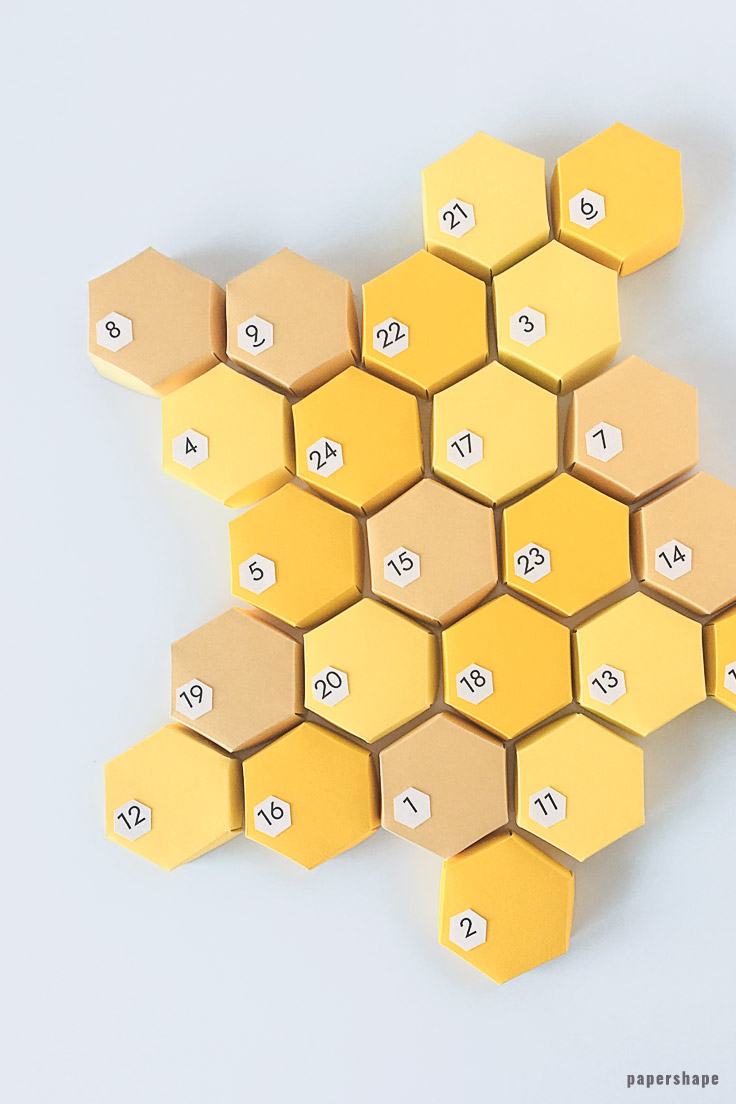
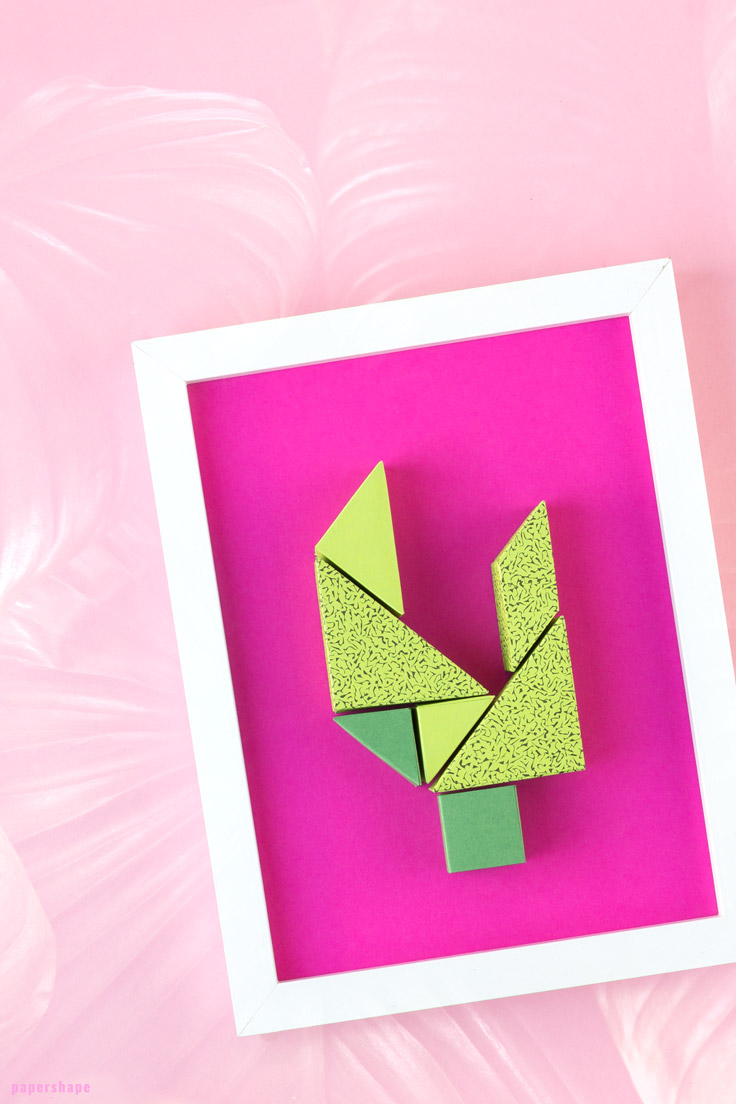
If you are interested in more wall deco ideas jump to these adorable tangram wall decor ideas.
Photo frame ideas you can do even with your children

Instructions No 1: How to make paper photo frames (10x15cm)
Materials needed
- 3 cardstock paper (photo frame no 1) or 1 cardstock paper (photo frame no 2) uni or with pattern (weight: 65lb-110lb / 176gsm-300gsm)
- Glue or double-sided tape
- Scissors
- Ruler
- Bonefolder / awl / ball pen refill etc.
- Cutting mat
- Photo or illustration for photo frame no 1: size 11,5x17,5cm
- Photo or illustration for photo frame no 2: size 8x12cm
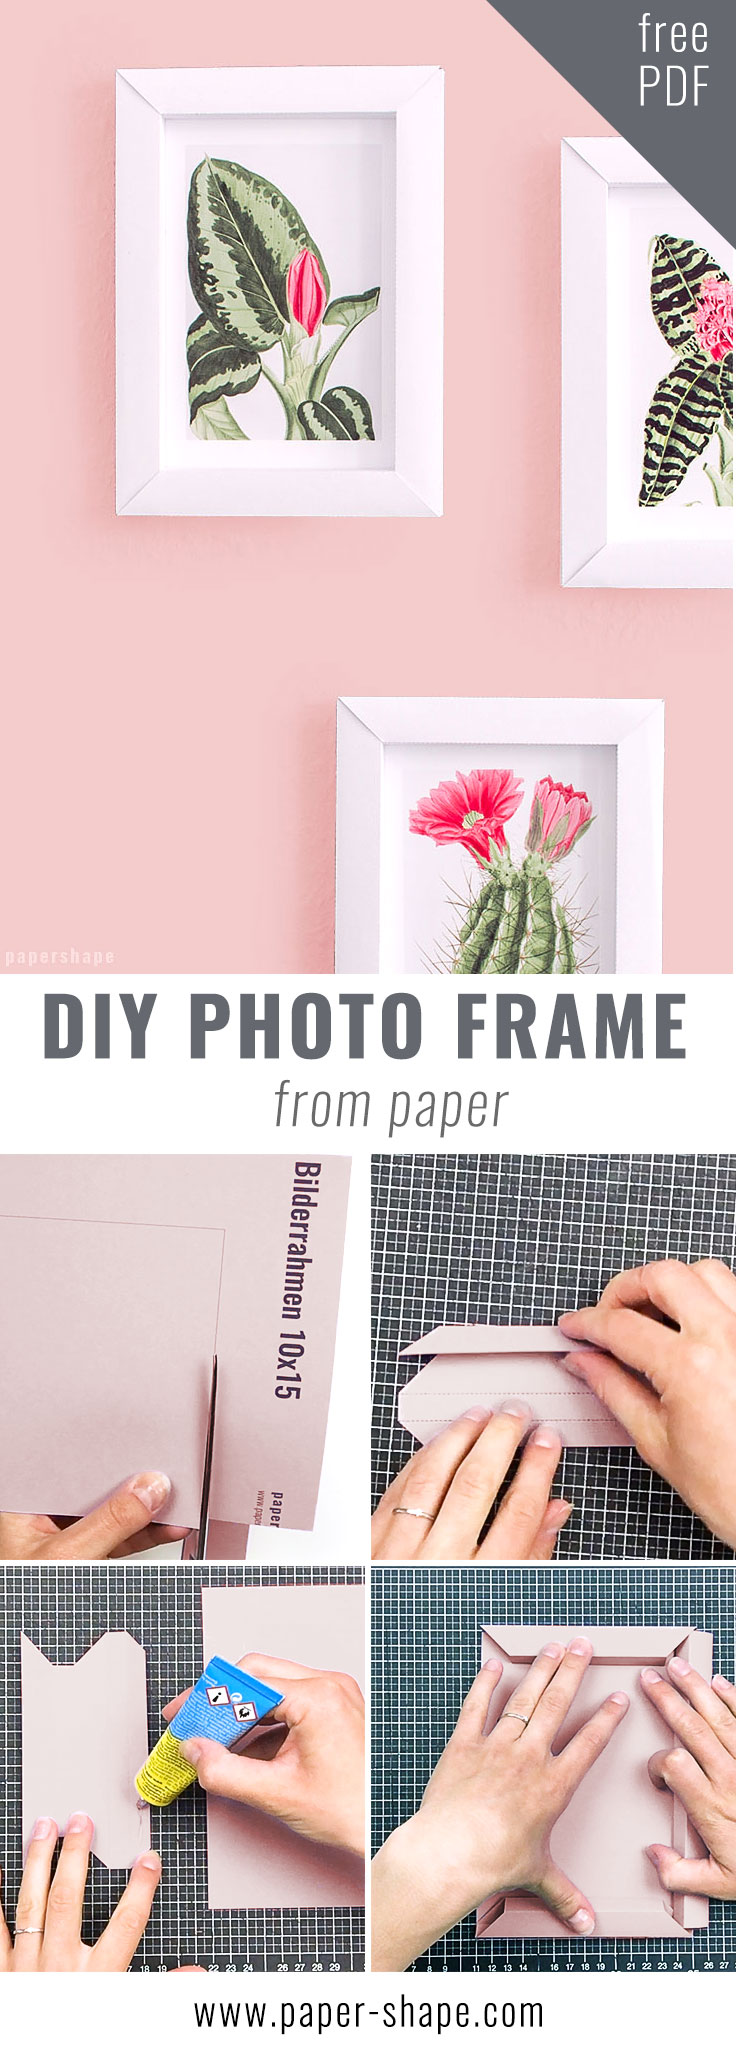
1. Print the photo frame template (US letter) on paper of your choice. You have to print the second page twice. Cut out the paper parts by cutting along the solid lines.
2. All dotted lines should be pre-folded in order to get sharp edges. Place a ruler on the dotted lines and mark the folds by pressing down hard and running a bonefolder or an awl along the lines. Don't skip this step - no matter what paper you use. The result will look so much better.
3. Start with the small/ short paper part of the second page and place it front of you. The dashed lines should be facing you. Subsequently fold all the dotted lines inwards, which means to fold up. Repeat step 2 and 3 with the other paper parts for the photo frame.
4. Place some glue on the hatched area of the short paper part. Stick the rectangle from page 1 of the template on the hatched area. Repeat step 4 + 5 with the second short paper part and for one of the long paper parts.
5. Furl the short paper parts inwards. Hold both parts with your left hand's thumb and middle finger. Furl the long paper part inwards with your right hand so that it plugs into the ends of the shorter paper parts.
6. Stick the rectangle on the second long paper part of the frame (hatched area).
7. Slide your picture / photo into the frame. The size of the photo should be around 11,5 x 17,5cm. Furl the last side inwards and plug it into the flaps as in the previous step 11.
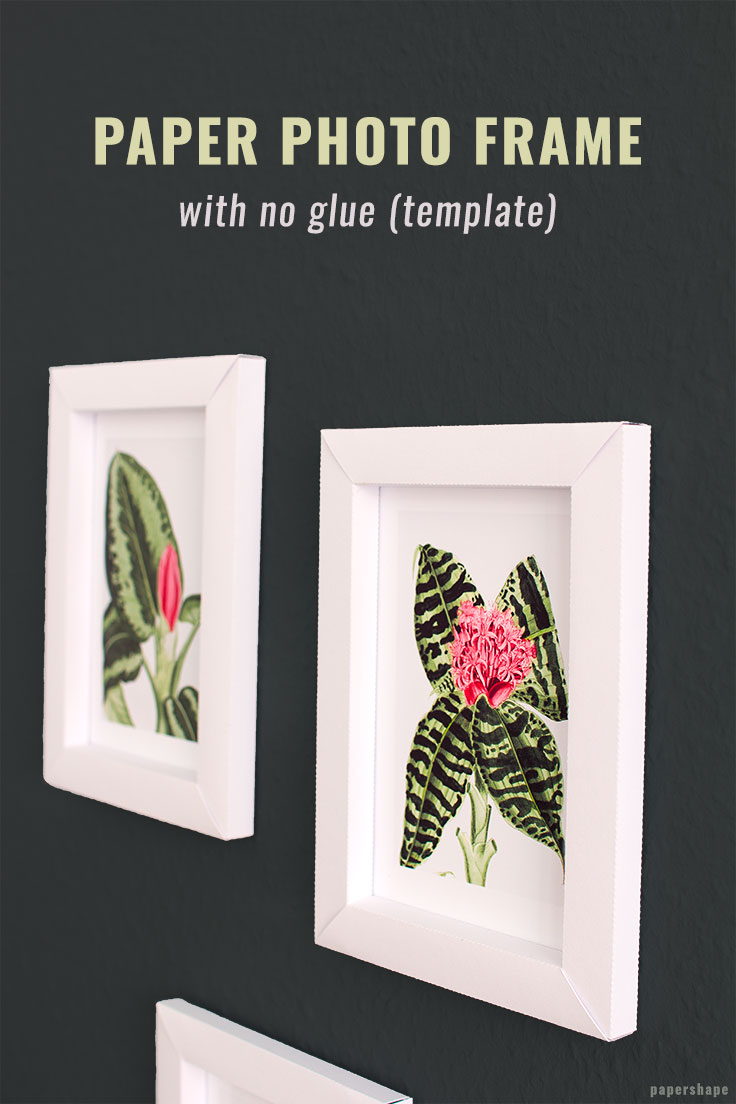
Instructions No. 2: Photo frame from paper with no glue (7,5 x 10cm ).
Don't miss the photo frame video and learn how to craft photo frames from just one sheet of paper with no glue.